Overview
ConnectShip is an independent subsidiary wholly owned by UPS. ConnectShip primarily offers on and off-premise multi-carrier shipping software and solutions for enterprise and mid-sized companies. Their software is intended to streamline shipping processes, reduce shipping costs, and improve overall efficiency.
Enabling ConnectShip disables all UPS shipping options (except via Amazon) in Shipbridge.
Integrate Connectship with Shipbridge
To integrate your ConnectShip account into Shipbridge:
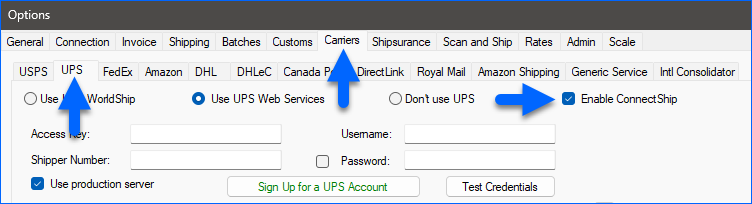
- In Shipbridge, go to Menu > Options > Carriers > UPS.
- Check the Enable ConnectShip box and click Save.
- Restart Shipbridge.
- Go to Menu > Options > Carriers > ConnectShip.
- Enter the Server’s IP address, Username, and Password. Usually, it’s an in-house server, so that would be the local IP address.
- Enter your UPS account number in the Shipper # field.
- Select a label Reference field that can display Sellercloud order info on the label, like the channel order number (OrderSource Order #).
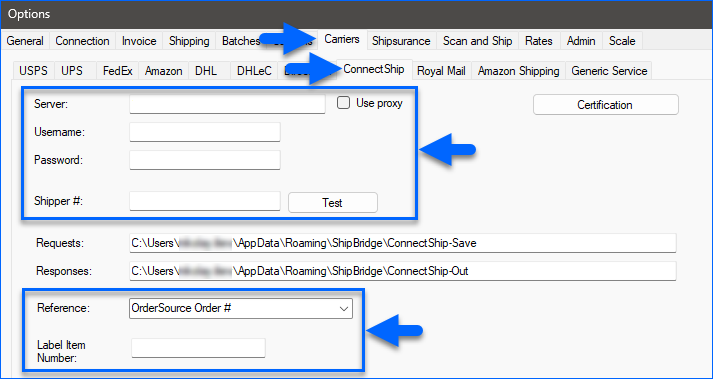
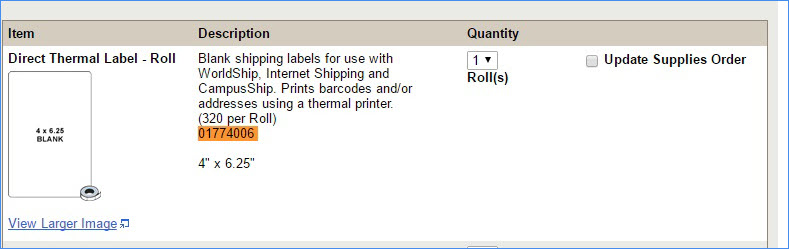
- The Label Item Number is the standardized number that references a particular label size. When entered, ConnectShip will print the label accordingly. For example, 01774006 would print a label as in the image below.
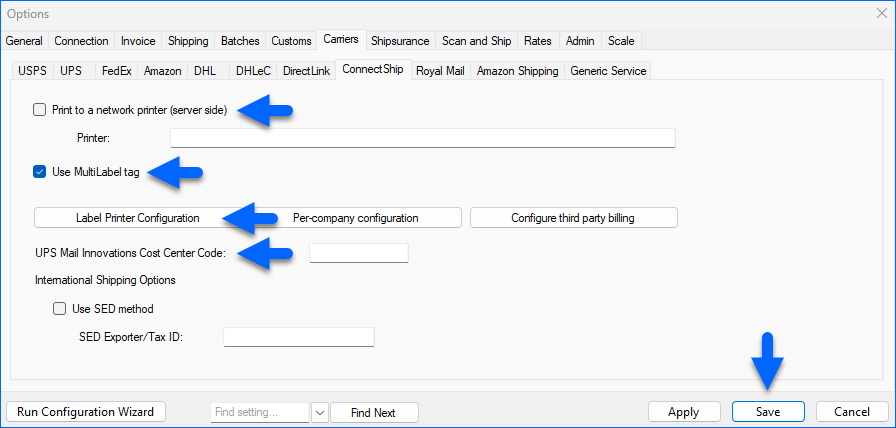
- If your printer is printing from a local PC, configure the label printer with the Label Printer Configuration button.
- If your printer is printing from the ConnectShip server, check Print to network server (server-side) and enter the printer path.
- If you check Use MultiLabel tag, when requesting a customs form, it will be printed on a separate label.
- The UPS Mail Innovations Cost Center code can be used as a reference field.
- Click Save when you’re done with the setup.