Overview
Zapier is an automation platform that can connect Sellercloud to other cloud services and streamline data flow between them. It acts as the middle layer between apps, detecting events in one system and automatically carrying out tasks in another. For Sellercloud users, this means you can extend the platform far beyond its native integrations, automate routine work, and keep external tools in sync without manual intervention. You can connect Sellercloud to CRMs, project management tools, communication platforms, and spreadsheets, among more than 8,000 services overall.
This is how Zapier works:
- At the core of Zapier are Zaps: simple, rule-based workflow automations. Once a Zap is turned on, it handles repetitive tasks for you.
- Each Zap starts with a Trigger, an event in one app that tells Zapier something has happened.
- Zapier then performs one or more Actions in other apps based on that Trigger.
Integrate Zapier
To connect Zapier to Sellercloud:
- Log in to your Zapier account.
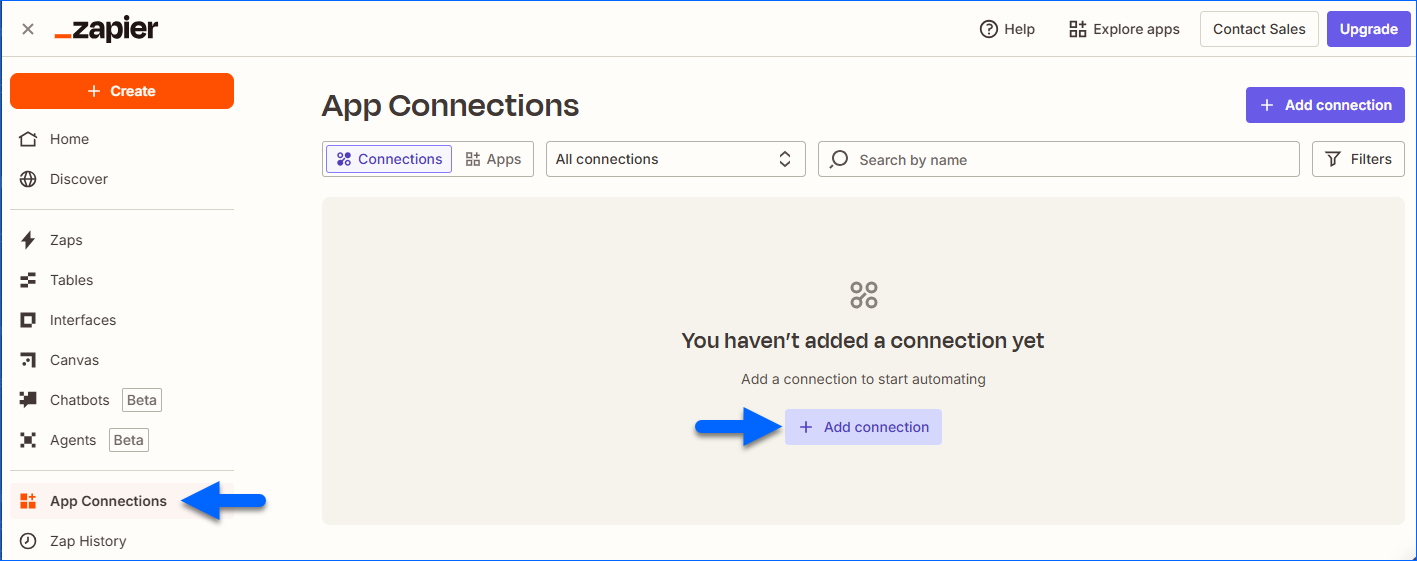
- Select App Connections in the left sidebar.
- Click the Add connection button.
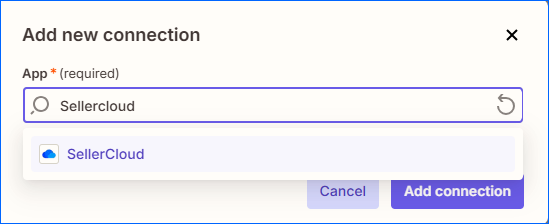
- Search for Sellercloud and select it when it appears, then click Add connection.
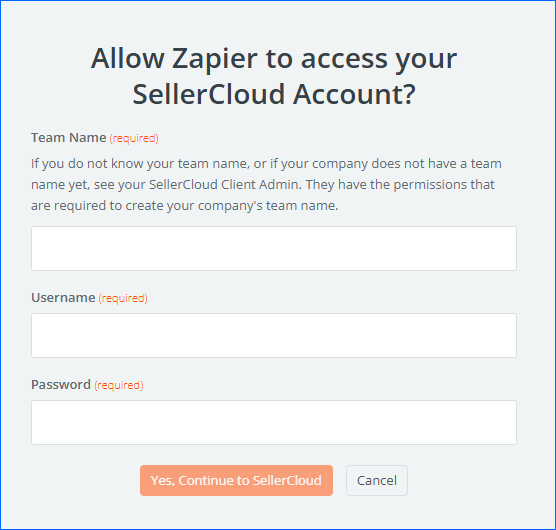
- Enter your Team Name and login credentials to connect your Sellercloud account to Zapier.
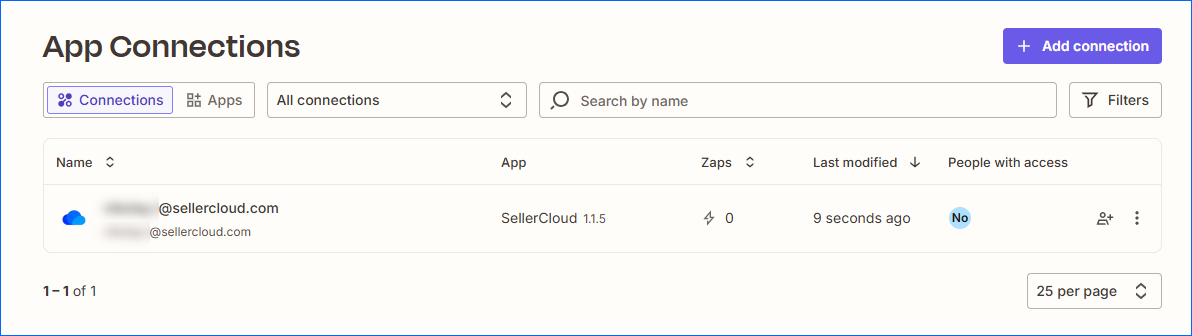
- If you are successful, your connected account will appear next to the Sellercloud app on the App Connections page. You can now Create Zaps with Triggers and Actions that take place in Sellercloud.
Create Zaps
Creating a new Zap requires no coding knowledge; Zapier will walk you step-by-step through the setup. You can also add various Premade Integrations.
To create a new Zap:
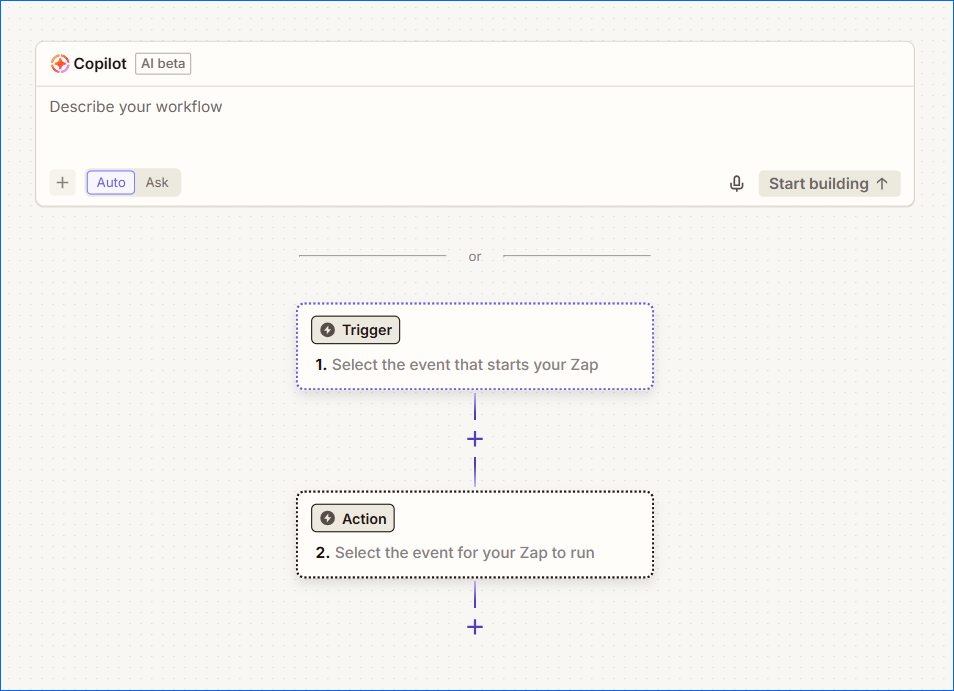
- Click the Create button in the left sidebar and select Zaps.
- Optionally, you can describe your workflow in the Copilot window, and the AI will start creating the automation for you step by step.
- To set up the Zap manually, click the Trigger.
- Select the App where the Trigger occurs, and then select the Event. If you have already connected your Account in that App to Zapier, it may be preselected; if not, you must connect it now.
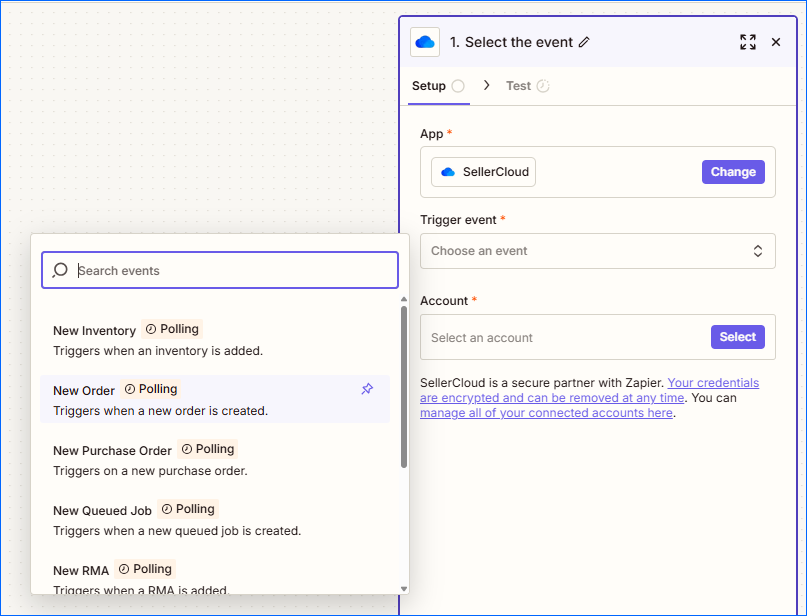
- Click Continue.
- Next, you can Configure the available options for the Trigger. When ready, click Continue.
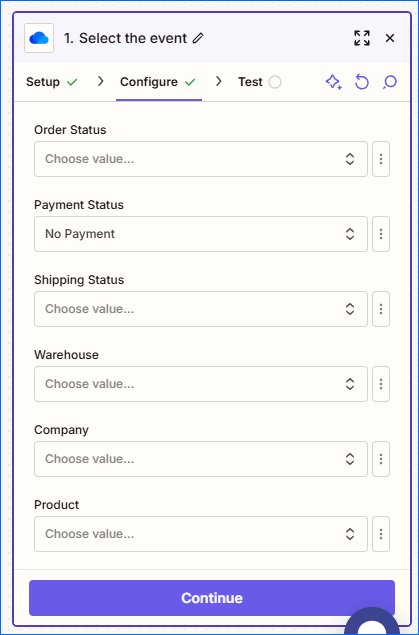
- Finally, click Test trigger.
- Next, you must set up your Action by selecting an Action event to run whenever the Trigger is activated.

- Click Continue, then Configure and Test your Action to make sure it works as expected.