Overview
Imagebridge is an intuitive image-upload tool integrated with Sellercloud through Web Services. With Imagebridge, you can seamlessly drag and drop images from your desktop directly onto a product in Sellercloud. Additionally, it offers built-in editing tools to help you enhance your images.
In this article, you will learn how to download and install Imagebridge on your computer.
Download and Install Imagebridge
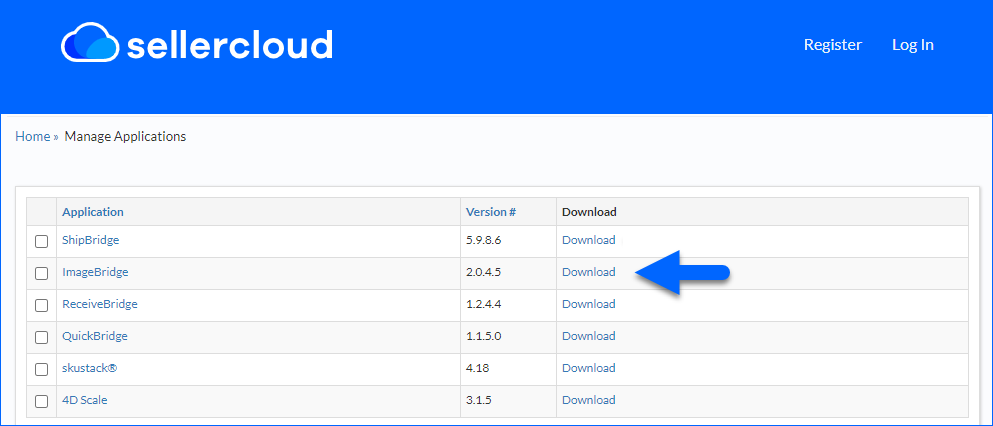
You can download the latest version from our Support Portal.
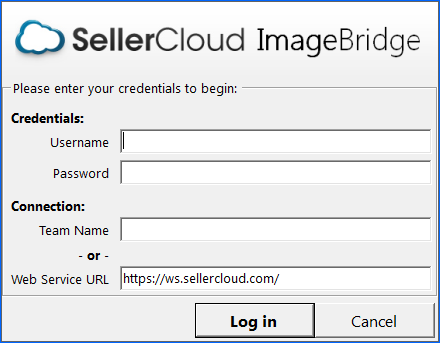
Next, follow the installation instructions and configure the application.
- Enter your Credentials:
- Sellercloud Username and Password
- Configure your Connection:
- Enter either your Team Name or Web Service URL.
- Click Log in.
The interface is simple and easy to use. On the left side, you can explore your local image files, retrieve images from various search engines, or directly capture images from any web page. On the right side, you can search for SKUs and work with the images.
You can import images either from a local folder on your computer or a Web Page. 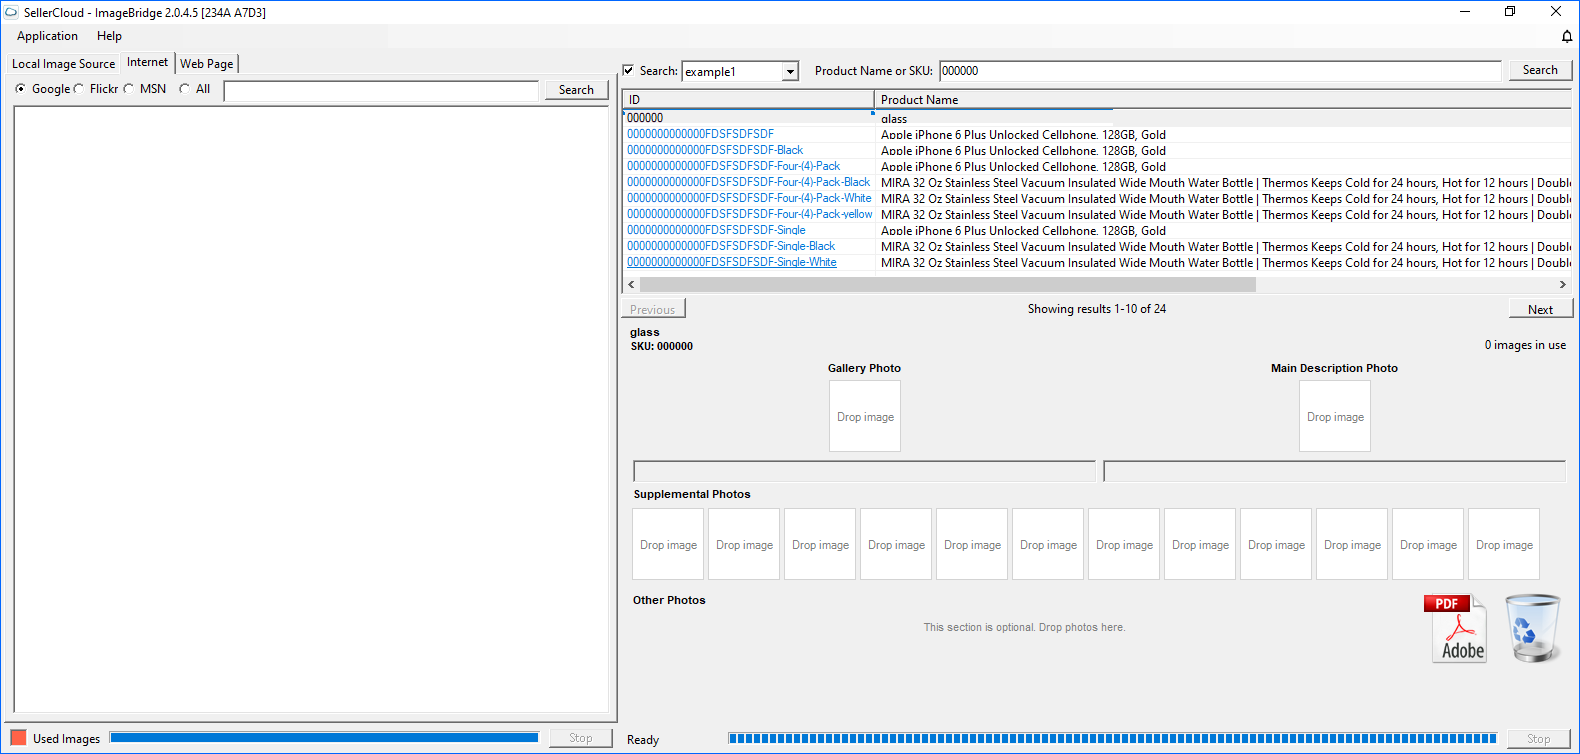
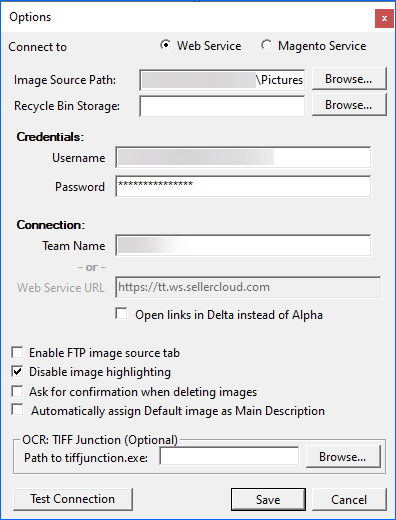
Application Options
Navigate to Application > Options. This panel provides you with the following settings: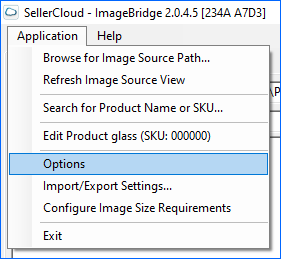
- Connect to – Web Service/Magento Service
- Image Source Path – Refers to the location on your computer where the image file is stored.
- Recycle Bin Storage – Select where your deleted images will be stored.
- Credentials – Your Sellercloud account’s username and password.
- Connection – Connection details.
- Open links in Delta instead of Alpha – Enable this to open all links in our Delta interface automatically.
- Enable FTP image Source tab – Enable this setting to be able to import images from an FTP server.
- Disable image highlighting – Enable this option to remove any image highlighting.
- Ask for confirmation when deleting images – Enable this setting to require users to confirm their actions before deleting images.
- Automatically assign Default image as Main Description – Enable this setting to automatically assign the Default image as the Main Description image.
- Path to tiffjunction.exe – Enter your tiffjunction path. TIFF Junction has an advanced OCR engine that converts TIFF images into PDFs with searchable text.
- Test Connection – Test your server connection.
Import and Export Settings
Navigate to Application > Import/Export Settings. The Import/Export Settings panel provides you with the following settings:
- Information
- Select whether you want to Export settings from this installation or if you’d like to Import settings from another installation. If you select to import settings from another installation, you need to select an existing .settings file from your computer.
- Export Settings
- Select where to export the settings file on your computer.
- Import Settings
- Select an existing .settings file to import from your computer.

- Select an existing .settings file to import from your computer.
Other Options
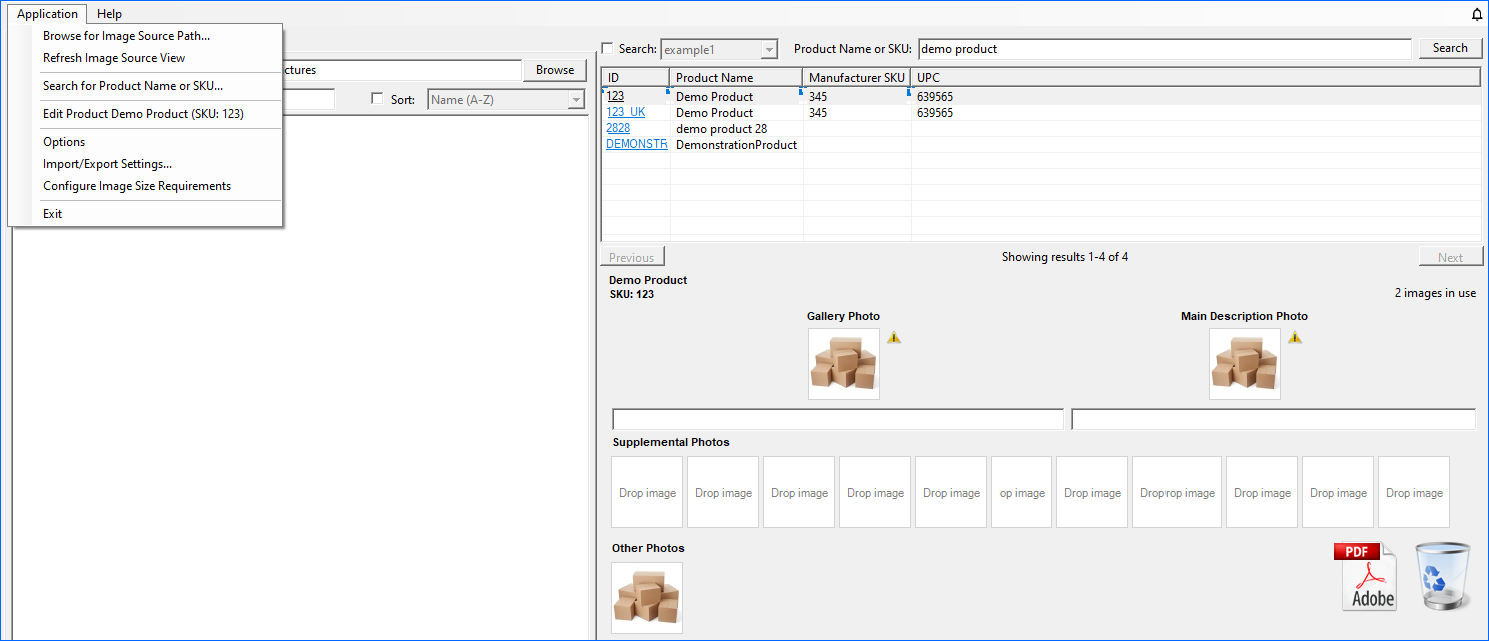
Other available options are: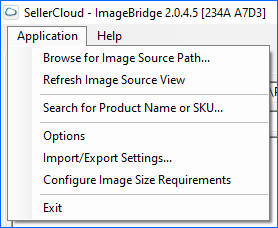
- Browse for Image Source Path – Select the Image Source Path on your computer.
- Refresh Image Source View – Refresh Images.
- Search for Product Name or SKU – Search for your products on the right side of the application.
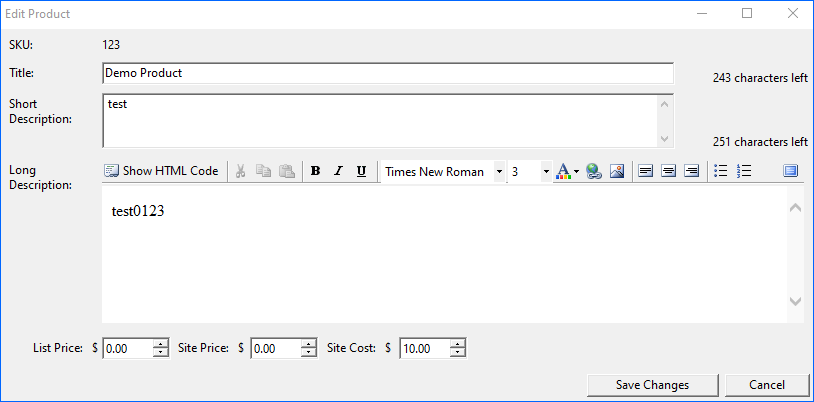
- Edit (Product Name) – This will open a panel, where you can edit your product title, short and long description, and price details.
- Options – Refer to the Application Options section above for a detailed explanation of each option.
- Import/Export Settings – Refer to the section below to learn more about the Import and Export options.
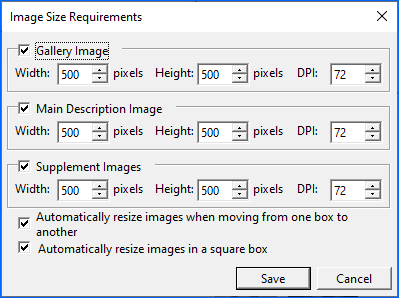
- Configure Image Size Requirments – This will open a panel where you can configure your image size requirements.
- Exit – Exit the application.
Edit Images
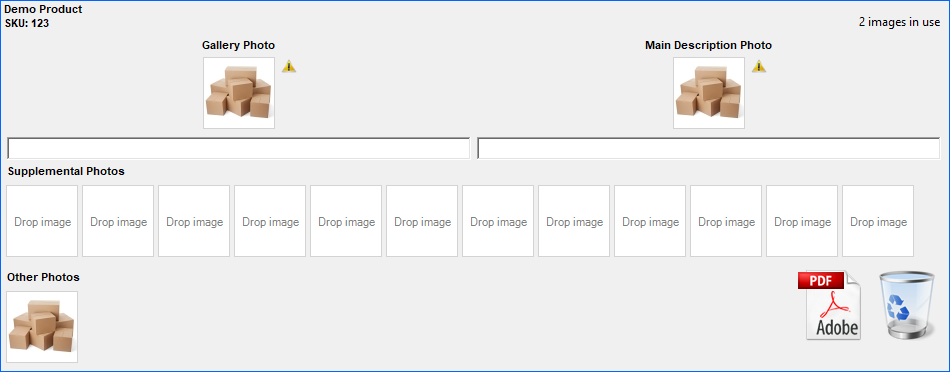
Once you search for a product, on the right side of Imagebridge, you can see its Gallery Photo, Main Description Photo, or all Supplemental Images. You have the option to import or delete an image. You can also see how many images are currently in use. In the grid, you will see the image ID, associated product’s Name, UPC, and Manufacturer SKU.
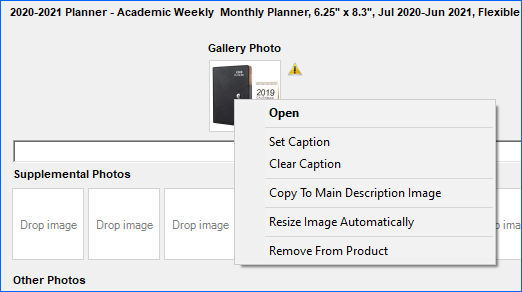
Right-click on the image to configure the following:
- Set Caption – Apply image caption.
- Clear Caption – This option will clear the set image caption.
- Copy To Main Description Image – This option will replace the main description photo.
- Resize Image Automatically – This option will resize the image to fit the set size requirements.
- Remove from Product – Remove the image from the product.
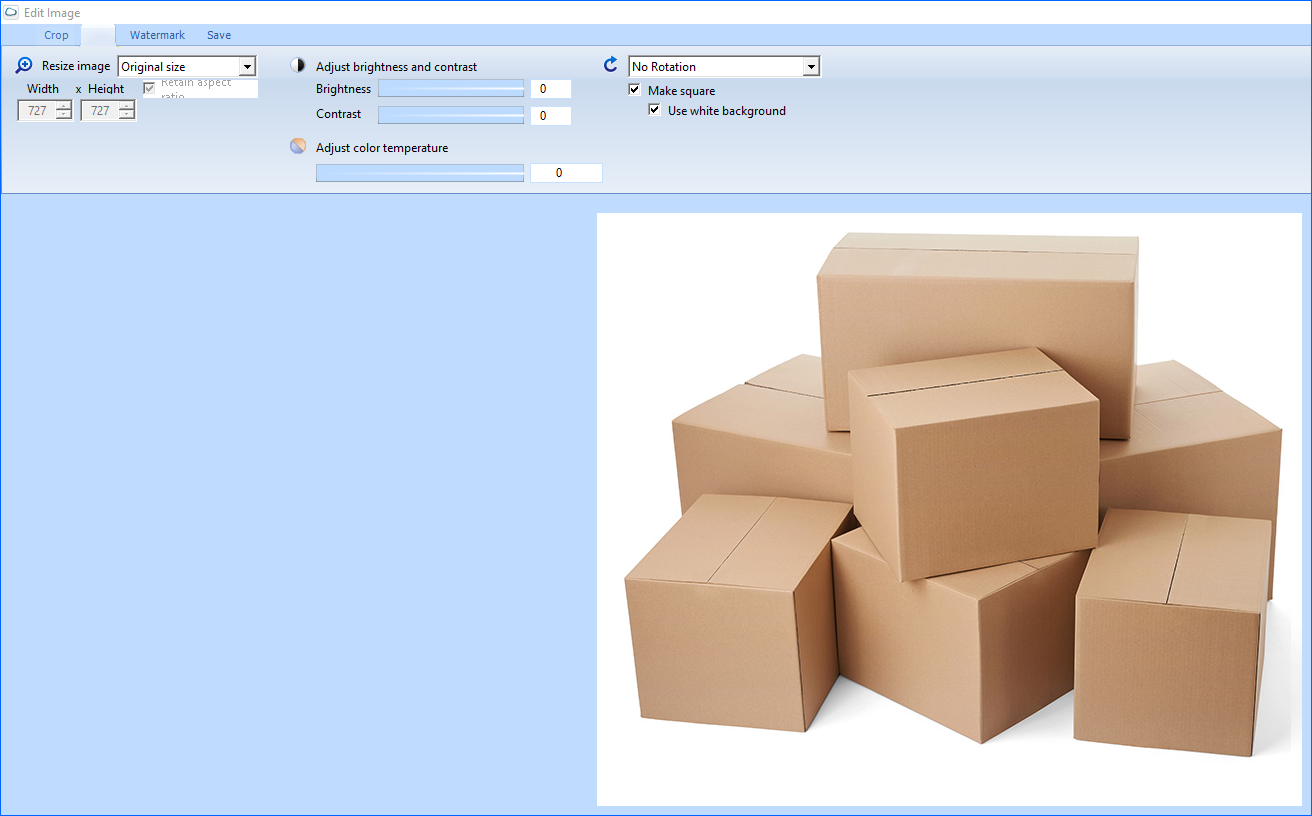
Once you select the image, on the right side of the application you can see its address and you have the option to Crop, Edit, and Watermark.
Click on Edit, to see and alter your image properties, such as Width and Height, Brightness and Contrast, Color Temperature, Rotation configuration, resizing to a square format, and selecting a white background.