Overview
Power BI is Microsoft’s interactive data visualization and analytics tool for Business Intelligence (BI). It can pull data from cloud systems such as Sellercloud and then create dashboards, data visualizations, and reports, and even embed them into reporting portals you already use. It allows you to quickly access the data you need and view and present it in ways that are easy to understand.
For a more in-depth overview, see our Overview of Power BI.
Prerequisites
The Power BI integration only works on dedicated servers. If you are on a shared server, you must upgrade to a dedicated one. You also need a VPN account to connect to the SQL server with read-only access.
Contact Sellercloud Support and request:
- To install the VPN connection and receive credentials for connecting to the network.
- To install the required Sellercloud components on your SQL server instance, including Stored Procedures (PBI schema) and Scheduled Tasks that together create and update the summary data (PBI schema tables) needed for Power BI reports and dashboards.
Download and Install Power BI
To download and install Power BI:
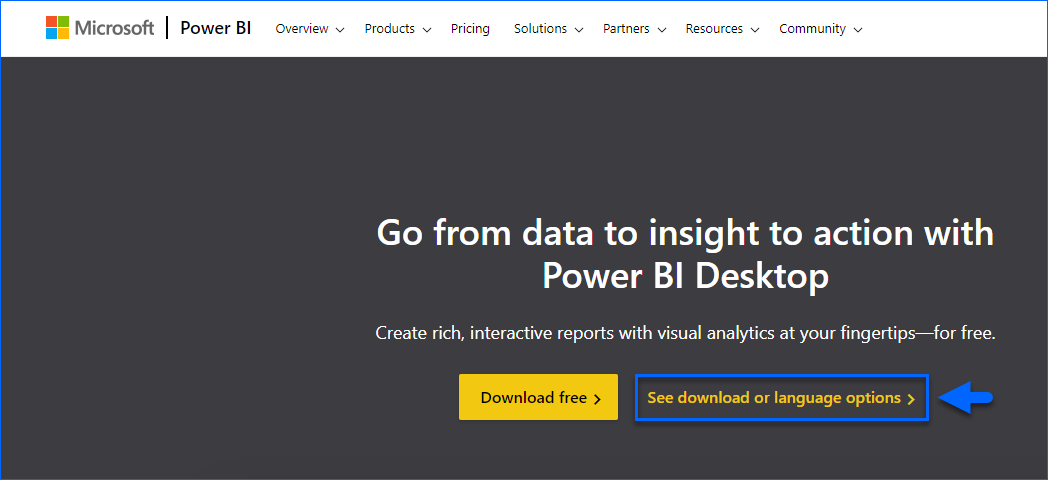
- Go to https://powerbi.microsoft.com/en-us/desktop/.
- Click See Download or Language Options.
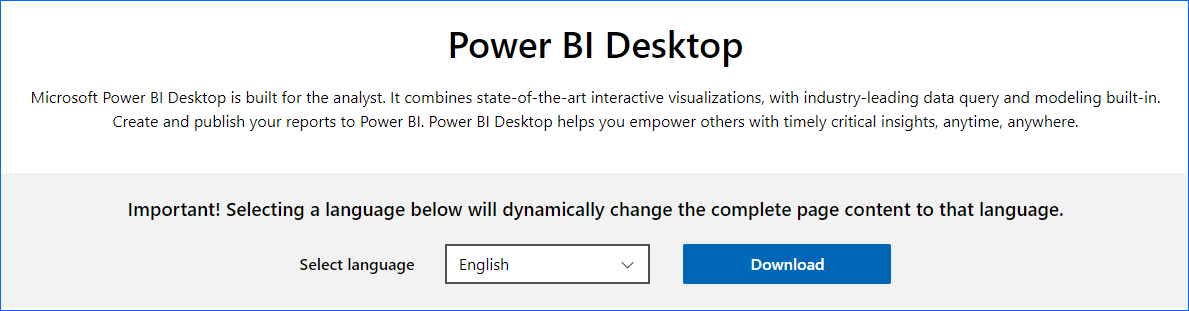
- Select your language and click Download.
- Select PBIDesktopSetup_x64.exe and click Download.
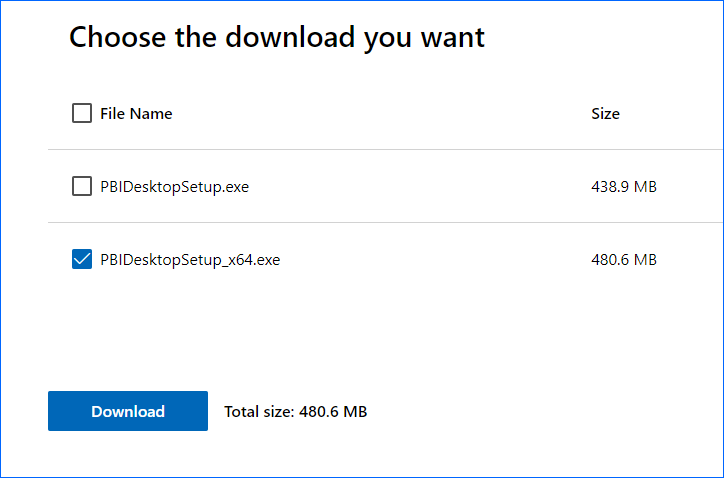
- Run PBIDesktopSetup_x64.exe to install Power BI.
Use the Sellercloud Sales Template
To use the Sellercloud Sales template for Power BI:
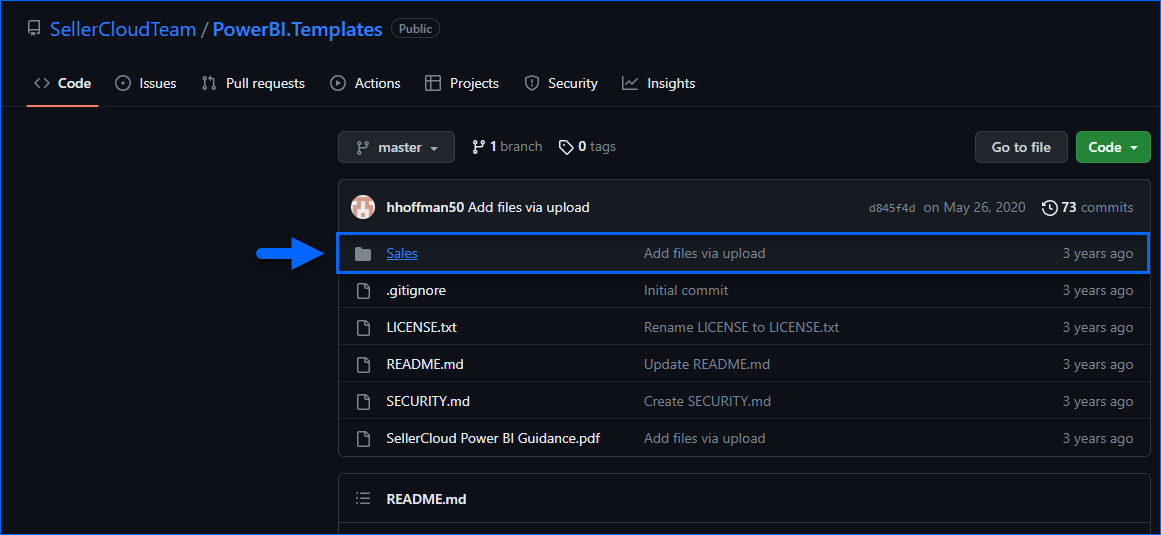
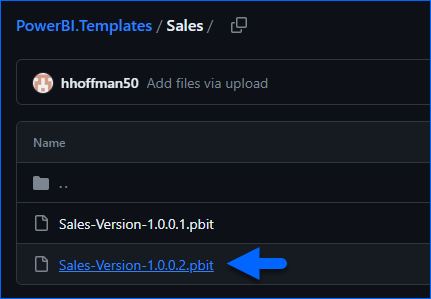
- Go to https://github.com/SellerCloudTeam/PowerBI.Templates/tree/master and click the Sales folder.
- Select the latest version of the Sellercloud Sales Template file.
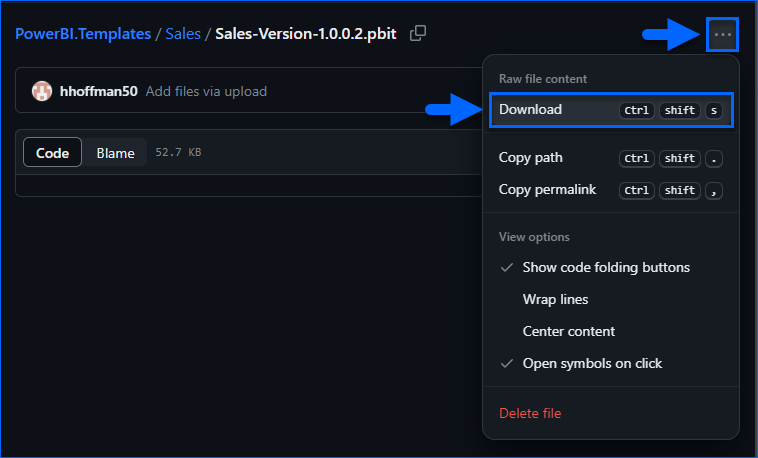
- Click the three dots icon on the right and select Download to download the file to your computer.
- Next, double-click the template file to open it in Power BI.
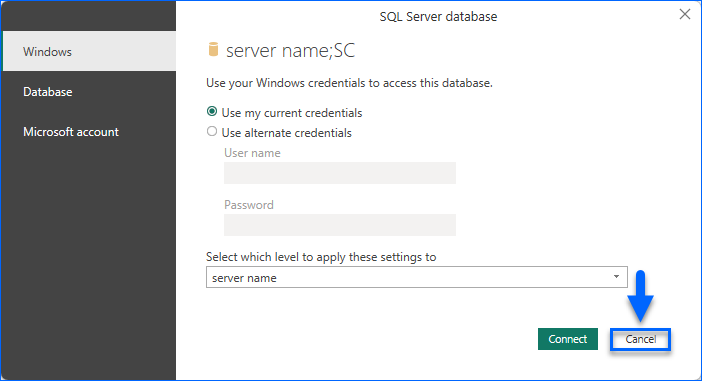
- When you open the template file, click the Cancel button on the SQL Server Database window. You may have to wait a little before it appears.
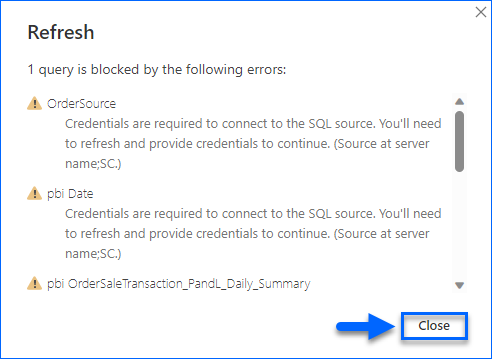
- Click Close on the Refresh window.
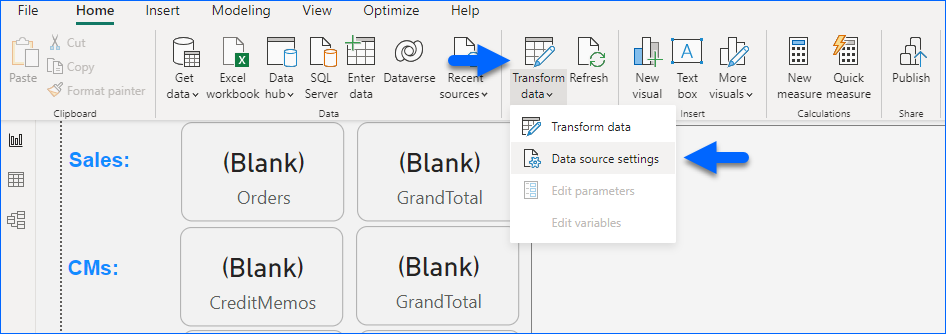
- Select Transform data from the Home menu and then select Data Source Settings.
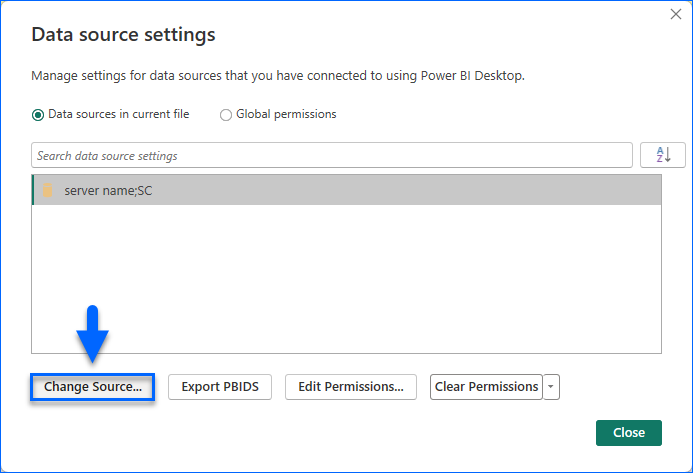
- Click Change Source.
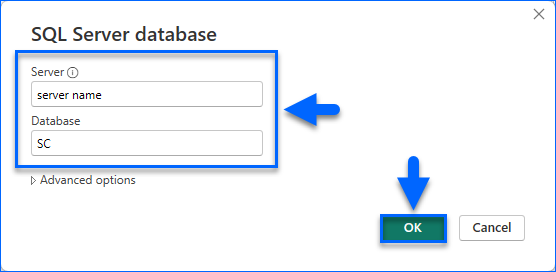
- Enter your server’s IP address into the Server ID field and the Database name (usually SC), and click OK.
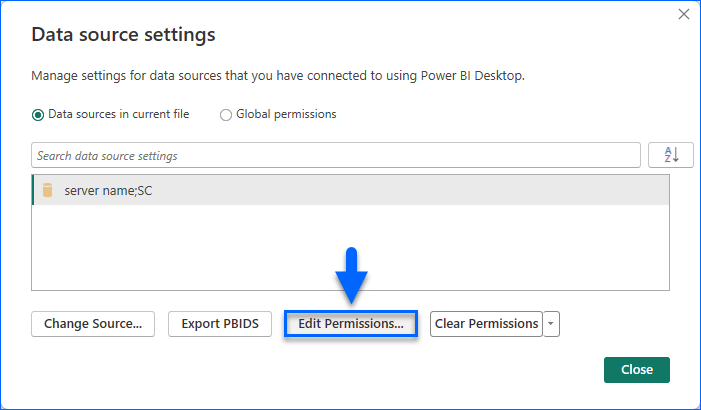
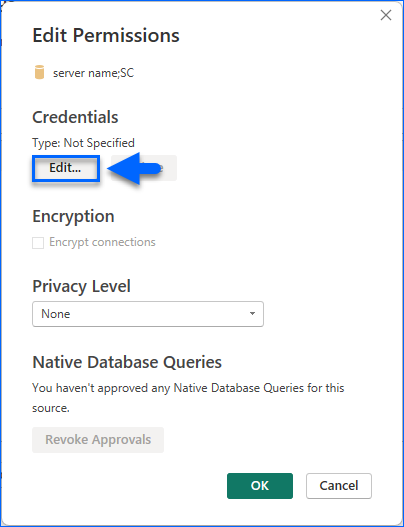
- Click Edit Permissions.
- Under Credentials, click Edit.
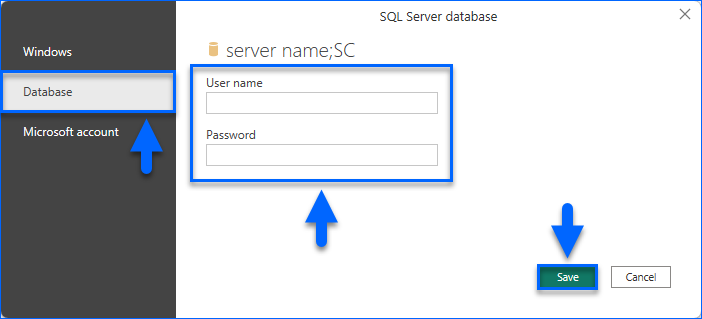
- Select the Database tab, then enter the user credentials for the SQL Server provided by Sellercloud Support, then click Save.
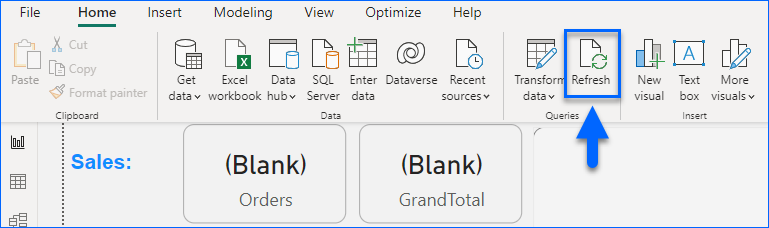
- Click OK and then click Refresh to import data from the SQL Server.
You can change and customize the existing template reports or create new reports.
You should save your changes and data to a file named Sales.pbix.