Overview
Brands serve as distinctive labels that identify products, services, or companies, creating a recognizable and trustworthy image for consumers. They represent a consistent identity and set of values in the marketplace.
You can add brands in Sellercloud and assign them to products individually and in bulk. They are essential for channels like Amazon, where brand information is required.
Configure Brands
In Sellercloud, you can add new brands individually or in bulk.
Individually
To add a new brand:
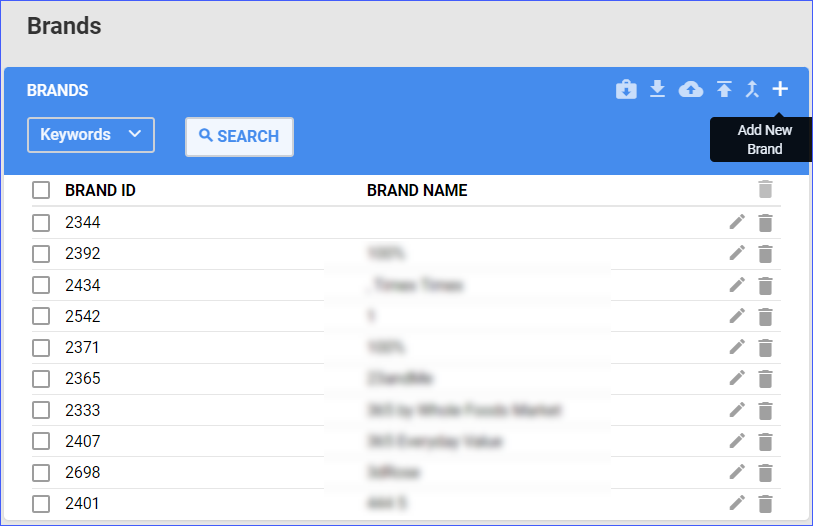
- Navigate to Settings > Client Settings > Brands.
- Click the + icon to add a new brand.
In Bulk
To add multiple brands:
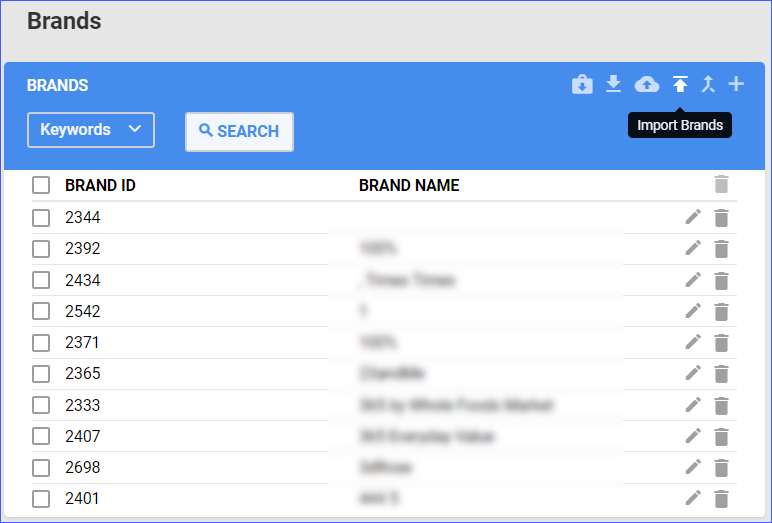
- Navigate to Settings > Client Settings > Brands.
- Click the Import Brands icon.
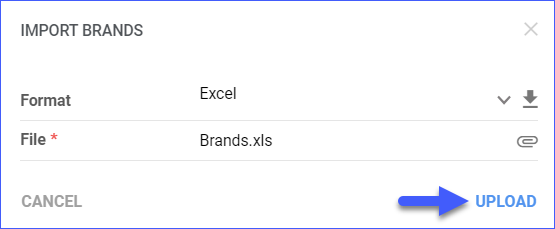
- Download the template and populate the fields.
- BrandName
- Go back to Sellercloud and upload the file.
Manage Brands
In Sellercloud, you can manage brands per channel, as well as merge, export, and edit brand information. If a particular brand becomes obsolete, you can simply delete it. This can be done either individually or in bulk.
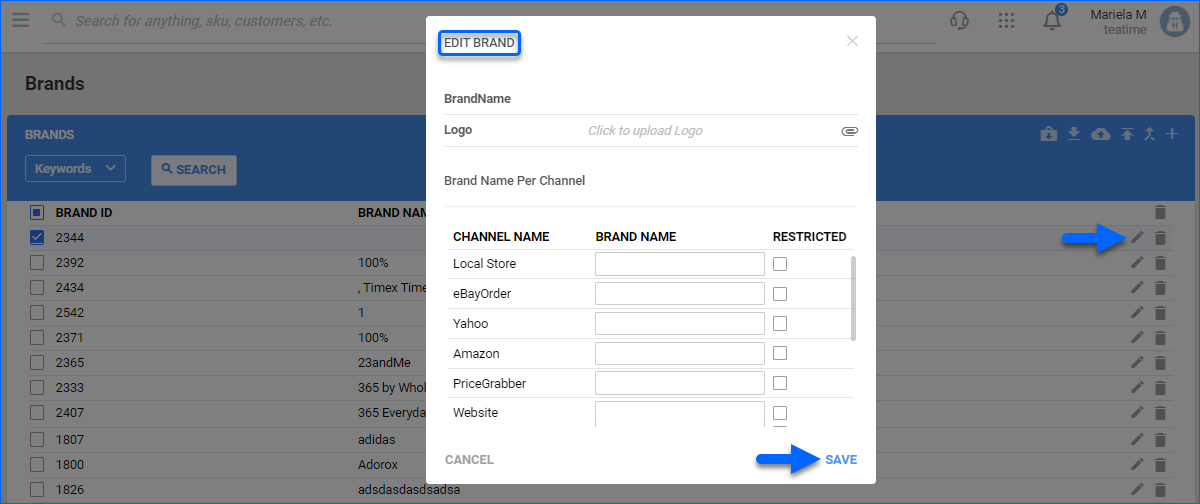
Brand Name Per Channel
You have the flexibility to map your Sellercloud brand names to the appropriate brands for the channels of your choice.
- Go to Settings > Client Settings > Brands > Select a Brand.
- Click Edit > Enter the desired Brand Name information for the channels of your choice > Save.
Export Brands
You can either export all brands at once or select specific ones and export their respective information. These actions will generate an Excel sheet with Brand ID and Brand Name.
Navigate to Settings > Client Settings > Brands, where you will find the Export actions in the upper-right corner of the grid. 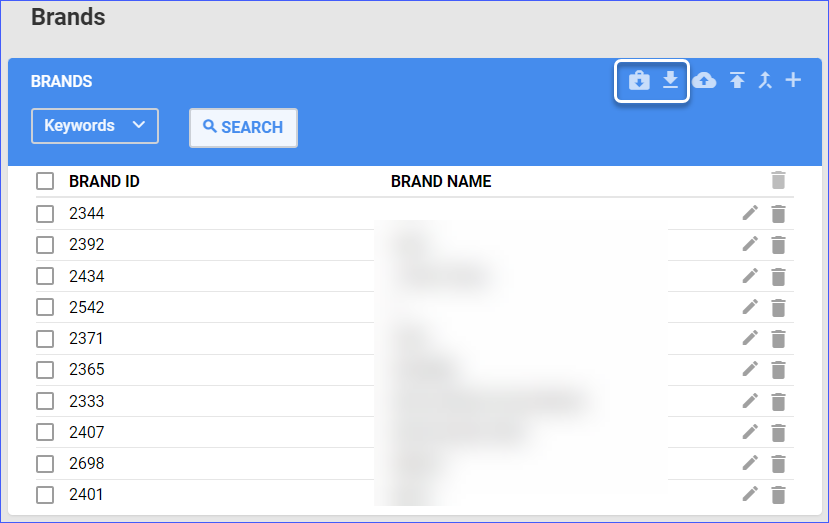
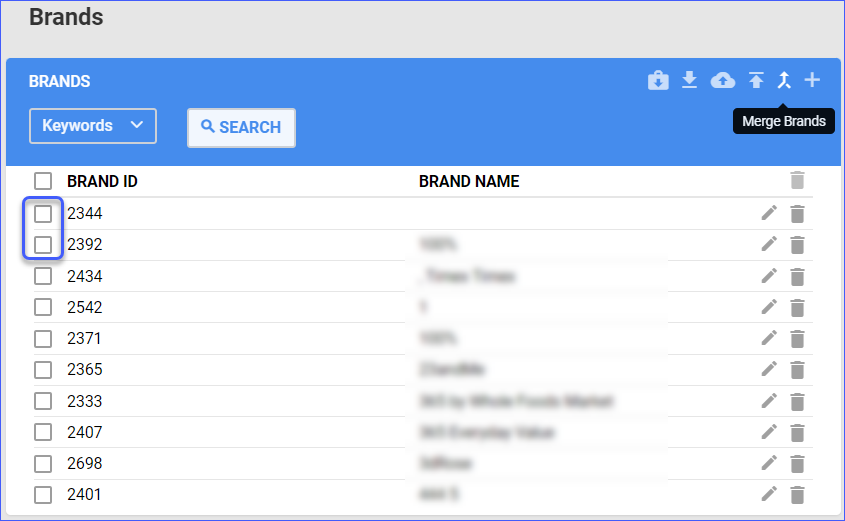
Merge Brands
Consolidate and update information by merging brands to prevent confusion and errors caused by duplicate versions of the same data.
To merge brands:
- Navigate to Settings > Client Settings > Brands.
- Select Brands from the grid and execute the Merge Brands action.
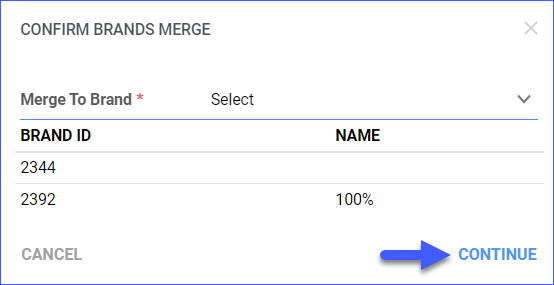
- A pop-up message will appear.
- Select Merge to Brand and click Continue.
You can also select the action Upload Merged Brands, where a pop-up message will appear. Download the template, populate the information, and upload it back to Sellercloud.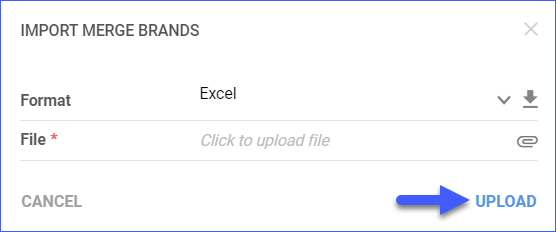
If you no longer use certain brands, you can delete them by selecting one or multiple brands from the grid and clicking the Trash can icon.
Configure Brands for Products
You can associate brands with products individually or in bulk.
Individually
To add a brand for a product:
- Go to Catalog > Manage Catalog > Open a product.
- Click Edit and go to the Details panel.
- Select a Brand and click Save.

In Bulk
To set a brand for multiple products:
- Navigate to Catalog > Tools > Import Product Info.
- Bulk Product Update > Generate Template.
- Select BrandName and BrandID as product columns.
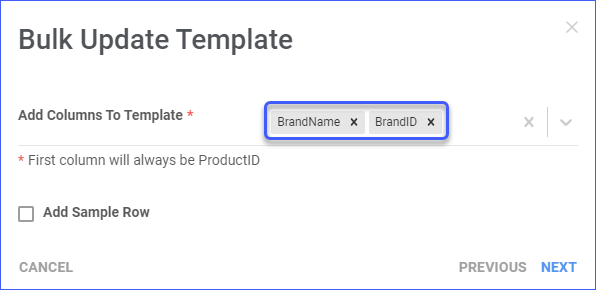
- Download the template and populate the fields.
- Go back to Sellercloud and upload the file.
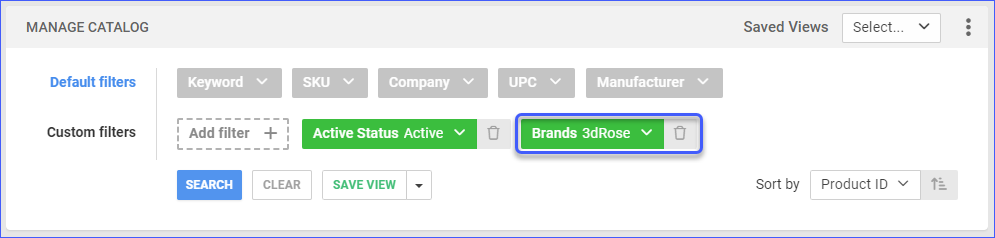
Filter Products by Brand
You can search for products on the Manage Catalog Page by Brands
- Navigate to Catalog > Select Brands from the Custom Filters.
- Click Search.
Relevant Client Settings
The following client settings are available:
- Override Product Brand From Item Specifics
- This setting allows you to replace the product brand information with the values specified in the item specifics, overriding any existing brand data.
- This setting allows you to replace the product brand information with the values specified in the item specifics, overriding any existing brand data.
- Send Brand As Vendor To Shopify
- Enable this setting to send the product’s brand information to Shopify as the Vendor.
- Stop Using Brands (Use Manufacturer As Brand)
- Enable this setting to stop using individual brands and instead use the manufacturer as the default brand for all products.