Overview
Quickbridge is a desktop application that syncs your Sellercloud data with QuickBooks and helps you accurately assess your overall profitability. In this article, you will learn how to download and install Quickbridge on your computer.
Prerequisites
Before installing Quickbridge, make sure you meet the following requirements:
- Operating System – Windows 7 or later
- RAM – 2 GB
- Hard Disk Space – 23 MB
- CPU – Dual-core 2GHz
Download Quickbridge
You can download the latest version from our Support Portal.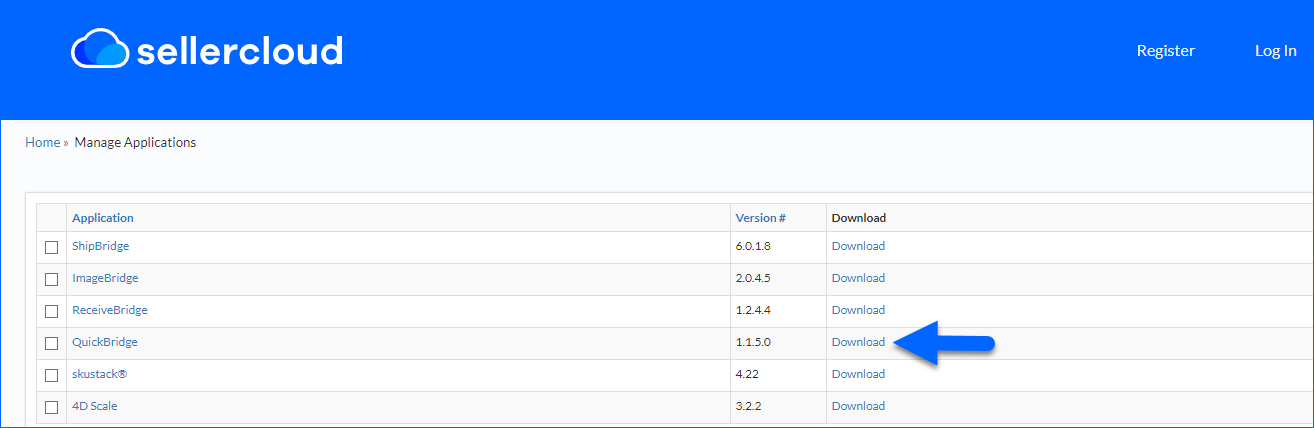 Only the most recent version is displayed on this page. If you need an older version, click the application name to see the Release History. You will see details about current and previous releases, including the version number, release summary, and release date. The latest version is always shown on the top row.
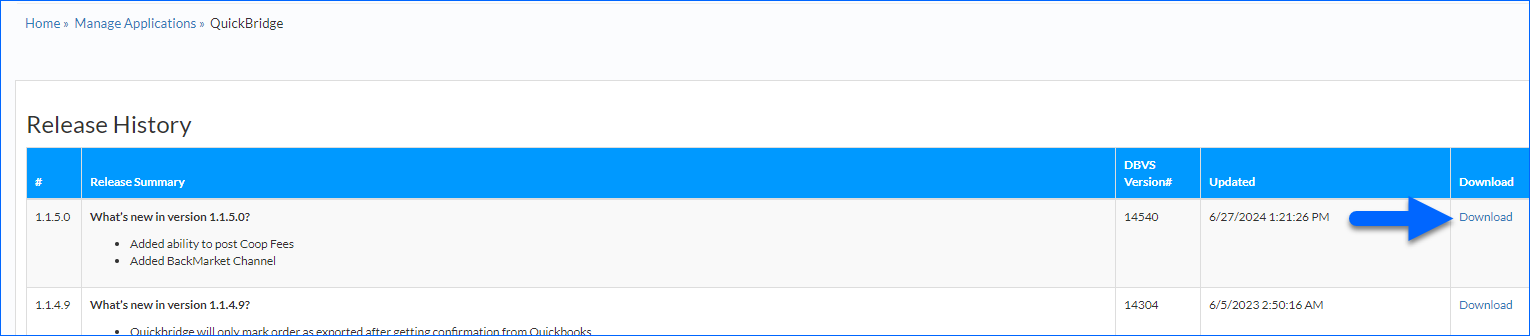
If the Quickbridge version you are trying to log into is not compatible with your server’s Sellercloud version, Quickbridge will prompt you to download and install a specific version before you can log in.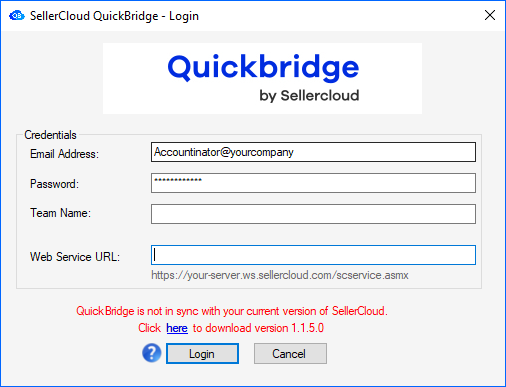
Install Quickbridge
To install Quickbridge on your computer, refer to the steps below:
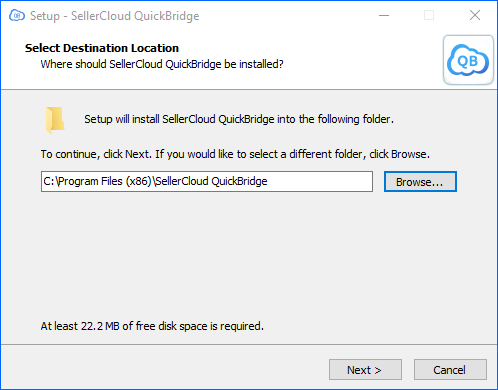
- Run the QuickbridgeSetup-<version>.exe file. The Setup window will pop up.
- Select the destination folder where Quickbridge should be installed.
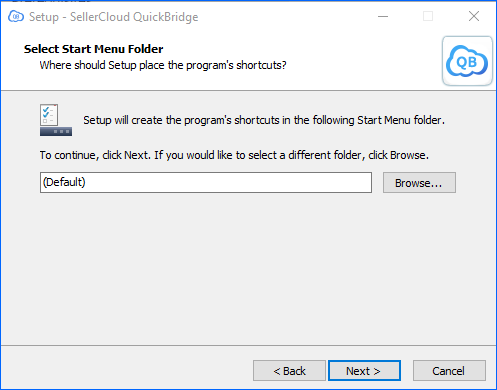
- Select the Start Menu folder that will contain the program’s shortcuts.
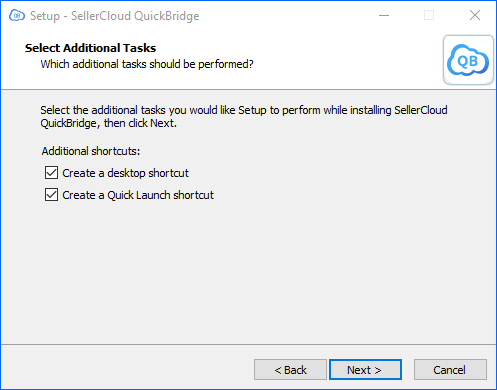
- In Select Additional Tasks, both shortcut options are checked by default. If needed, you can uncheck them. Click Next.
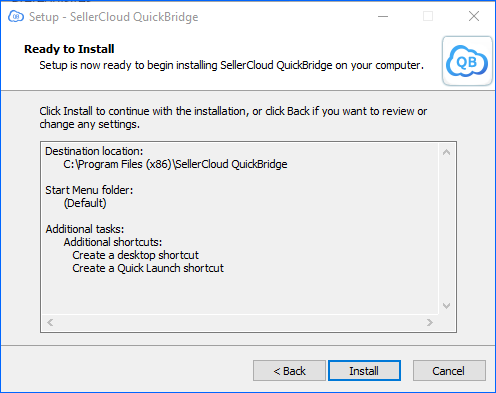
- Verify the options configured during the previous steps > Install
Log in
To log into Quickbridge:
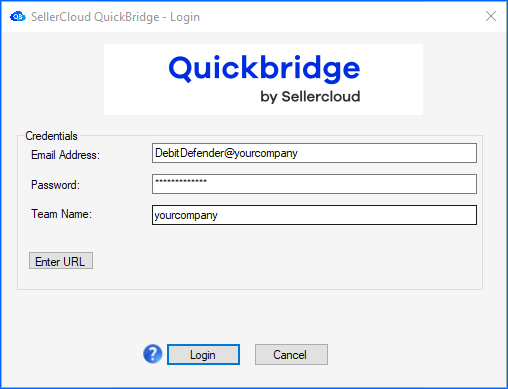
- Open the application and enter the following credentials:
- Email Address – Sellercloud email address.
- Password – Sellercloud password.
- Team Name – Your Sellercloud Team Name.
Note: Alternatively, you can enter your unique server URL (ex. https://your-server.ws.sellercloud.com/scservice.asmx) instead of the Team Name.
- Click Login.