Overview
Swappa is an online marketplace that specializes in used consumer electronics. Originally focused on smartphones, it has grown to include a wide range of devices such as laptops, tablets, smartwatches, gaming consoles, and home tech. Unlike other marketplaces, Swappa emphasizes safety and transparency by requiring listings to meet strict criteria. This helps protect both buyers and sellers from defective products.
Integrating Swappa into your Sellercloud account allows you to seamlessly import orders, upload tracking information, and ensure your listings are always up-to-date with the latest inventory and pricing data. The integration is fully hosted by Swappa and works through REST API, transmitting information between the two services.
Prerequisites
Before you can sync inventory and order information with Swappa, complete the following requirements.
In Sellercloud
- Team Name – Obtain your Sellercloud team name. If you don’t know your team name or your company does not have one yet, contact your onboarding representative or open a ticket with Sellercloud Support.
- Company – Create a dedicated Company for the integration. Note the ID.
- User Account – Configure a dedicated employee profile that you will use for API access. Note the Username (email address) and Password.
Create an Employee
API access requires credentials from an employee profile with the appropriate permissions.
- Follow the steps to Create an Employee.
- Assign the user to the dedicated Swappa company created previously.
- Grant Permissions to the account. The required permissions are:
- Catalog
- Inventory
- ProductType
- ProductGroups
- OrderGroups
- Company
- Warehouse
- RMA
- Order
- ActiveListings
- MappingTools
In Swappa
- Contact Swappa Support to request that the Sellercloud integration be activated on their side.
- In your Swappa account, go to Sellercloud Connection.
- Enter your Team Name, Company ID, and Employee information.
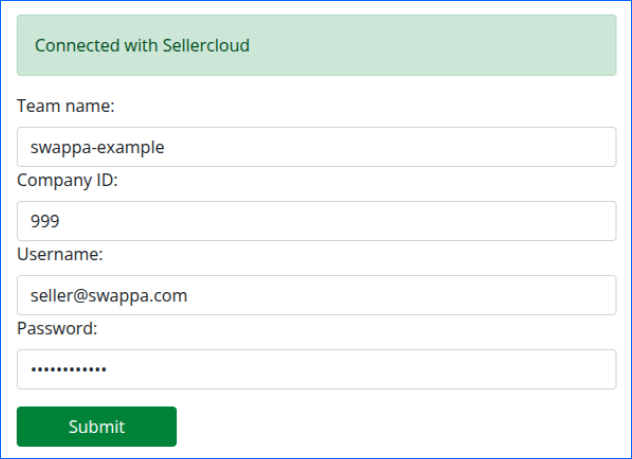
- Confirm that your credentials have been successfully authenticated.
Swappa Integration Process
The Swappa integration process works as follows:
Listings & Inventory
- Swappa listings use the Seller Ref field to match against Sellercloud SKUs.
- Listings with a valid mapping are updated approximately every 5 minutes.
- The listing price in Swappa is updated using the product’s Site Price in Sellercloud.
- The quantity in Swappa is updated using the product’s Available Quantity in Sellercloud.
Orders & Tracking
- Swappa sends orders to Sellercloud in real time.
- Order status updates occur approximately every 5 minutes.
- Tracking syncs both ways approximately every 5 minutes. This means that tracking added in Swappa is sent to Sellercloud, and tracking added in Sellercloud is imported into Swappa.