Overview
You can integrate Amazon Ads and Walmart Connect accounts into Clocklocked. After connecting a channel ads account, its profiles, along with their associated campaign data, will be automatically imported.
In addition, Clocklocked can be integrated with Sellercloud to include advertising costs and maintain accurate profit and loss data. Once you connect a channel ads account, you can map each of your profiles to a Sellercloud company.
Connect a Channel Ads Account
After you Sign Up for Clocklocked, the next step is to connect your channel ads accounts. Once connected, your accounts’ profiles and their associated campaign data will be imported to Clocklocked automatically.
To connect an account to Clocklocked:
- Click Add Account.

- Select a Channel from the menu.
- If you select Amazon, you also have to choose the Marketplace.
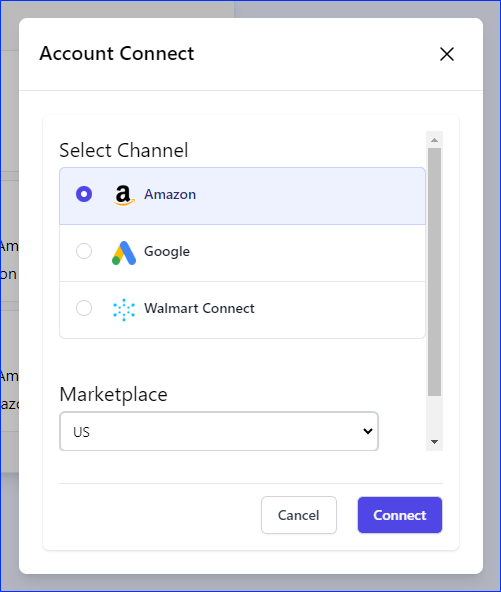
- If you select Amazon, you also have to choose the Marketplace.
- Click Connect.
- You will be prompted to log into your account and authorize Clocklocked to access your ad data.
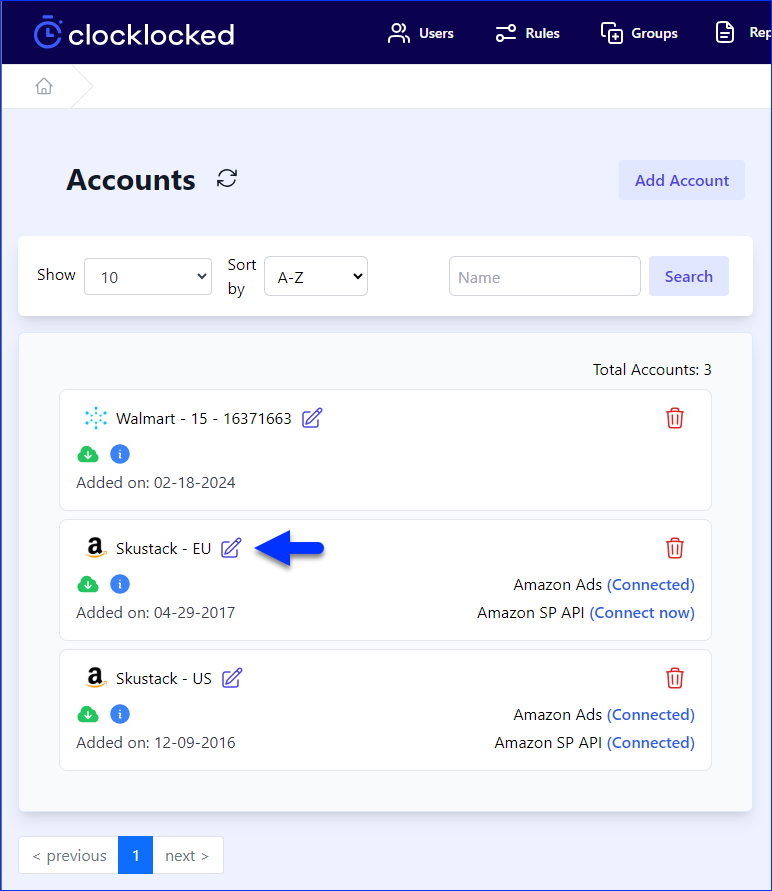
- Click the Home icon to return to the home page, where you will see the account you just connected. The cloud icon will turn yellow while syncing and green when it is done.
- For Amazon accounts, you will also see if the Amazon SP API is connected. If not, you can click Connect now to connect it.
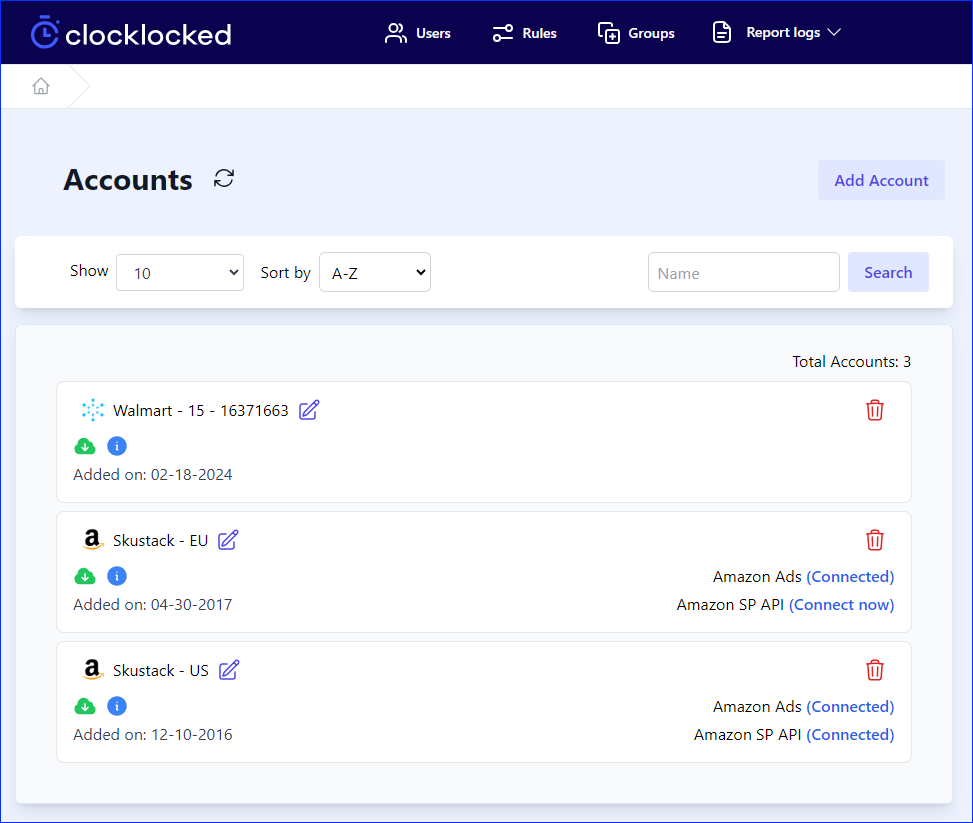
- For Amazon accounts, you will also see if the Amazon SP API is connected. If not, you can click Connect now to connect it.
- Optionally, you can click the Edit icon to rename an account.
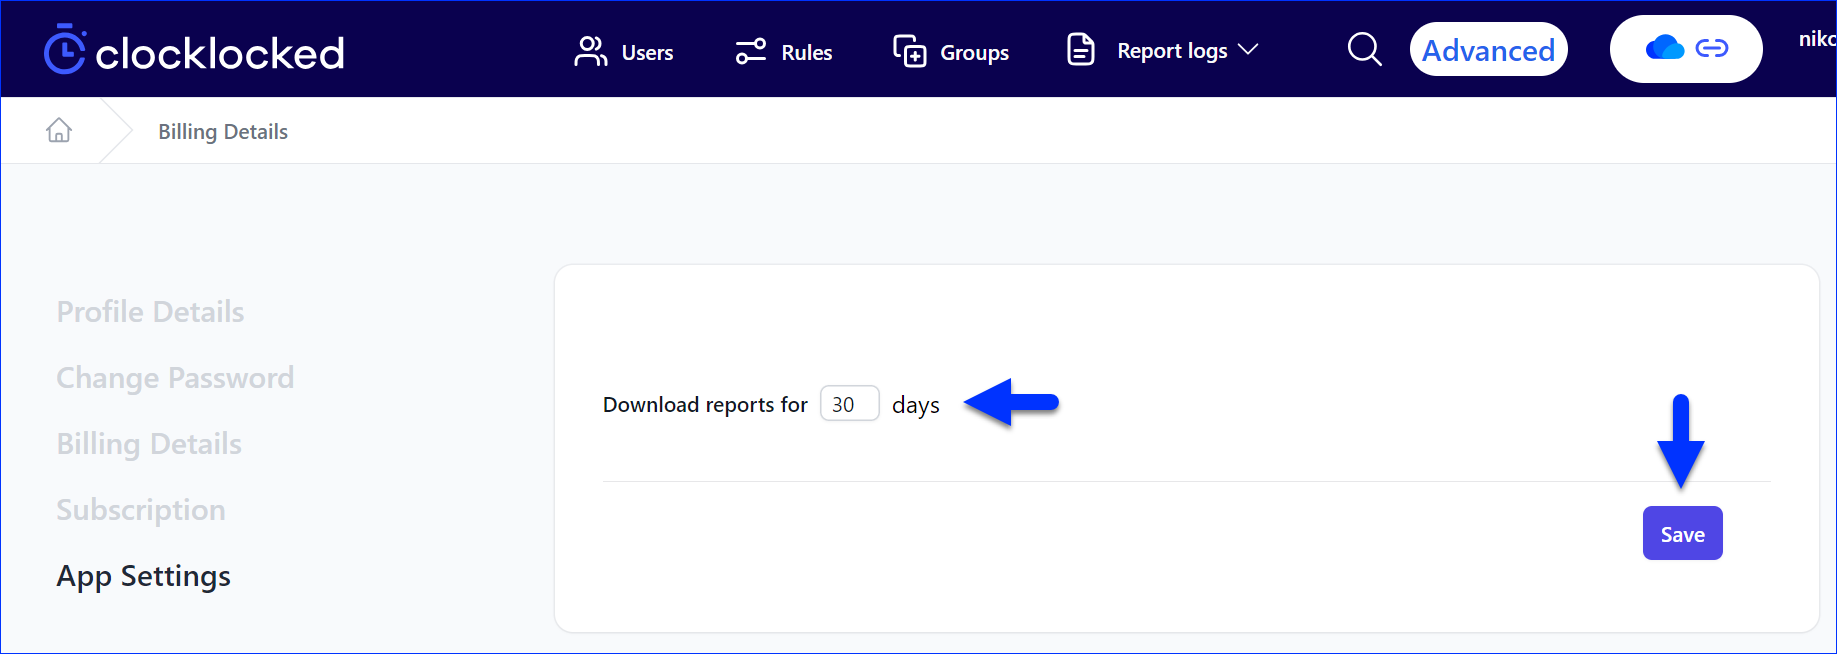
Report Download Time Range
You can specify the time range for which the data of your connected channel ads accounts is going to be imported into Clocklocked. By default, it will be the last 30 days, but you can adjust it to up to 90 days.
To update the time range:
- Click on your account at the top right corner and select App Settings.
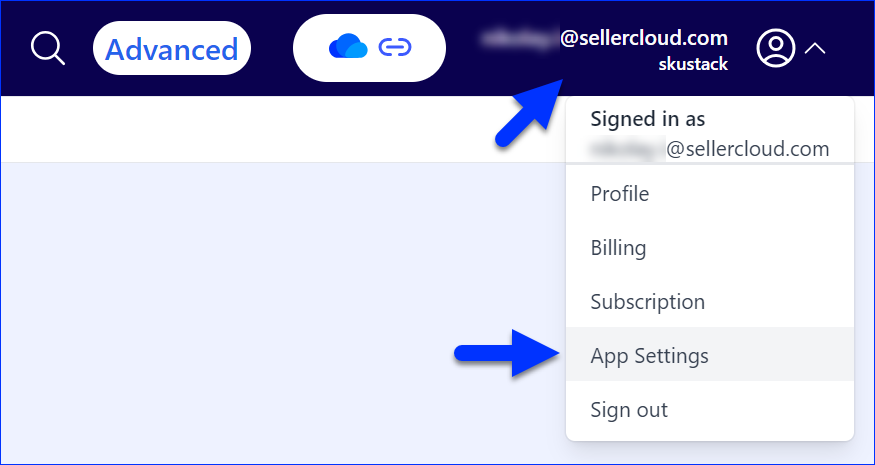
- Update the Download reports for X days setting and click Save.
Map Profiles to Companies
Connecting Clocklocked with Sellercloud helps you maintain accurate profit and loss data by importing the costs of advertising. Each profile on a channel ads account must be mapped to a single Sellercloud company. A channel ads profile can only be mapped to a single company at a time.
To connect each profile to a Sellercloud Company:
- On the Clocklocked home page, click the connected account under Accounts.
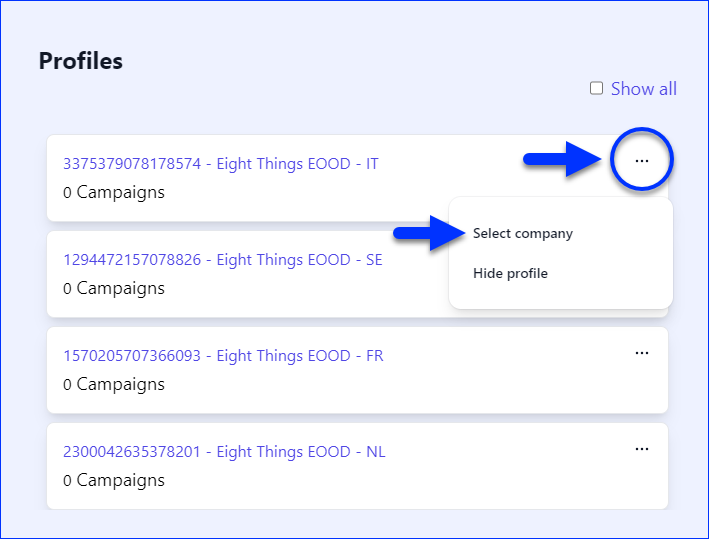
- Click the Three dots icon next to a profile.
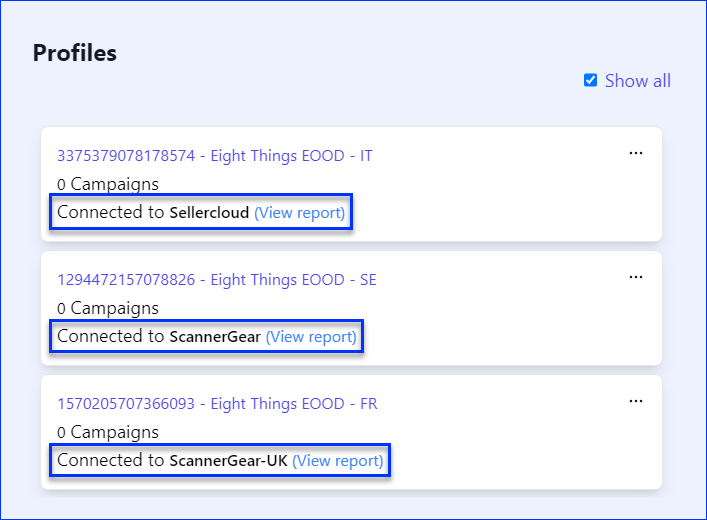
If you don’t see the profile, enable the Show all checkbox. - Click Select company.
- Select the company and click Save.
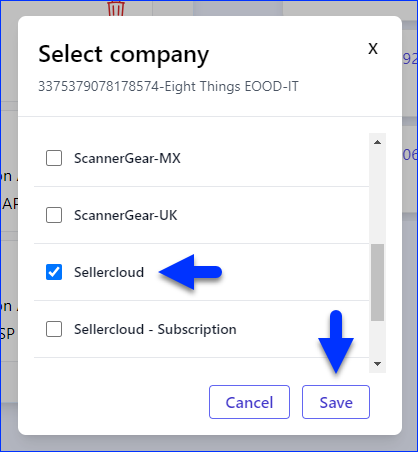
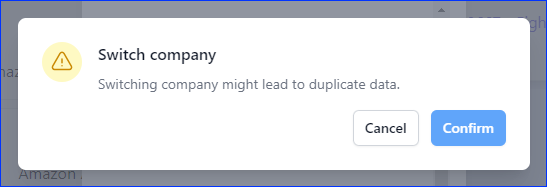
- If you are switching from one company to another, note that this may create duplicate data. Click Confirm to proceed, or contact Sellercloud Support for more information.
- If you are switching from one company to another, note that this may create duplicate data. Click Confirm to proceed, or contact Sellercloud Support for more information.
- Once your profiles are mapped to companies, you’ll be able to see these details in the Profiles list.
Send Data to Sellercloud
To send your ads’ associated profit and loss data to Sellercloud:
- Click the Sellercloud Connection icon at the top right corner.
- Click Edit.
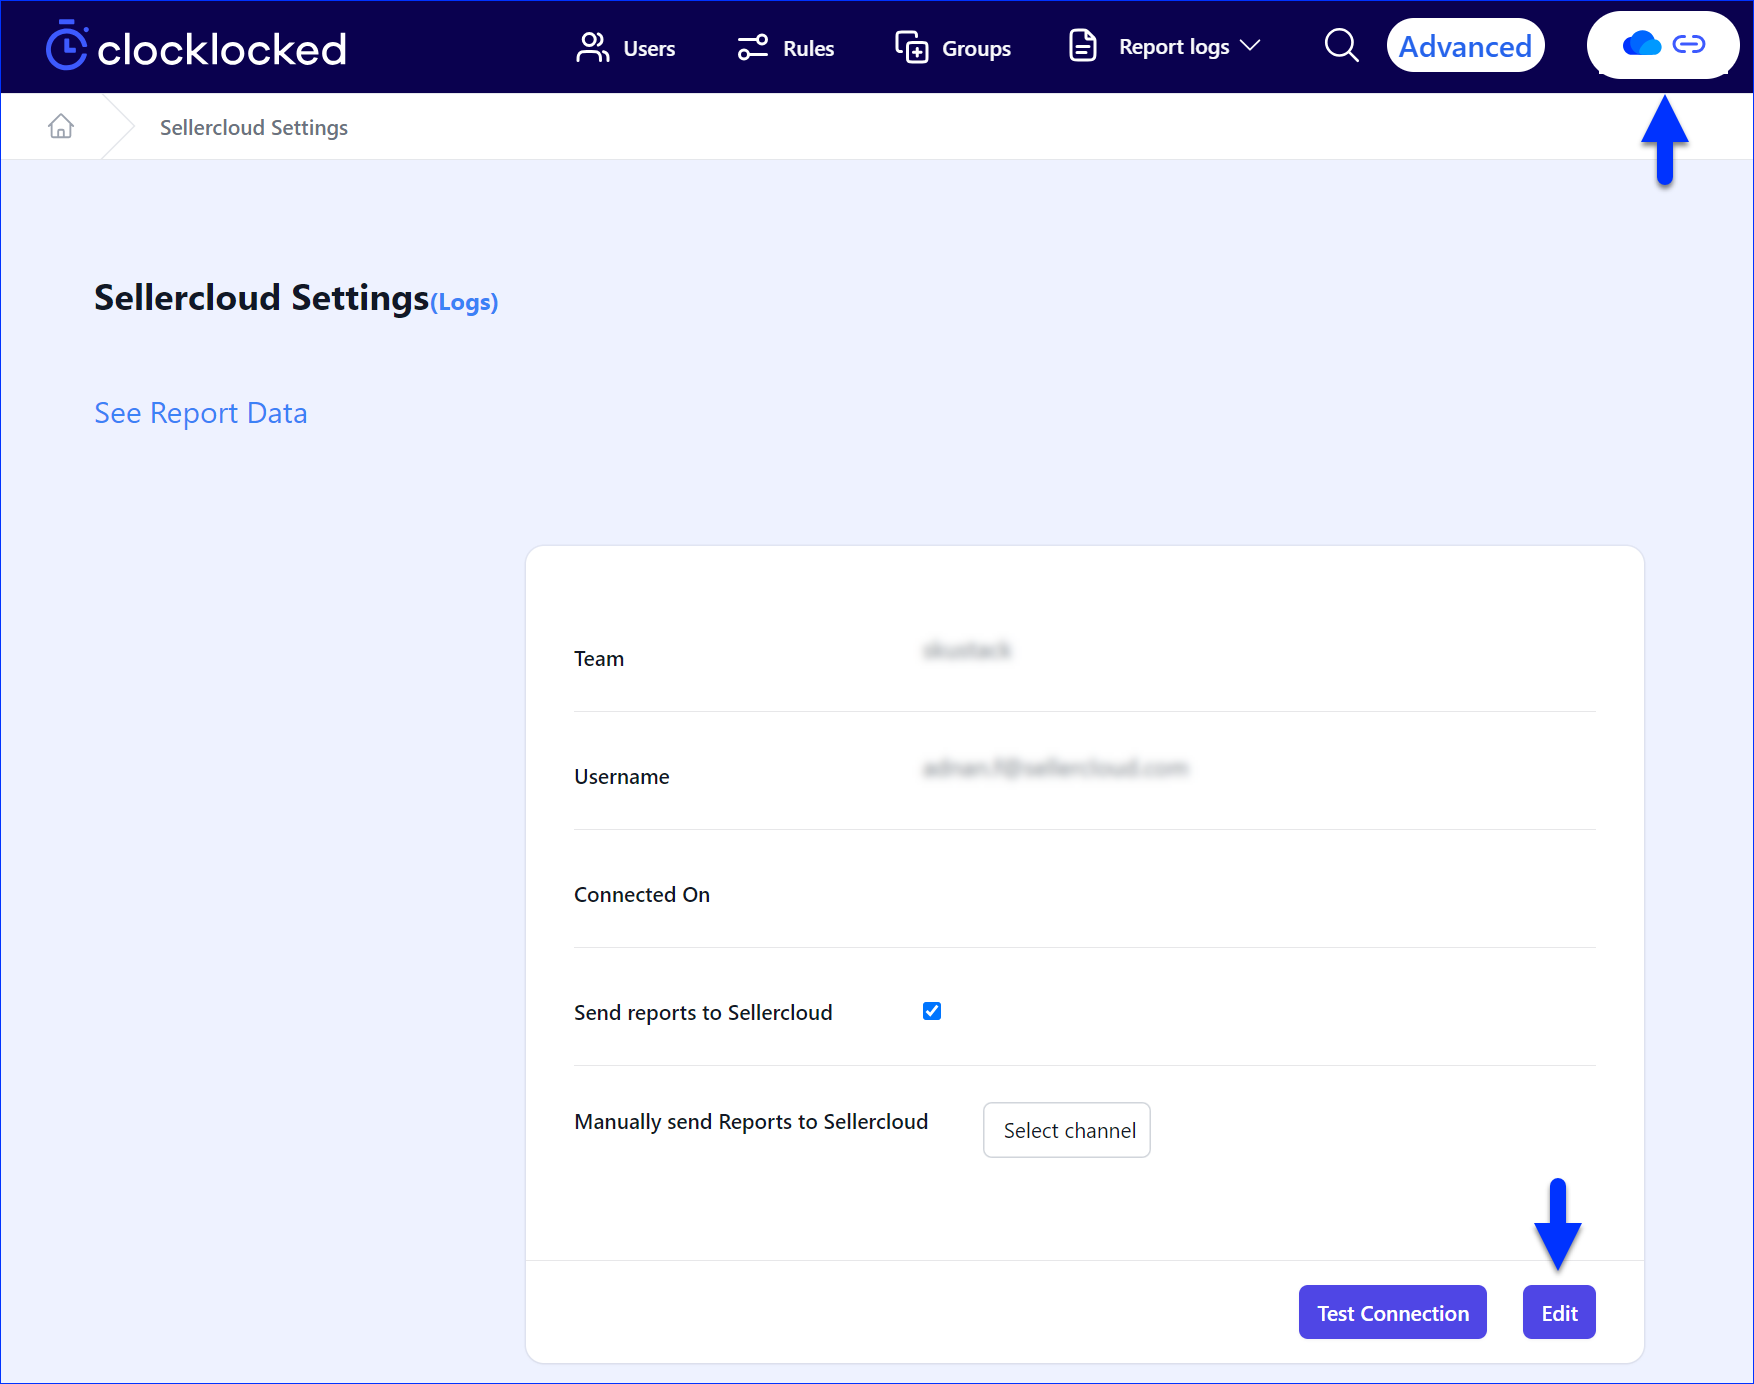
- Complete as follows:
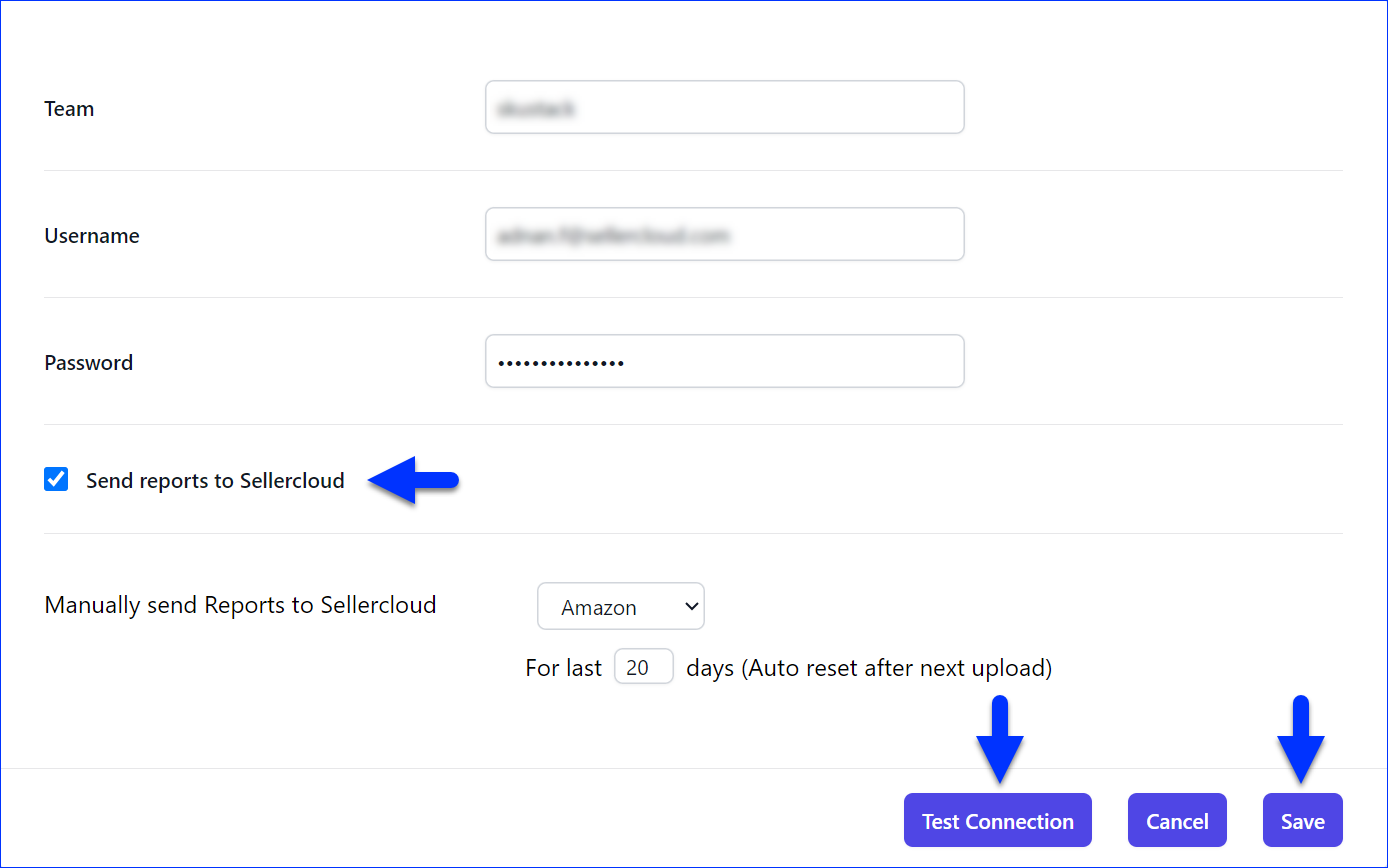
- Team – Enter your Sellercloud team name.
- Username – Enter your Sellercloud Client Admin username.
- Password – Enter the Sellercloud account’s password.
- Send reports to Sellercloud – Enable this option to automatically send Sellercloud the total spend of your sponsored display ads per product on a daily basis.
- Manually send Reports to Sellercloud – Select the Channel and the Number of Days for which to send data to Sellercloud. This option is especially useful the first time you sign up for Clocklocked and want to send past data for multiple days. This setting will reset automatically once Clocklocked sends data for the number of days you’ve selected. By default, Clocklocked always sends data once a day, from the last sent date to today’s date.
- Click Test Connection to validate the link between Sellercloud and Clocklocked.
- Click Save.
Sellercloud Updates Log
Clocklocked logs all updates sent to Sellercloud, including information about each associated record.
To view the update log:
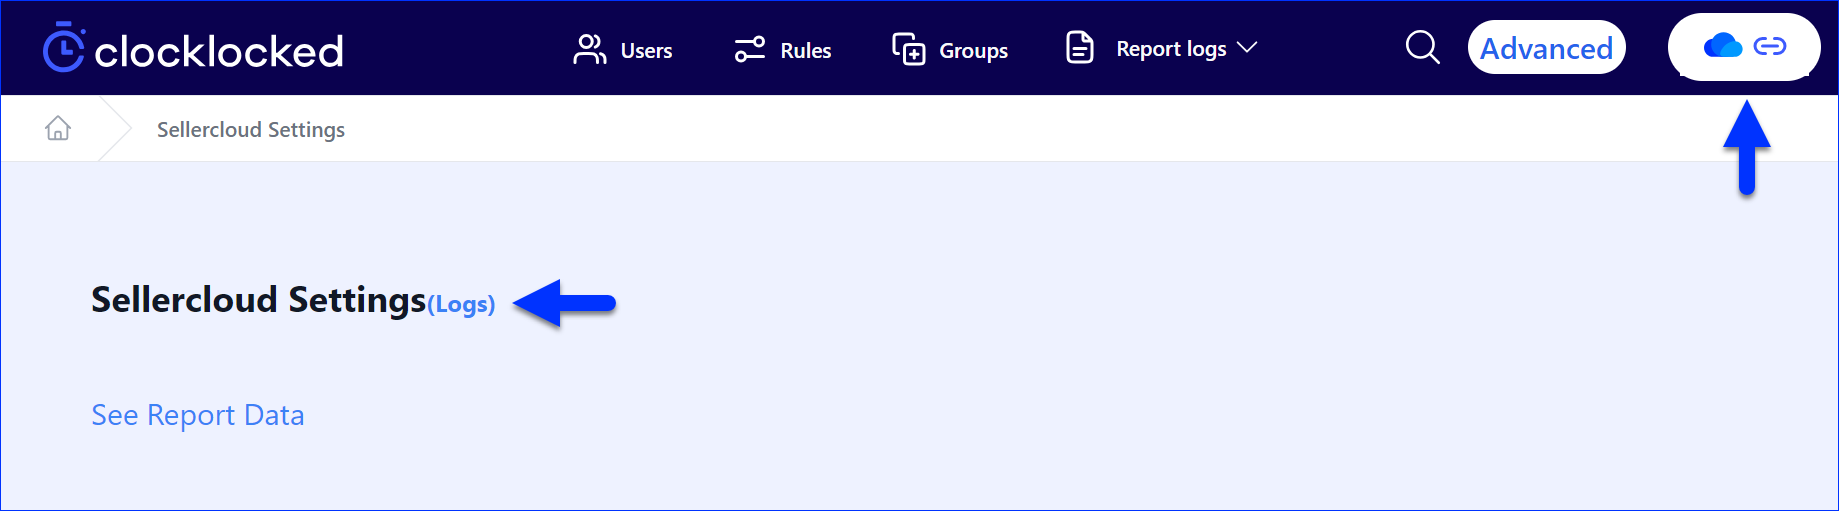
- Click the Sellercloud Connection icon at the top right corner.
- Click Logs.
- The log stores the following details:
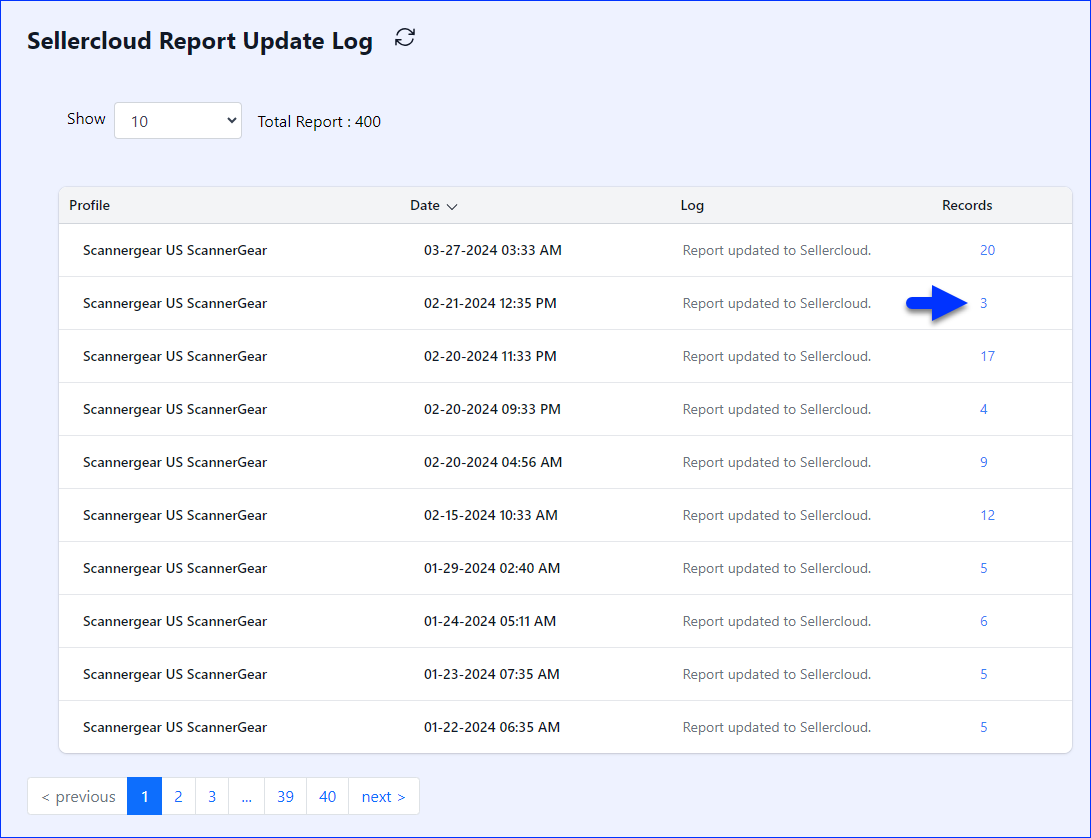
- Profile – The profile with data synced to Sellercloud.
- Date – The date when data was synced.
- Log – The status of the sync.
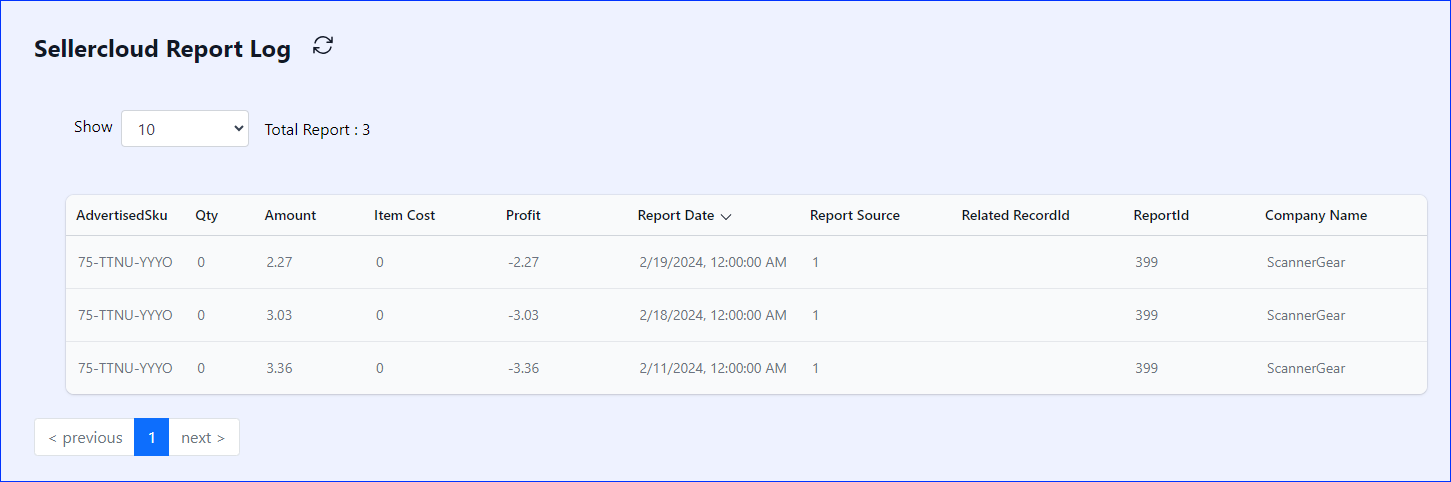
- Records – The number of updated records. Click the link for information about each individual record.
- After clicking a Records number, you can see details such as the Advertised SKU, Item Cost, Profit, and more.