Overview
Once you Integrate Lightspeed POS with Sellercloud, you can automatically download orders, monitor their status, update information, cancel, and issue refunds. If you manage multiple shops, it’s important to map them to your Sellercloud warehouses to ensure proper order handling.
Download Orders
You can download Lightspeed orders to Sellercloud automatically and manually.
Orders will be downloaded into Sellercloud with the following details:
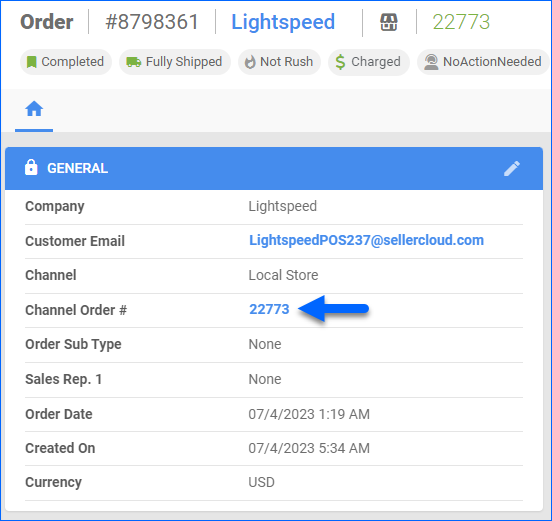
- The Channel will always be Local Store.
- The Customer will always have the name LightSpeedPOS Order and the email address [email protected].
- The orders’ Ship To Name will reflect the actual customer’s name.
Automatic Order Download
To download orders automatically:
- Go to your Company Settings.
- Click Toolbox and select Lightspeed POS > General Settings.
- Click Edit.
- Check Enable Order Download.
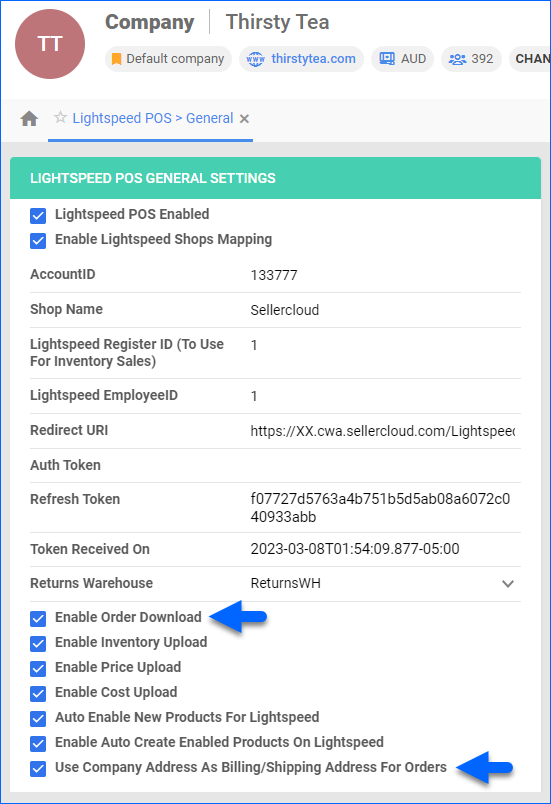
- Optionally, you can also check Use Company Address As Billing/Shipping Address For Orders to use the Sellercloud company address as the billing/shipping address for orders.
- Click Save.
Manual Order Download
To download orders manually:
- Go to your Company Settings.
- Click Toolbox and select Channels > Lightspeed POS > General Settings.
- Click Actions and select Download Orders.

Manage Lightspeed Orders
Sellercloud offers various functions to manage your Lightspeed orders.
View Orders
To quickly find all your Lightspeed orders:
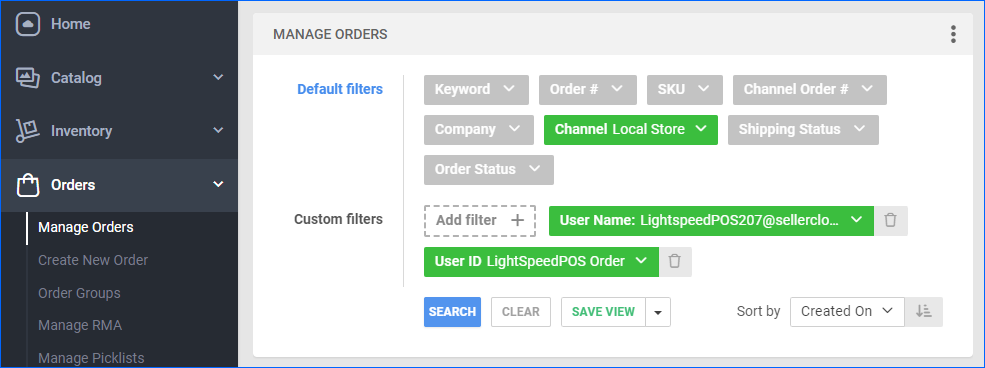
- Go to Orders > Manage Orders.
- You can use the Company filter if you created a company specifically for your Lightspeed orders.
- Otherwise, click Add filter.
- Add the User Name and User ID filters. You can use either one or both to search for Lightspeed orders:
- Set the User Name filter to [email protected]
- Set the User ID filter to LightSpeedPOS Order
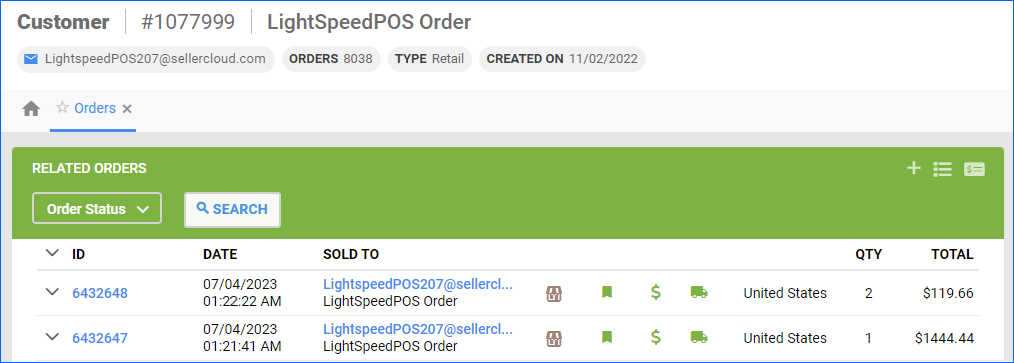
Alternatively, you can find them on the customer page:
- Go to Customers > Manage Customers.
- Search by Email > [email protected] and click the customer.
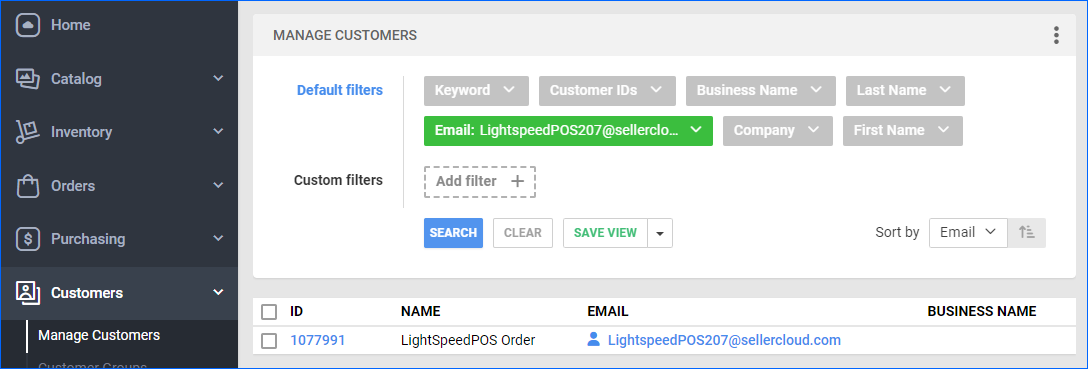
- Click Toolbox and select Orders.
Once you open an order, you can click the Channel Order # to view it in Lightspeed.
Cancel an Order
To cancel an order on Lightspeed, you need to use their platform – you can’t cancel it from Sellercloud. If you cancel an order in Sellercloud, the order only gets canceled in Sellercloud, and there is no effect on that order in Lightspeed.
You can only cancel an order before it is marked Ship Confirmed. If it’s Ship Confirmed, you must issue a refund.
To cancel an order in Sellercloud:
- Go to Orders > Manage Orders.
- Open an order.
- Click Actions and select Set Cancelled Internally.
Refund an Order
If you refund an order directly on Lightspeed POS, Sellercloud pulls this info and marks the order as refunded. The total refunded amount will be added as a refund on the order, and an order note will be created, saying which items were returned and what the total discount is.
For returned items, you must create an RMA. You can issue refunds from the RMA.
To issue a refund:
- Go to Orders > Manage Orders.
- Open a completed order.
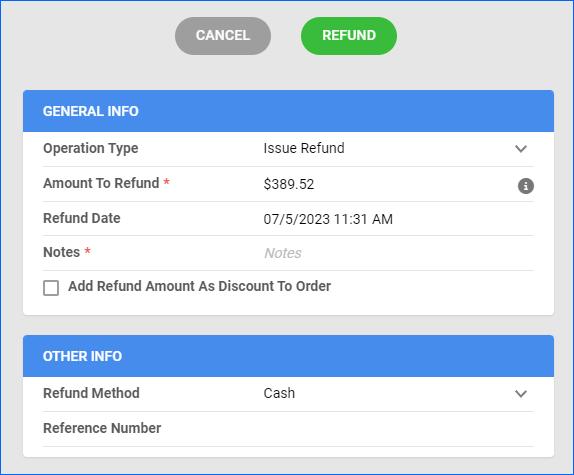
- Click Actions and select Issue Refund.
- Enter the Amount To Refund, Refund Date, and add a note in the Notes field.
- You can also select the Refund Method and Reference Number.
- Click Refund.