Overview
Seller Snap is software designed for Amazon sellers to automate their pricing strategies. It is an AI-powered repricing tool that helps you increase your sales by adjusting your product prices in real time based on your competitors’ pricing strategies, sales data, and other market factors. This allows you to stay ahead, win the Buy Box, and maximize your profits while minimizing your workload.
Integrating Seller Snap allows you to use their powerful AI Amazon repricing service with Sellercloud. Once enabled, the fully automated AI repricer helps you automate your repricing strategy. Data is sent from Sellercloud into the Seller Snap platform via FTP.
Prerequisites
Before you can integrate your Seller Snap account with Sellercloud:
Create FTP Credentials
- Log in to Seller Snap.
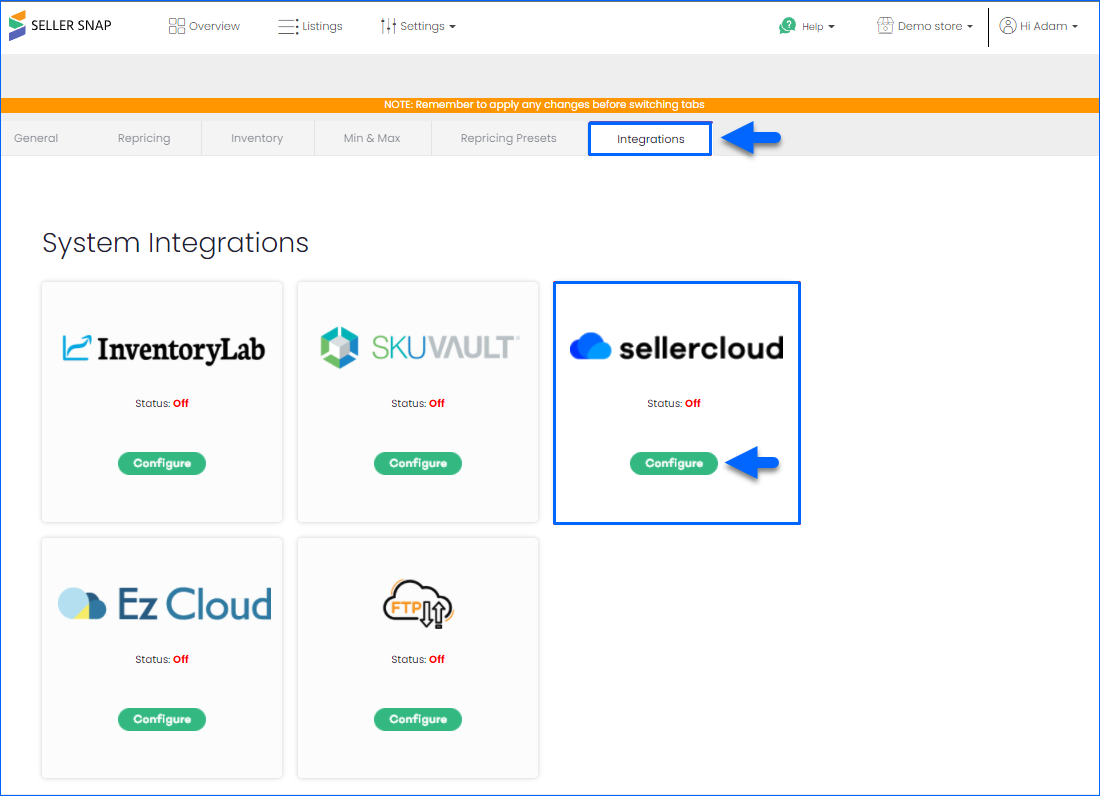
- Go to the Settings.
- Click the Integrations tab.
- Click Configure on the Sellercloud integration.
- Click Generate FTP Credentials.

- Save these credentials for later in the setup process.

Create a Template
To create a template:
- Create a new Excel or Google Sheets file.
- Enter SKU in cell 1 under column A.
- Enter COST in cell 1 under column B.
- Save the file as a .CSV (comma-separated values) file.

Set Up the Integration
Follow the next steps to set up the integration in Sellercloud.
Create a Mapping Profile
To create a mapping profile:
- Click Settings.
- Select Mapping Tools > Manage Export Mapping Profiles.
- Click the Actions icon on the bottom right and select Create.
- Enter the following values:
- Profile Name: Seller Snap
- Profile Type: Product
- Export File Type: CSV
- Export File with Headers: check this box
- Template File: Click the paperclip icon to attach the Flat File you created.
- Click Add.

- Next, click Edit on the top right of the Column Mapping panel.
- For the SKU, under Sellercloud Field, enter bvc_Product.ID
- For the Cost, under Sellercloud Field, enter one of the following:
- bvc_Product.AverageCost – Average Cost – the cost of the units continually averaged from the price on POs at the time of receipt.
- bvc_Product.LastCost – Cost of the items in the last received purchase order.
- bvc_Product.SiteCost – The current value in the product summary’s Site Cost field.
- Click Save.

Create a Saved Search
To create a saved search that targets products that are posted and active on Amazon:
- Go to Catalog > Manage Catalog.
- Click Add filter and add Amazon Statuses.
- Click Amazon Statuses and select Posted and Active.
- Optionally, you can select a specific company with the Company filter or add other filters per your preference.
- Click the arrow icon next to Save view and select Save view as… then enter a name and save it.

Automate Product Export
To create a Scheduled Task that regularly exports your Sellercloud inventory to Seller Snap:
- Navigate to Settings > Scheduled Tasks > Manage Scheduled Tasks.
- Click the green + icon: Create New Scheduled Task.
- Complete as follows:
- Click Task Type and select Export Products.
- Set the Task Name to Seller Snap Repricer Feed.
- Select the Company.
- Select the Start Time.
- Click CREATE.
- The following message appears at the bottom of your screen: “Scheduled task created successfully. Click Here to configure the task details.” – click the link.
- Click the Edit button on the top right.
- In the Details section:
- Click the User ID menu and select your ID.
- Click the Saved Search menu and select the saved search you created earlier.
- Click the Export Via menu and select the mapping created earlier. In this menu, it’s called Export Mapping Profile: Seller Snap.
- Set the File Name per your preference. You can use the following placeholders: {QueuedJobID} – populates the file name with the queued job ID. {yyyy}{MM}{dd}{HH}{mm} – populates the file name with the file creation date.
- In the Export Options section, set Export To to FTP and enter your FTP credentials from Seller Snap (Prerequisites > Create FTP Credentials section in this article) into the fields below.
- Make sure the Remote Folder field has the correct information.
- Make sure the checkbox for Use Secure FTP is checked with the Secure FTP Type setting set to Explicit FTP Over TLS.
- Optionally, you can click the Test FTP icon to test the connection.
- In the Frequency section, specify the task frequency. For optimal performance, select a range between thirty minutes and one hour.
- In the General section, click the Enable button.
- Click Save on the top right.
