Overview
Learn how to integrate your ShipStation account within Sellercloud.
Amazon’s Seller-Fulfilled Prime orders should not be sent to ShipStation to ship because they will not be properly flagged as Prime orders, which may cause them to ship using your own carrier accounts. Seller-Fulfilled Prime orders should only ship through Sellercloud or Shipbridge by following these instructions. You can exclude these orders from going to ShipStation by using a saved search that determines which orders to send.
You are not able to buy shipping from Amazon through ShipStation. Instead, you can follow the steps in our dedicated article Amazon Services: Buy Shipping to complete the process directly in Sellercloud.
Integrate with ShipStation
This API integration is hosted on Shipstation and cannot be set up directly from Sellercloud. Below are the instructions on how to configure the Custom Store, which will allow the connection:
- Log in to your ShipStation account, click on the settings Gear icon.
- Click Selling Channels > Store Setup > Connect a Store.
- Select Custom Store from the list of options.
- Enter the credentials required to connect to Sellercloud:
- The URL to the Custom XML Page is https://server-id.ws.sellercloud.com/shipstation/. Replace the server-id with your server ID. For example, if your Sellercloud URL is https://zz.cwa.sellercloud.com, the ZZ at the start of the URL is your server ID.
For TF servers, the URL should end with .us instead of .com and instead of your server ID, make sure to write your team name: https://team.ws.sellercloud.us/shipstation/
- Username and Password should be the credentials to the Sellercloud account with which you want to ship. Make sure the user has all the necessary company, order and tracking permissions.
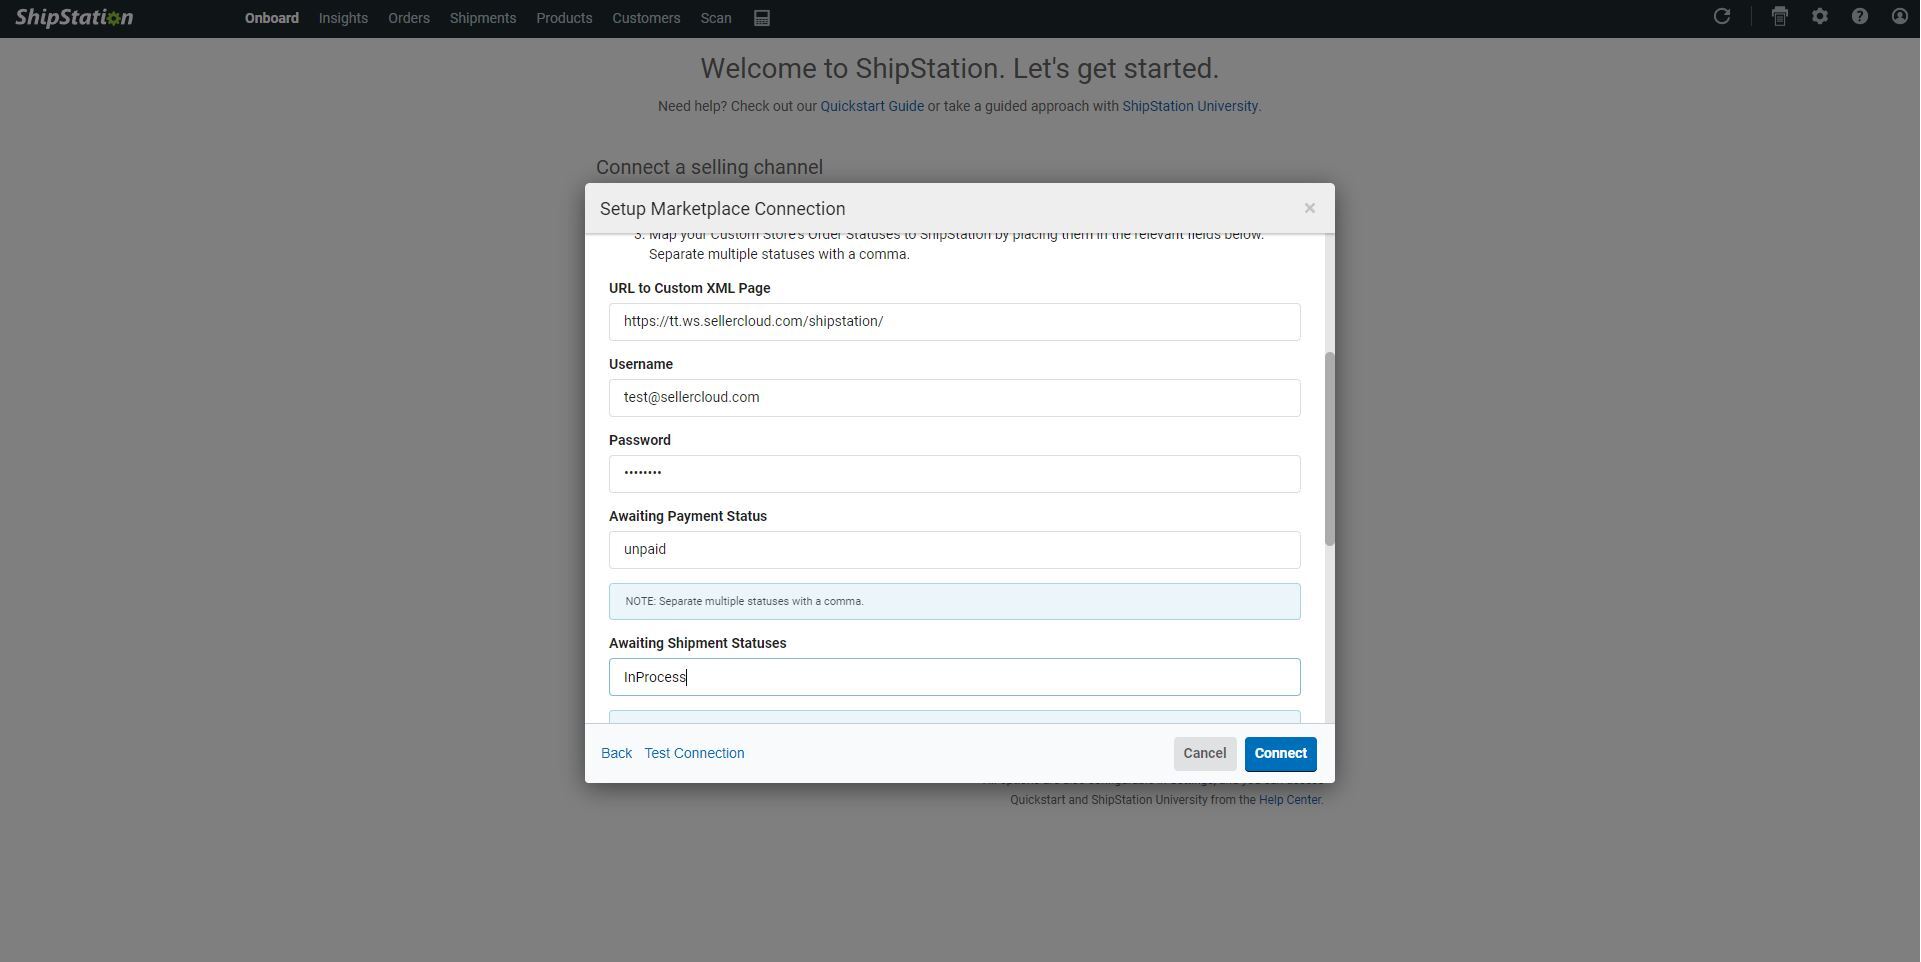
- The URL to the Custom XML Page is https://server-id.ws.sellercloud.com/shipstation/. Replace the server-id with your server ID. For example, if your Sellercloud URL is https://zz.cwa.sellercloud.com, the ZZ at the start of the URL is your server ID.
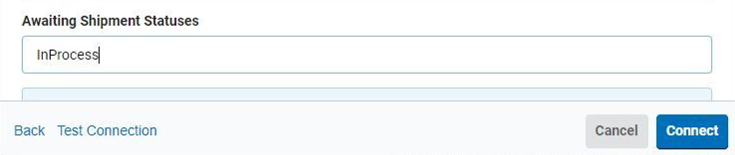
- Most statuses can be left as-is except the Awaiting Shipment Status, which should be set to InProcess:
- Click Connect.
- Open the Orders page and sync the store, and the order should come in. (The Sync button is on the top right of the page to the left of the Settings button.)
Upon shipping the order, the complete tracking information will be sent to Sellercloud, and the order will be marked in Sellercloud as shipped. By default, orders that ShipStation pulls from Sellercloud have a last-modified date between the start date and end date that ShipStation sent in the request, and they fit the following criteria:
- DropShip is None
- Order Status is InProcess
- Order is Charged (or set to Allow Shipping Even if Not Paid)
Send Specific Orders
If you only want to send specific orders to ShipStation, you can create a Saved Search that selects orders. By default, the system expects the ID of a search created in our legacy Alpha Interface. However, you can create and enable an additional Custom Company Setting to use a Delta Saved View.
- Create a saved search for orders with the following filters and any additional filters you want to use when sending orders to ShipStation:
- DropShip is None
- Order Status is InProcess
- Order is Charged (or set to Allow Shipping Even if Not Paid)
- Go to the Employee and check what the selected Default Company is. This is important because only that company will be checked for a Saved Search for ShipStation.
- Go to Settings and open that same Company. Create a Custom Company Setting called ShipStation Saved SearchID:
- Go to Settings > Companies > Manage Companies > Open a company.
- Go to Toolbox > Custom Settings > Click the + icon to add a custom setting > Populate the fields > Click Save.
 To use a Delta Saved View ID instead, create an additional Custom Company Setting called ShipStation Use Delta Saved Search and set it’s value to TRUE.
- Enter the ID of the search you want to use. When there is a search ID in that setting, only orders that come up as results of that search will be pulled.
You can see the requests sent by ShipStation in the order’s action documents. If items in the order are unknown, the order will not go to ShipStation.
Using the custom setting ShipStationSendSecondOrderSourceOrderIDInsteadOfPromiseDate will send both order numbers. The second order will replace the Promise Date.
Integrate Multiple ShipStation Accounts
To integrate multiple ShipStation accounts:
- Create a Sellercloud Employee for each ShipStation account you want to link. You will use the Sellercloud employee’s User Name and Password to set up a custom store in ShipStation.
- For each ShipStation account, create Saved Searches for orders you want to pull.
- You should link each ShipStation account to a unique Sellercloud Company by configuring the Default Company field on the Employee Details page. ShipStation will check these companies’ custom settings for saved search IDs.
- For each ShipStation account:
- In the Company created for this account, create a Custom Company Setting and name it ShipStation Saved SearchID (requires checking Enable Custom Company Settings in your Client Settings).

- Enter the Saved Search ID for the orders that are required for this account into the ShipStation Saved SearchID Custom Company Setting.
- On the settings page of the Sellercloud employee used in ShipStation, set the Company to the one used to pull the orders.
- In the Company created for this account, create a Custom Company Setting and name it ShipStation Saved SearchID (requires checking Enable Custom Company Settings in your Client Settings).
Send Fields to ShipStation
By default, Sellercloud sends the following fields to ShipStation:
- Shipstation OrderID and OrderNumber are both mapped to the Sellercloud OrderID.
- Internal Notes contain the ShipBy date (OrderShippingPromiseDate) if one was provided by the channel.
- We pass through if it is a gift order and there is a gift message.
- CustomField1 = OrderSource (and Subtype if there is one).
- CustomField2 = OrderSourceOrderID.
- CustomField3 = Sellercloud CompanyName.
- Shipping & Billing Address, TimeOfOrder, Shipping & Payment method, etc., are all mapped as expected ProductInfo= Mapped as standard.
ShipStation Merchant SKU Mapping
When the custom company setting ShipStation Send Original ProductID is not enabled, the SKU sent to ShipStation will be the Sellercloud SKU (ProductID).
When it is enabled, the SKU sent to Shipstation will be the Sellercloud Merchant SKU for that specific channel.
Note that If ShipStation Send Original ProductID is enabled and both ProductID and Merchant SKU are available, the order in Sellercloud will display ProductIDRequested (the SKU that was requested when the order was pulled in Sellercloud) or ProductIDOriginal if ProductIDRequested is not available.