Overview
Shop HQ Account Integration lets you access your inventory data from Sellercloud and update your Shop HQ store. You can edit and update your listings from the Product Properties Page. The Shop HQ Product Properties page in Sellercloud lets you easily manage your listings, update inventory feeds, and configure attributes.
In addition, you can update your products in Sellercloud individually or in bulk via file import. Prior to updating a product on Shop HQ, it must be enabled for that channel.
Shop HQ Product Properties
You can access the product properties page by navigating to Catalog > Manage Catalog > Open a product > Toolbox > Channels > Shop HQ.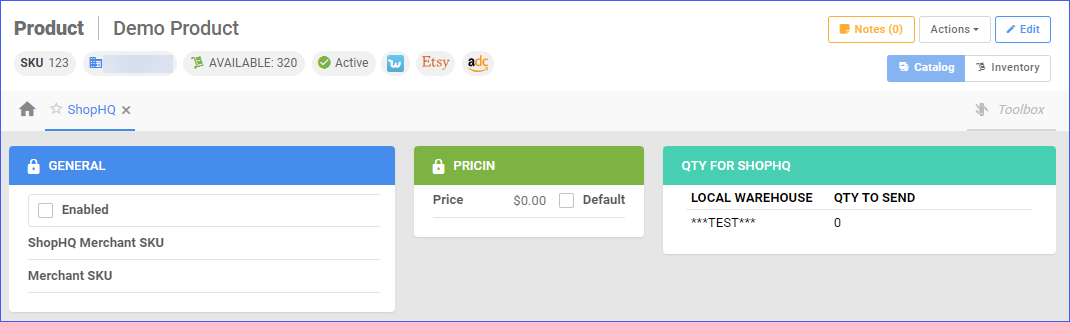
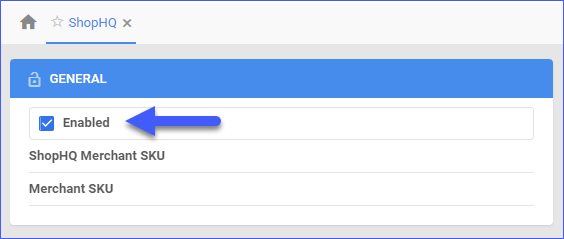
General Panel
| Field | Description |
| Enabled | By Enabling Shop HQ for the selected product, you allow Sellercloud to send inventory and price updates to the channel. |
| Shop HQ Merchant SKU | This is a Shop HQ-specific SKU used when importing orders, sending inventory updates, etc. |
| Merchant SKU | Shop HQ SKU. |
Pricing and Inventory Panel
| Field | Description |
| Price | The price of the product that will be sent to Shop HQ. If you select Default, Sellercloud will use the value from the product Site Price. |
Qty For Shop HQ
| Field | Description |
| Local Warehouse | This field displays the specific warehouses which could hold qty for the item. |
| Qty to Send | This field displays the number of units available in the corresponding warehouse. To set a Safety Qty for a specific warehouse navigate to Settings > Companies > Open a Company > Toolbox > Channel Warehouse Mapping. Click Edit and select Shop HQ from the dropdown menu. |
Manage Shop HQ Product Fields
Individually
You can update the product properties individually by navigating to:
- Catalog > Manage Catalog > Open a Product.
- Toolbox > Shop HQ.
- Click Edit in the upper-right corner.
In Bulk
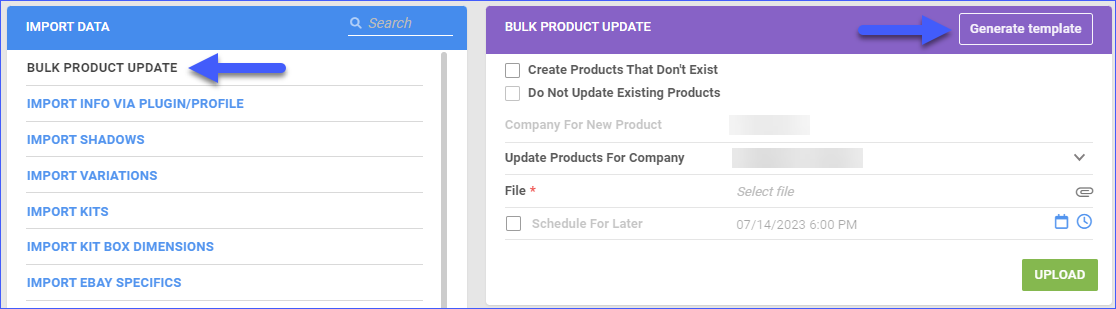
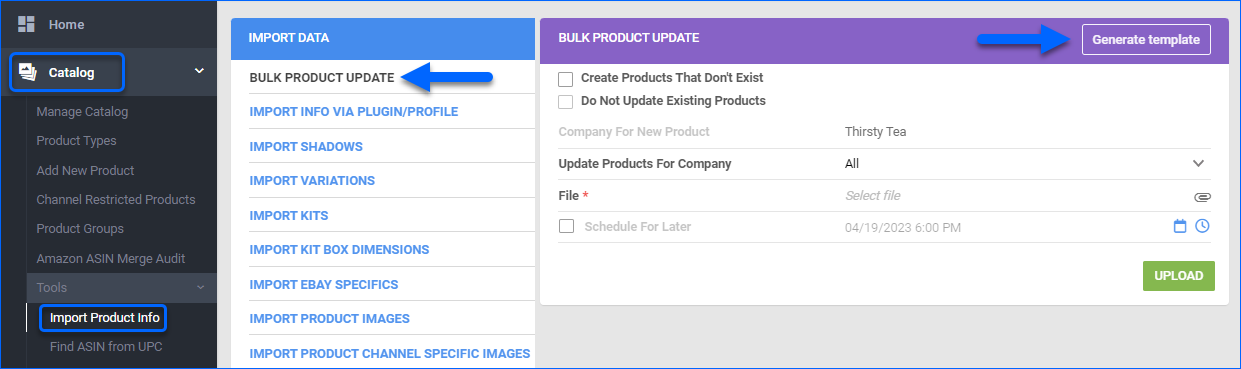
To bulk update Shop HQ product properties, go to:
- Catalog > Tools > Import Product Info.
- Click on Generate Template.
- A pop-up will appear.
- Click on Create New Template.
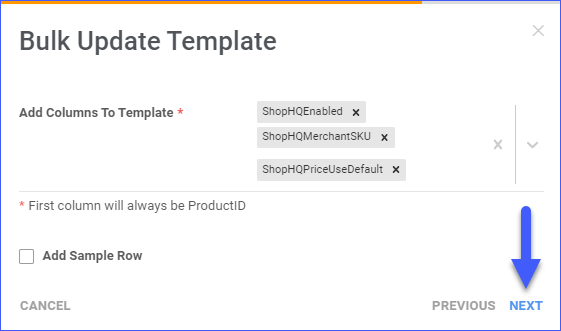
- Choose your desired format from CSV, tab-delimited, or Excel, and click Next.
- Choose Columns and click Next.
- Click on Download.
- Populate the newly downloaded Template.
- Go back to Sellercloud and select the template.
- Click Upload.
Actions
Access the Action menu by navigating to Catalog > Manage Catalog > Open a product > Toolbox > Shop HQ > Actions.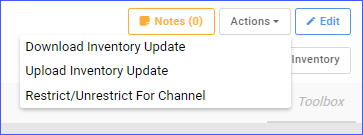
| Action | Description |
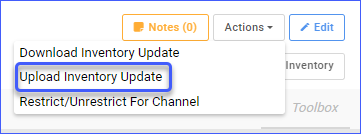
| Download Inventory Update | This action Downloads the inventory as an EDI file. |
| Upload Inventory Update | This action syncs the stock levels of your product with Shop HQ’s inventory. This ensures that your customers receive accurate, up-to-date information about the availability of your products. |
| Restrict/Unrestrict for Channel | This action is used to temporarily restrict any information for that product to be sent to Shop HQ. This includes automatic Inventory and Price updates or even posting on Shop HQ. |
Bulk Actions
Some of the Shop HQ -related product actions are also available to perform in bulk. Navigate to:
- Catalog > Manage Catalog > Select your products.
- Action menu > Choose an action.
- Once done, Sellercloud will send information for the selected products to Shop HQ.
Some of the available Bulk Actions are:
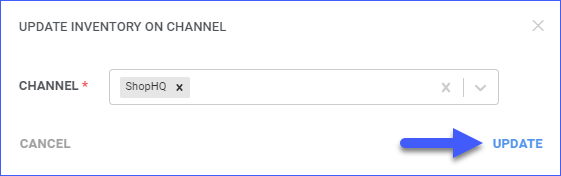
- Update Inventory on Channel
- Restrict/Unrestrict For Channel
Once you choose any of the above-mentioned actions, a pop-up window will appear, where you will have to choose Shop HQ (you can also add any other channels as well). These actions will send information to Shop HQ only for products created under Shop HQ-enabled companies.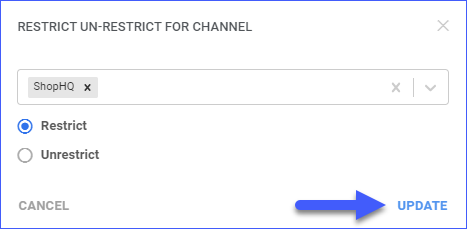
Prepare a Product for Shop HQ
Before you can start updating your Shop HQ Listings through Sellercloud, you need to make sure you have configured them.
Individually
To enable a product for Shop HQ individually navigate to:
- Go to Catalog > Manage Catalog > Open a product.
- Toolbox > Shop HQ.
- Click Edit and select the Enabled checkbox.
In Bulk
To prepare products for Shop HQ in bulk, you can use the Bulk Update Products tool:
- Navigate to Catalog > Tools > Import Product Info.
- Choose Bulk Product Update.
- Generate a template with the needed product fields in either TAB Delimited/CSV/Excel.
- Populate the needed information, then go back to Sellercloud.
- Choose the file > Click Upload.
Update Listings on Shop HQ Marketplace
You can update inventory and pricing information automatically or manually.
Automatically
To update products automatically:
- Go to Settings > Companies > Manage Companies > Select the Company.
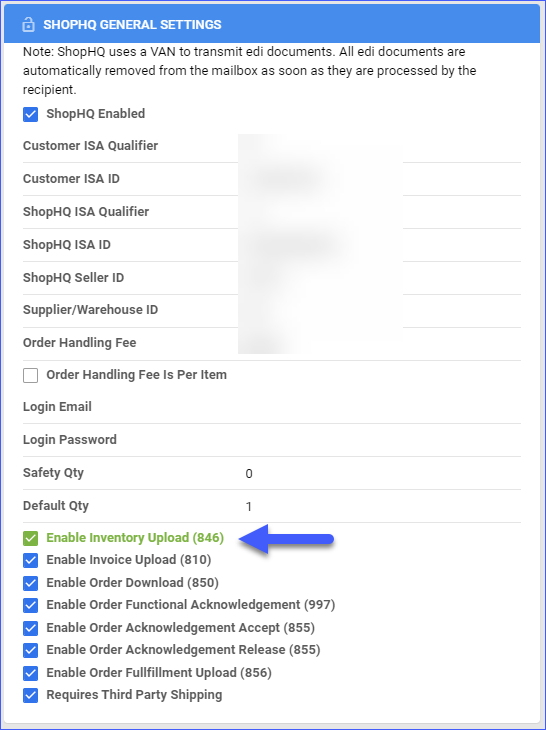
- Toolbox > Shop HQ > General > Edit.
- In the General Settings panel, check Enable Inventory Upload.
Manually
To update products individually:
- Navigate to Catalog > Manage Catalog > Find your product.
- Toolbox > Shop HQ > Action Menu > Upload Inventory Update.
To update products in bulk:
- Navigate to Catalog > Manage Catalog > Select your products.
- Open the Actions Menu > Update Inventory on Channel.
- A pop-up window will appear.
- Select Shop HQ from the dropdown menu.