Overview
SKU to SKU Transfer is a seamless method for transferring physical inventory from one product to another. It is typically used when a product is being rebranded, or refurbished, or when inventory needs to be consolidated from one SKU to another. One common use case for this transfer is when returned items are in good condition and suitable for resale but require a separate SKU to be classified as “Used.” In this scenario, the returned items need to be transferred to the “Used” SKU. This ensures that the returned items are correctly classified and inventory is accounted for.
Manage SKU to SKU Transfers
You can transfer inventory quantities from a SKU in any warehouse or bin (including bins that are not marked as Sellable) to any other SKU in any warehouse/bin.
Create SKU to SKU Transfers
You can create SKU to SKU transfers both individually and in bulk.
Individually
To create an individual SKU to SKU transfer:
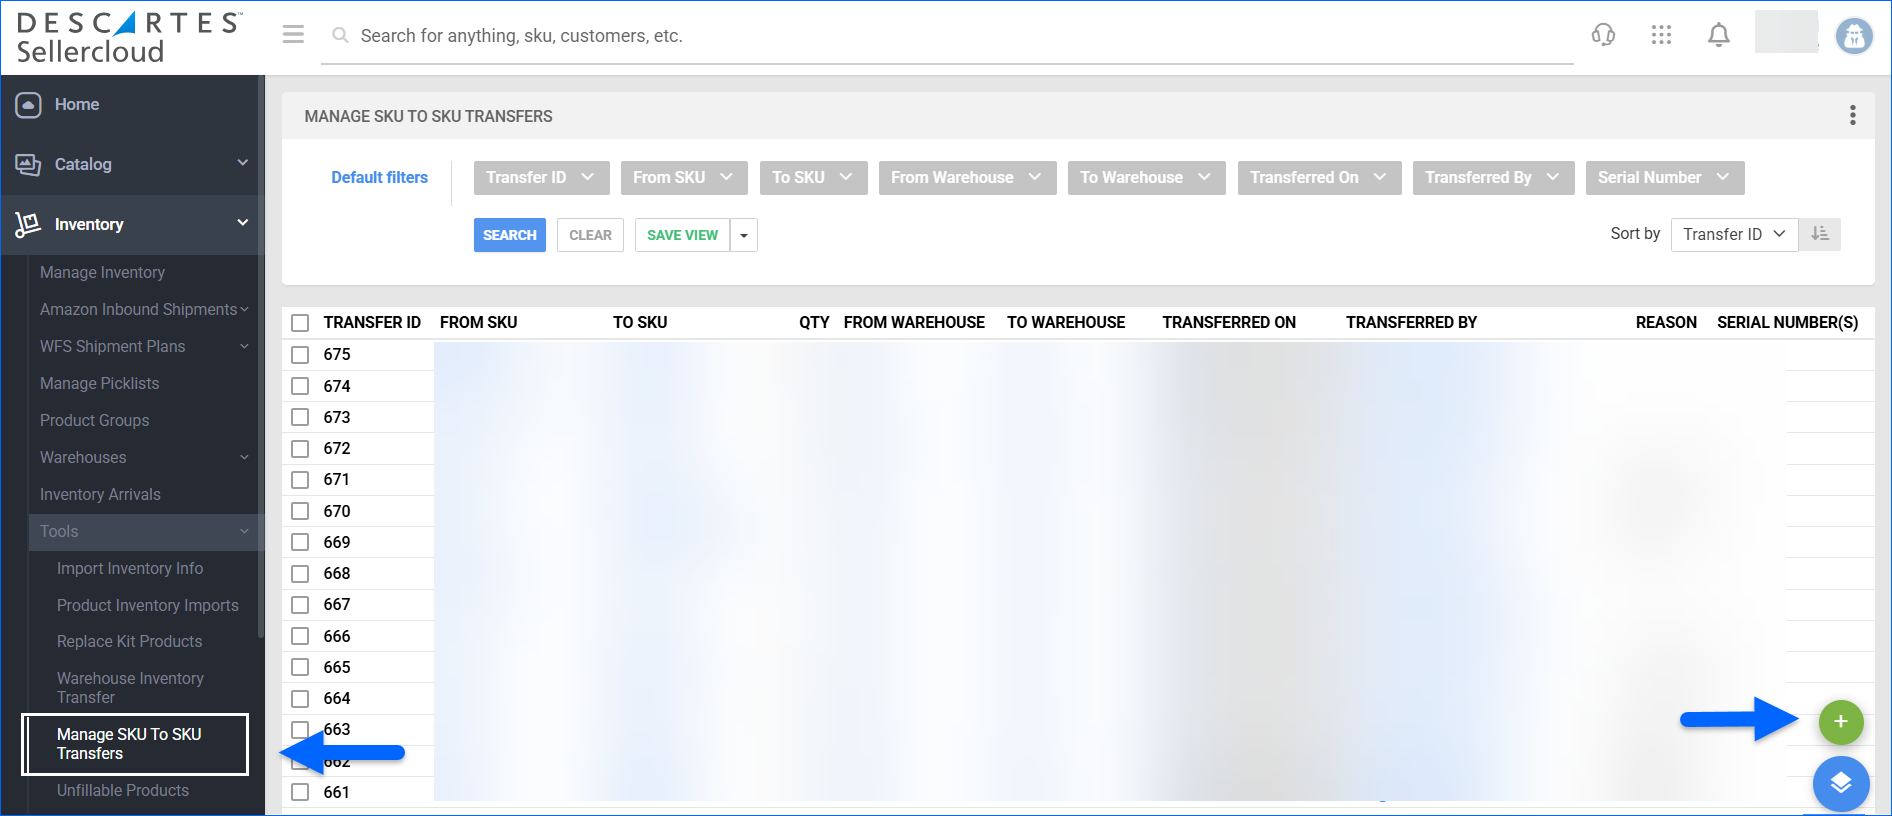
- Navigate to Inventory > Tools > Manage SKU to SKU Transfers.
- Click on the Plus icon in the bottom right corner.
- Enter the required information.
- From Warehouse – The Warehouse you will be deducting From. If the warehouse is not bin-enabled, you must specify the To Warehouse. For bin-enabled warehouses, indicate both the From and To Bins.
- Qty – The quantity to be transferred.
- Transfer Reason – Optionally, add a transfer note.
- Serial Numbers – Only applicable if the Serial Numbers workflow is enabled for your account. The serial numbers you intend to transfer.

- Click Add.
In Bulk
You can create multiple SKU to SKU transfers simultaneously via a file upload:
- Navigate to Inventory > Tools > Manage SKU to SKU Transfers.
- In the bottom right, click the Actions menu and select Download Template.
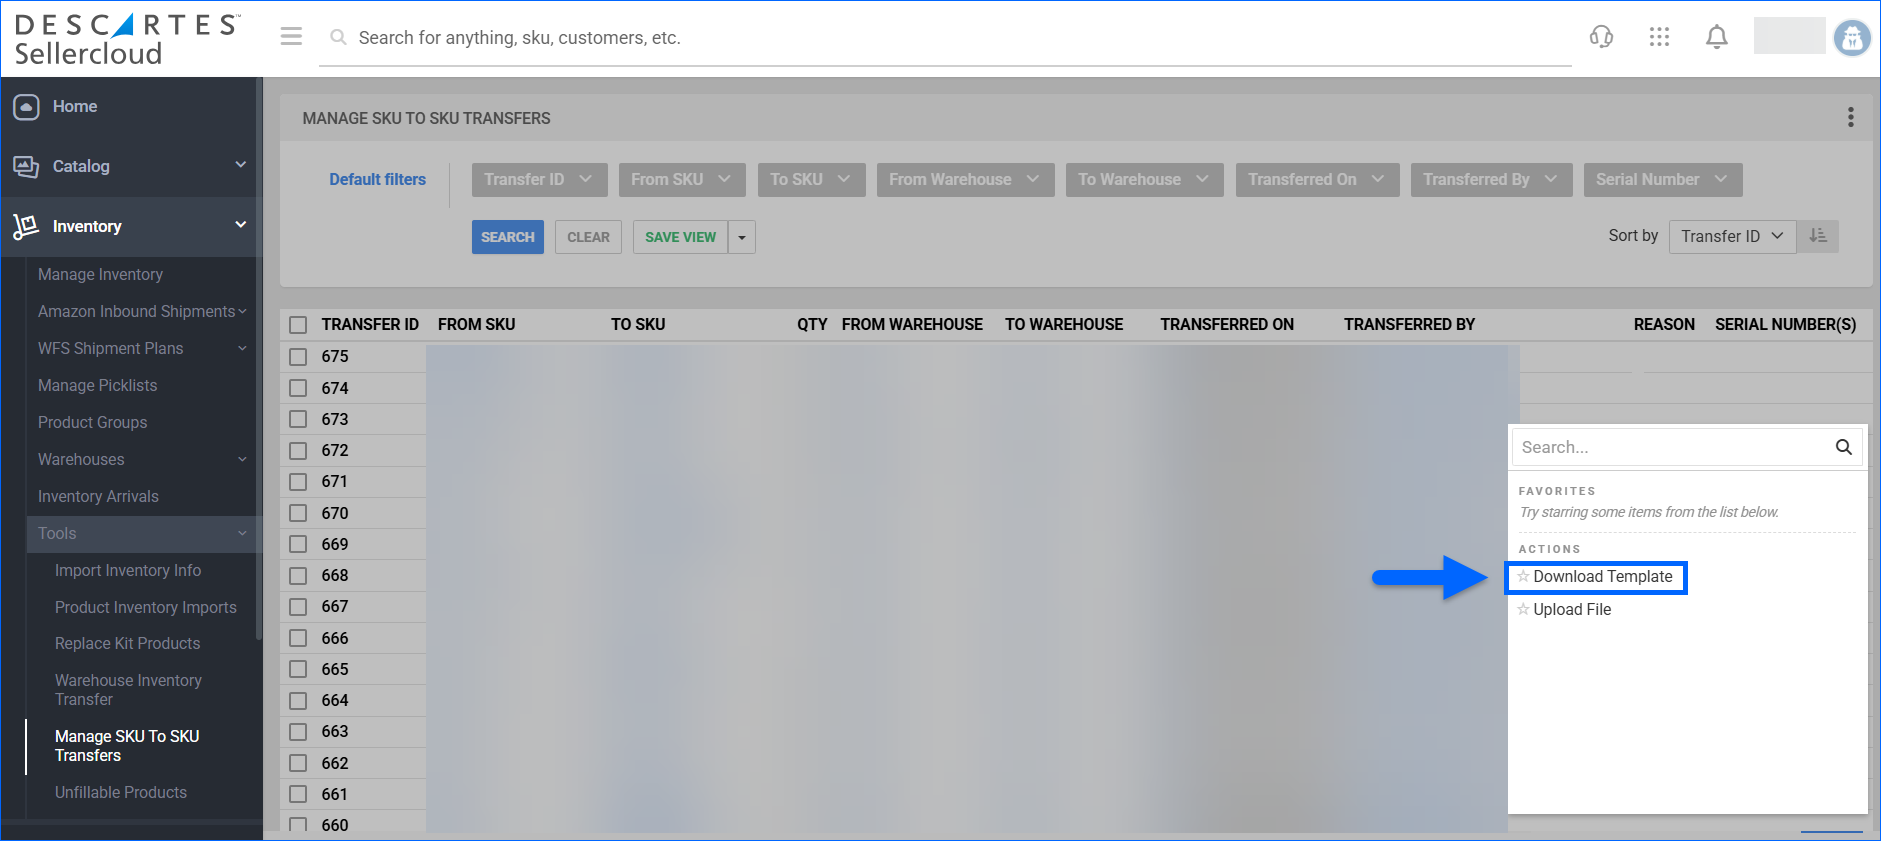
- Fill in the following details:
- From / To Product ID – The SKU you will be deducting From and adding To.
- Qty – The quantity to be transferred.
- Cost – Optionally, fill in any associated cost.
- From / To Warehouse – The Warehouse you will be deducting From and adding To.
- From / To Bin – If you transfer SKUs from a bin-enabled warehouse, indicate the Bins you will be deducting From and adding To.
- Transfer Reason – Optionally, add a transfer note.
- Serial Numbers – Only applicable if the Serial Numbers workflow is enabled for your account.

- Once done, go back to Sellercloud and click Upload file from the Action Menu.

- Click to upload the populated file.

- A Queued Job, from which you can monitor the status of the import, will be generated. Once completed, the SKU to SKU transfers will be created in Sellercloud.
SKU to SKU transfers are recorded in the Inventory Movement of the products, and you can always check them for reference.
Search SKU to SKU Transfers
To find existing SKU to SKU transfers:
- Navigate to Inventory > Tools > Manage SKU to SKU Transfers.
- Configure your Default filters to make sure that the results display exactly what you need:
- Transfer ID
- From SKU
- To SKU
- From Warehouse
- To Warehouse
- Transferred On
- Transferred By
- Serial Number
- Click Search. Each filter you apply gets highlighted. If a filter is gray or not displayed at all, it’s not active.
- To manage the columns in the grid, click the three dots icon on the top right and select Customize Columns. You can:
- Reorder columns by dragging them up or down in the list.
- Hide columns by clicking the Trash icons.
- Add columns by clicking Add column.
- To arrange the data in a different order, use the Sort by menu.
To save your filtering and sorting options, click Save view, enter a Name, and click Save.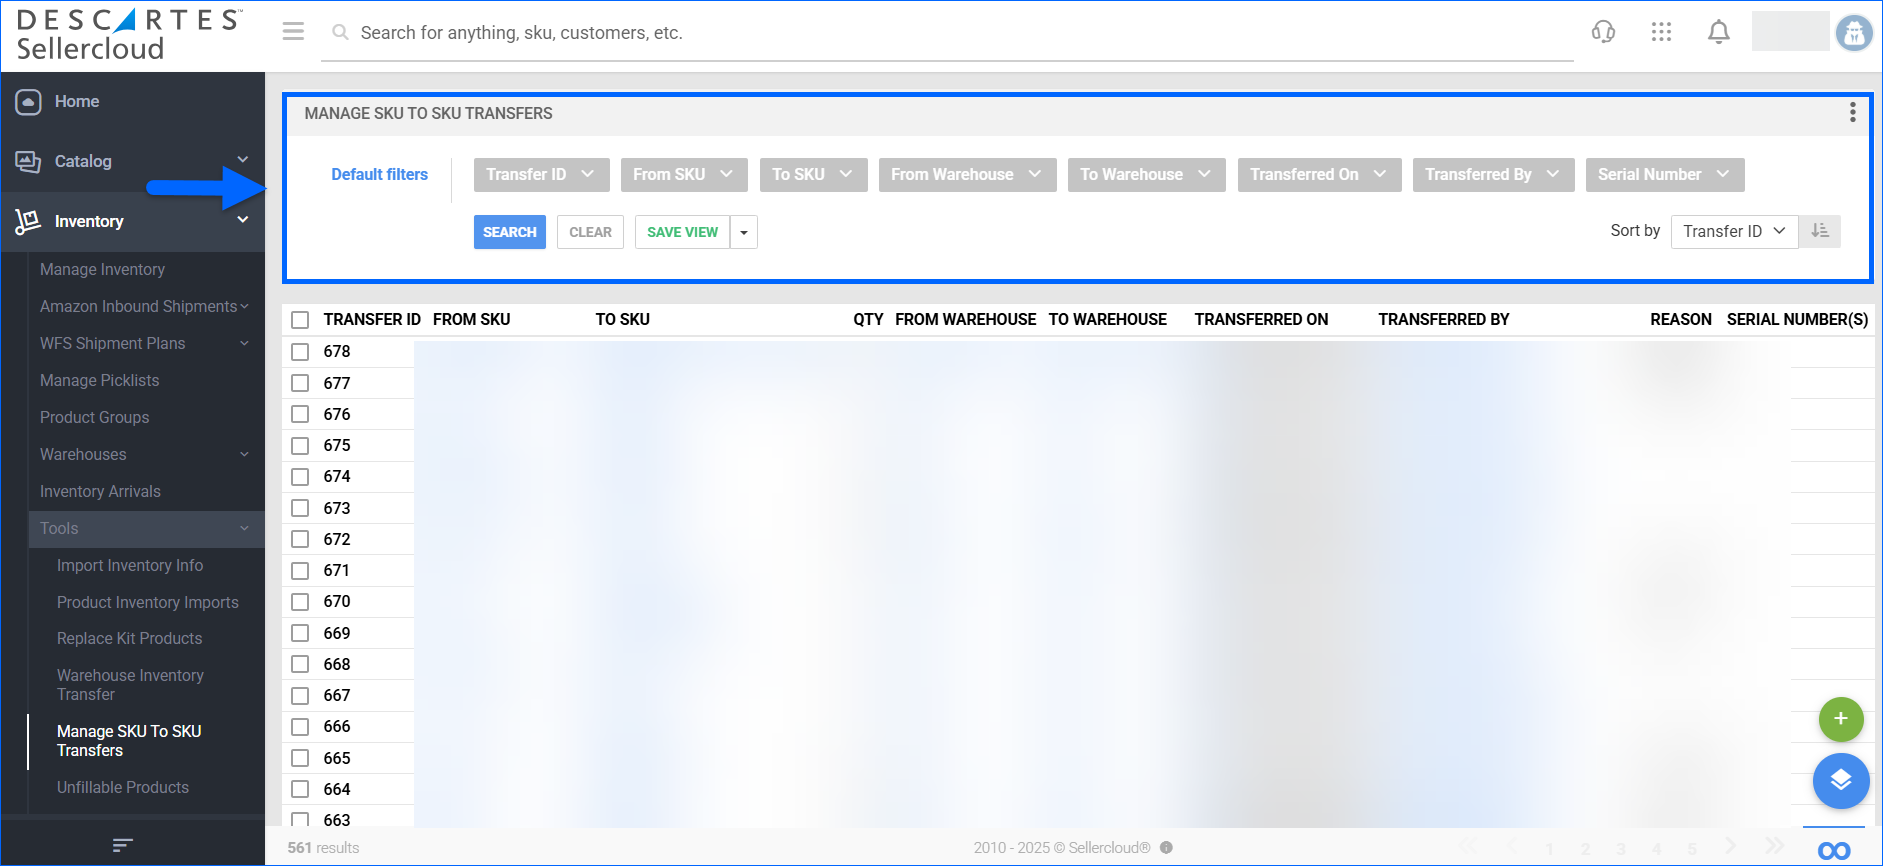
Export SKU to SKU Transfers
If required, you can download an Excel file with information about your SKU to SKU transfers:
- Navigate to Inventory > Tools > Manage SKU to SKU Transfers and filter the needed transfers.
- In the bottom right corner, click the Actions menu and select Export To Excel.
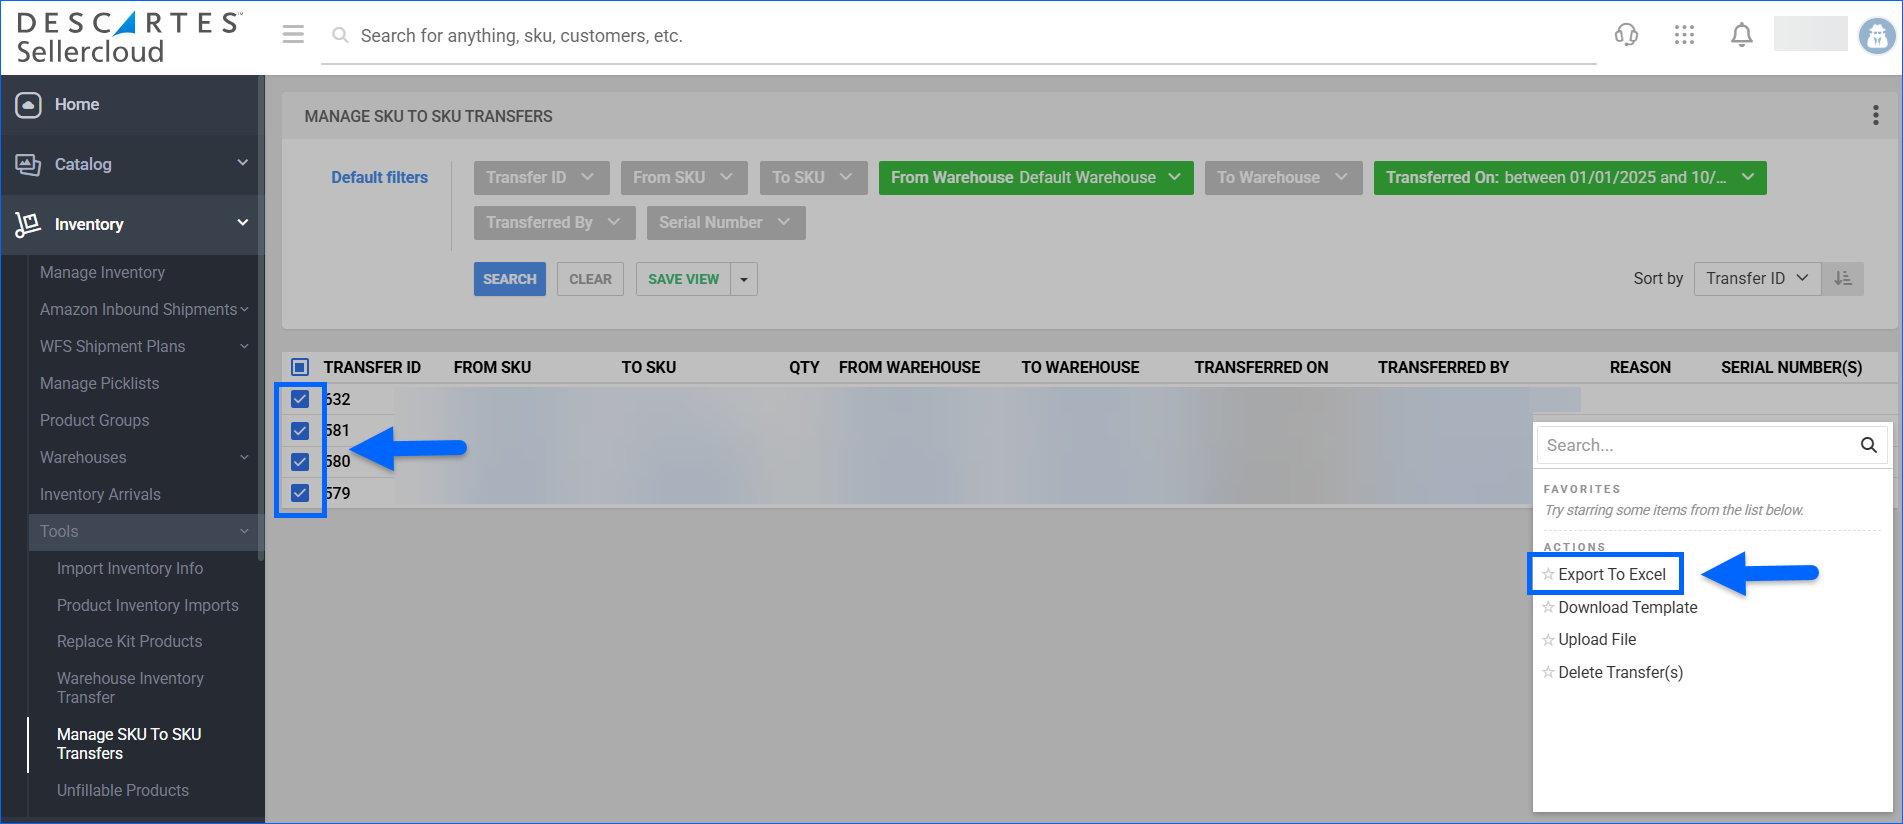
- Save the file on your computer. The exported Excel sheet will contain the following details:
- Transfer#
- From SKU
- To SKU
- Transfer On
- Qty
- Reason
- Serial Number(s)
- ApplicationName
- StackTrace
- LotNumber
- ExpiryDate
- Transferred By
- ToWarehouseID
- To Warehouse
- FromWarehouseID
- From Warehouse
- TransferredByName
Average Cost Calculation
SKU to SKU transfers impact the Average Cost calculation of the affected products, as this calculation is based on the Physical Inventory Count. Most sellers choose to use the Weighted Average Cost. For additional information on the topic, refer to Product Average Cost.
There are a few client settings to keep in mind:
Do not copy average cost for SKU to SKU transfer
- If the client setting is enabled, there will be no Average Cost Adjustment recorded following a transfer.
- If the client setting is disabled, the following logic will be used – For example, there are 10 units at $2.00 per piece ($20.00 in total) and 20 units at $3.00 per piece ($60.00 in total). Then, the total cost of $80.00 is divided by all units received, which is 30. $80.00 / 30 = Weighted Average Cost of $2.67.
Allow Zero Cost SKU to SKU Transfer to affect Average Cost
- This setting needs to be enabled when you are transferring From a SKU with a $0 cost.
- If you transfer a $0 cost SKU and enable the setting afterward, the Average Costs will not be recalculated retroactively.