Overview
Sellercloud allows you to update, export, and import Website Categories for Shopping Carts. To be able to manage your Website Categories and execute such actions, you will first need to Integrate your Website with Sellercloud.
Manage Website Categories
You can export and download your Cart Categories on a company level. To do that, navigate to:
- Settings > Company Settings > Open a Company.
- Toolbox > Sellercloud Plug-in Website > Cart Categories.
- Select the plugin for your website.
There are two available actions in the upper right corner. Export Categories and Download Categories. Exporting them will download an Excel sheet with the PluginID, CompanyID, CategoryID, CategoryName, ParentID, and IsSmartCategory.
When you Download Categories, the plugin will import them from your website to Sellercloud. Once downloaded, you will find the categories listed on the Website Product Properties page. If you choose to re-download the categories, any updates made on your website will reflect in Sellercloud.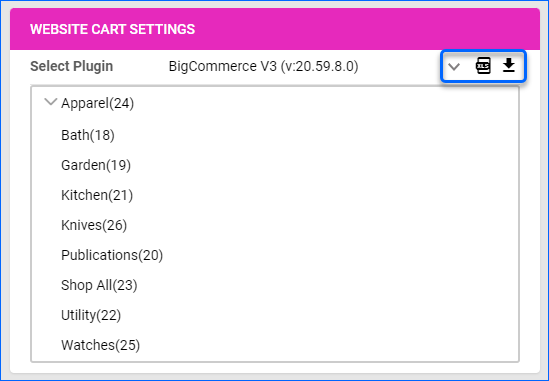
Configure Product Categories for Website
After downloading the categories into Sellercloud, you can assign your products to their respective ones. You can configure website categories for your products individually or in bulk.
Individually
To set cart categories individually, navigate to:
- Catalog > Manage Catalog > Open a Product.
- Toolbox > Website Properties.
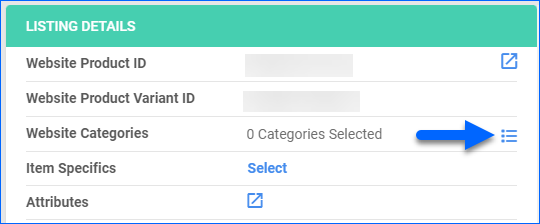
- Navigate to the Listings Details panel.
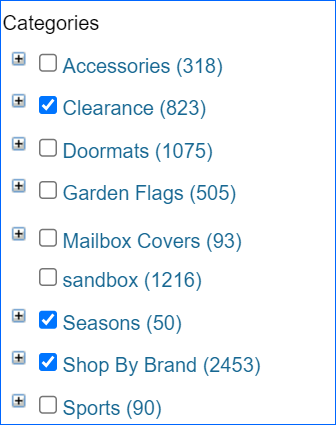
- Select Website Categoeries.
In Bulk
To update cart categories in bulk with a file import, navigate to:
-
- Catalog > Tools > Import Product Info.
- Bulk Product Update > Generate Template.
- Create New Template > Next.
- Choose a format between Excel/TAB Delimited/CSV > Next.
- Add a column WebsiteCategory and an Action.
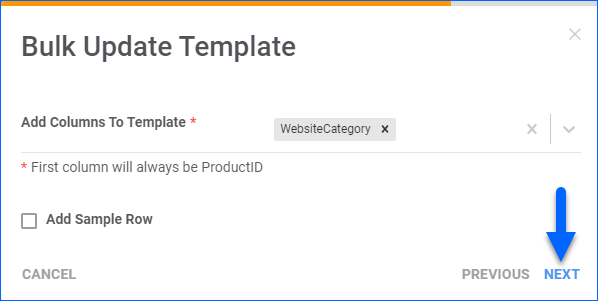
- Click Next > Download.
- Populate the generated Template and go back to Sellercloud.
- Website Category
- Action – _ADD_ or _DELETE_
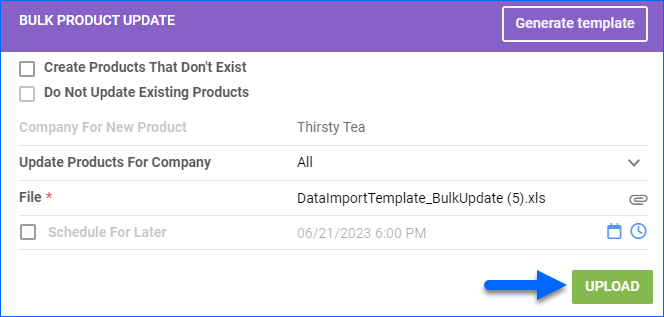
- Select the filled in template and click Upload.
With File Import
You can also add or change product website categories with a file import via the Bulk Update tool. Use one of the following columns to add a single or multiple categories per product:
- WebsiteCategoryIdList – this column expects comma-separated numerical values. Enter the IDs of the categories for each product.
- Categories – this column expects Category Names separated by a tilde (~) symbol. For example, CategoryName1~CategoryName2.
Overview
Sellercloud allows you to update, export, and import Website Categories for Shopping Carts. To be able to manage your Website Categories and execute such actions, you will first need to Integrate your Website with Sellercloud.
Manage Website Categories
You can export and download your Cart Categories on a company level. To do that, navigate to:
- Settings > Company Settings > Open a Company.
- Toolbox > Website > Sellercloud Plug-in Website > Website Cart Categories.
- Select the plugin for your website.
There are two available actions. Export Categories and Download Categories. Exporting them will download an Excel sheet with the PluginID, CompanyID, CategoryID, CategoryName, ParentID, and IsSmartCategory.
When you Download Categories, the plugin will import them from your website to Sellercloud. Once downloaded, you will find the categories listed on the Website Product Properties page. If you choose to re-download the categories, any updates made on your website will be automatically reflected in Sellercloud.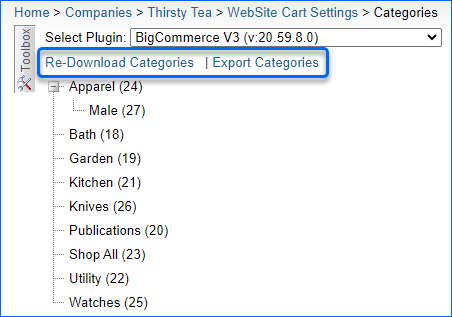
Configure Product Categories for Website
After downloading the categories into Sellercloud, you can assign your products to their respective ones. You can configure website categories for your products individually or in bulk.
Individually
To set cart categories individually, navigate to:
- Catalog > Manage Catalog > Open a Product.
- Toolbox > Website Properties.
- Go to Categories.
In Bulk
To update cart categories in bulk with a file import, navigate to:
- Inventory > Bulk Update Products > Get Template File.
- Choose a format between Excel/TAB Delimited/CSV > Next.
- Add a field WebsiteCategory and an Action.
- Click Download template.

- Populate the generated Template and go back to Sellercloud.
- Website Category.
- Action – _ADD_ or _DELETE_
- Select the filled-in template and click Submit.
With File Import
You can also add or change product website categories with a file import via the Bulk Update tool. Use one of the following columns to add a single or multiple categories per product:
- WebsiteCategoryIdList – this column expects comma-separated numerical values. Enter the IDs of the categories for each product.
- Categories – this column expects Category Names separated by a tilde (~) symbol. For example, CategoryName1~CategoryName2.