Overview
In Sellercloud, you may need to create Custom Company Settings for various reasons, such as plugin customizations or channel integrations. These settings can be configured either per company or per channel. Per-company custom settings can be created by you directly, while per-channel settings must be added by Sellercloud Support.
Custom Company Settings
Client Setting Enable Custom Company Settings must be enabled for this workflow! To enable the setting, navigate to Settings > Client Settings > General Client Settings > UI.
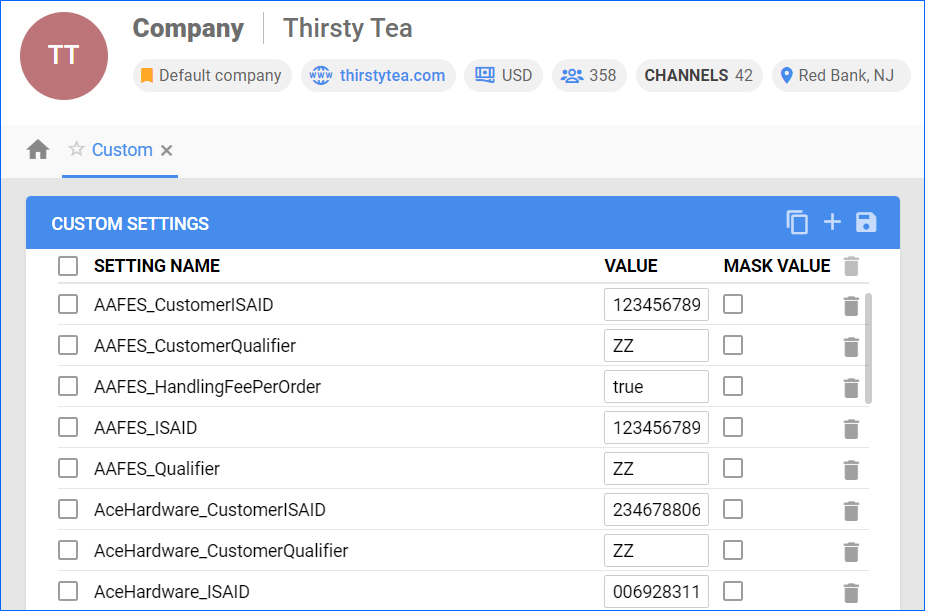
To manage custom settings per company:
- Go to your Company Settings.
- Click Toolbox and select Custom Settings.
- Here you can do the following:
- Click Add New Custom Setting to create a new setting.
- Update existing custom settings’ Name and Value.
- Enable Mask Value to hide the settings’ values from users without Admin Permissions.
- Delete existing custom settings by clicking the Delete icon.
- Select custom settings and then click Copy All Selected Settings To Company to copy the selected settings to another Company.
Alternatively, you can use the Plugin Wizard to simplify the setup of Channel Plugin Integrations through Scheduled Tasks. The wizard guides you through the required steps and helps you create:
- A dedicated Company.
- Custom Company Settings.
- Saved Views to target specific products and orders.
- Scheduled Tasks to run the plugins automatically.
Once configured, you can manage all integrations created through the wizard on the Manage Plugin Channels page.
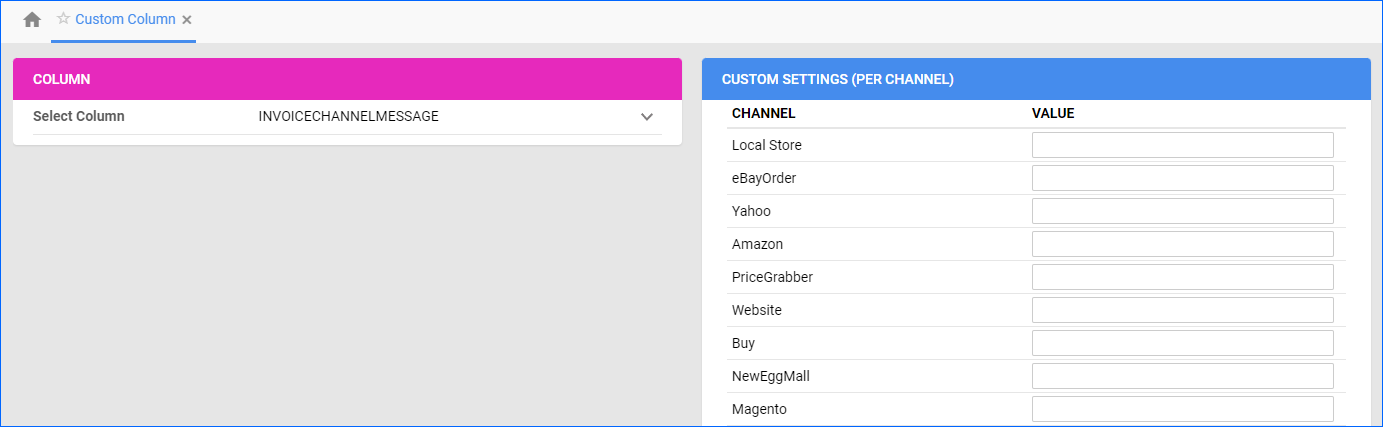
Custom Settings per Channel
To request per-channel settings, open a ticket in the Support Portal and include the list of columns you need. To manage existing custom settings per channel:
- Go to your Company Settings.
- Select Toolbox > Custom Settings Per Channel.
- Click Edit.
- Click the Select Column dropdown and choose a custom column.
- Set the value for each channel.
- Click Save.