Overview
Sellercloud’s Customer Groups feature lets you easily organize and filter your customer list. In this article, you will learn how to configure and manage your customer groups, add customers to established groups, and adjust prices for customers in groups.
Once created, Customer Groups can be used as a filter on the Manage Customers page.
Configure Customer Groups
Create, edit, or delete Customer Groups depending on your business needs.
Create Customer Groups
To create Customer Groups:
- Go to Customers > Click on Customer Groups.
- Click the green + icon at the bottom right corner of the screen.
- Enter your Customer Group Name and click Create.

Delete Customer Groups
To delete Customer Groups:
- Go to Customers > Click on Customer Groups.
- Click Search and select one or more groups from the grid.
- Click the Action Menu on the bottom right and confirm the deletion.
Add Customer to Groups
You can add customers to groups individually or in bulk.
Customer Level
You can add customers to groups from the Manage Customers page individually or in bulk.
Individually
To add a customer to a group from the Customer Details page:
- Go to Customers > Click on Manage Customer > Open a Customer.
- Click Edit and navigate to the Customer Groups panel.

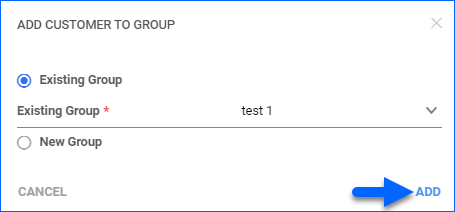
- Click the + icon and select if you want to add the customer to an existing or new group.
- Click Add.
In Bulk
To add multiple customers to a group:
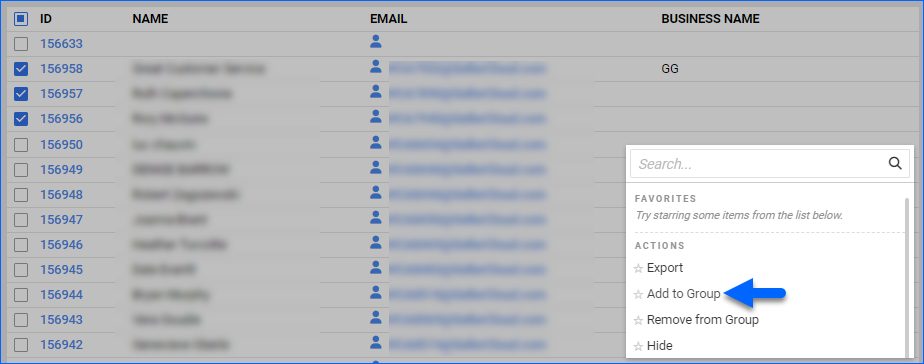
- Go to Customers > Click on Manage Customers.
- Select Customers > Click on Action Menu and select Add to Group.
- Select if you want to add the customer to an existing or new group.
- Click Add.
Group Level
You can add customers to groups from the Customer Groups page, individually or in bulk.
Individually
To add customers individually, navigate to:
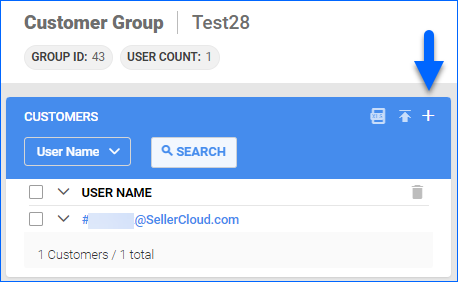
- Go to Customers > Click on Customer Groups and open a group.
- Click the + icon in the Customers Panel.
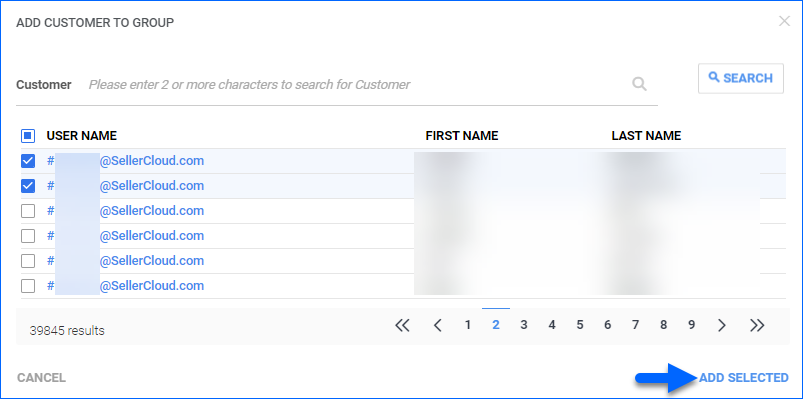
- Select customer/s and click on Add Selected.
In Bulk
To add multiple customers to a company in bulk:
- Go to Customers > Select Tools > Import Customers.
- To import customer information via Plugin or Import Mappig profile select one from the dropdown menu next to Import Via Plugin.
- Select a File Type > Click the Download icon to download a template file.
- Enter the appropriate group name into the column UserGroupName. The group name must exist in Sellercloud beforehand.
- Save the file and go back to Sellercloud to upload it.
- You can enable the checkbox Plugin Doesn’t Require Input File in cases where the plugin uses information directly from an external URL or 3rd party software.
- Click Import.

Prices for Customers in Groups
If you have a specific range of customers you want to discount products for, you can group them accordingly and upload product prices.
To download the Price template and upload prices back to the group, navigate to:
- Go to Customers > Click on Customer Groups and open a group.
- Click on Download Prices for Customers in Group Template.
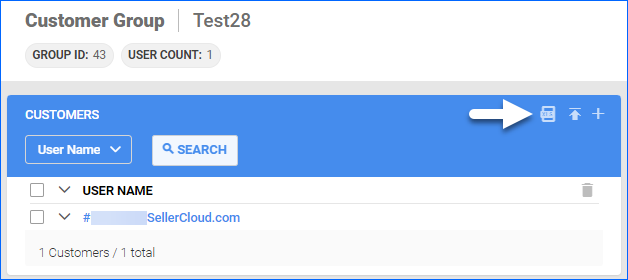
- An Excel sheet containing the following will be downloaded to your device:
- SKU
- Wholesale Price
- Start Date
- End Date
- Populate the required information and go back to Sellercloud.
- Click on Upload Prices for Customers in Group Template.
- Drag the newly created file.
- Click Upload.
Understanding customer groups
To create a customer group:
- Go to the Customers tab > User Groups.
- Enter a Group Name > Click Create New Group.
- You can click Edit to view/edit a group’s information. You can also check a group > Action menu > Delete > Go to delete a group.

Adding customers to a group
You can add customers to a group in bulk or individually.
To add in bulk, the customer group must already be created. New and existing customers can be added to groups in bulk through the import customers feature. Simply enter the appropriate group name into the column UserGroupName.
To add manually, the customer account must already be created. You can add customers individually in two ways:
- On the Manage Customers page, check your customers and select the action Add to Group. From there, you can add to an existing group or create a new group.
- On the Customer Details page: Select the group from the Add user to Group dropdown > Save.


