Overview
In this article, you will learn how to integrate Google Shopping into your Sellercloud account. This will allow you to post products, manage listings, and enable automatic updates.
Prerequisites
To sell on Google, you must first Register and Set Up a Google Merchant Center account.
If you have an account, log in to the Google Merchant Center, and then:
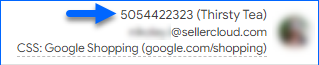
- Copy your Merchant ID on the top right and save it somewhere for later. This is the unique numeric code assigned to you when you set up your payments profile.
- If you haven’t completed your Google Merchant Center onboarding yet, make sure to complete it now. For help, you can:
- Contact Google’s Support Team for assistance (recommended).
- Check Google’s Onboarding Guide.
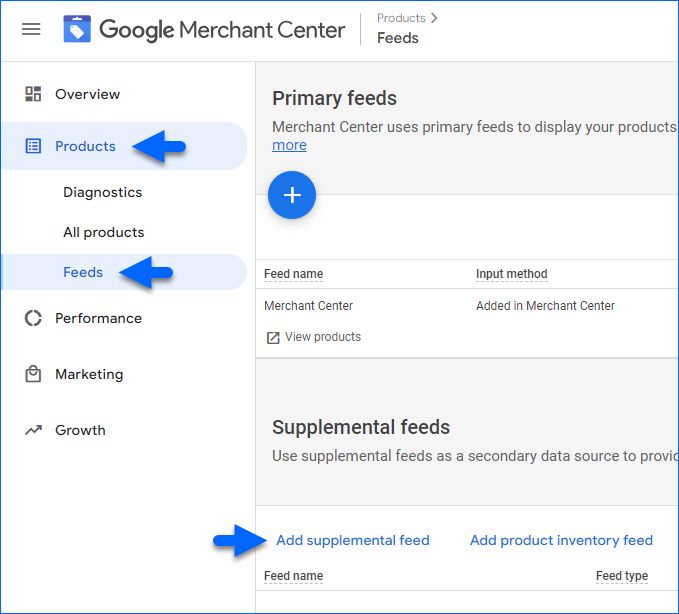
- Create a Supplemental Feed (in the classic user interface):
- Select Products on the left.
- Select the Feeds section.
- Click Add supplemental feed.
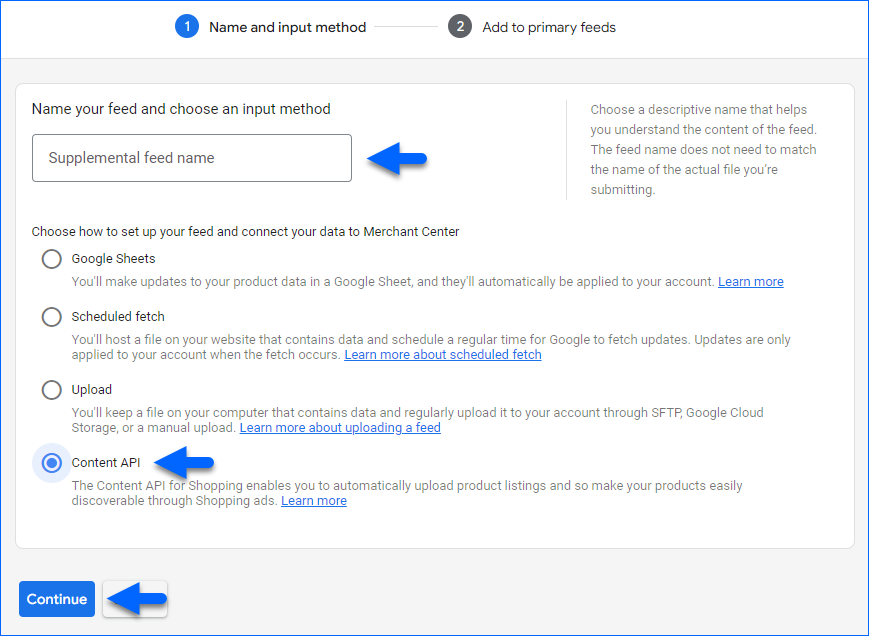
- Enter a Name and choose Content API for the input method.
- Click Continue.
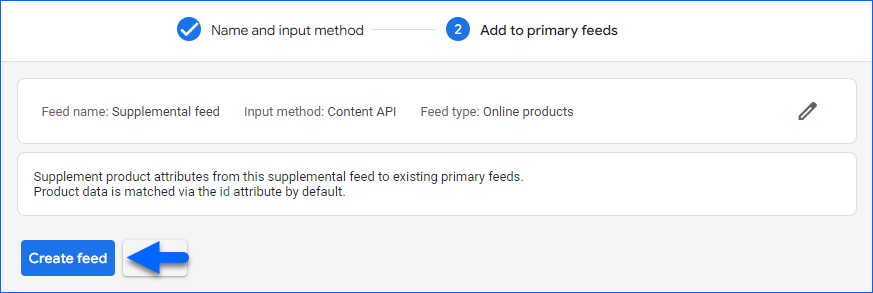
- Do not check anything on the Add to primary feeds page; just click Create feed.
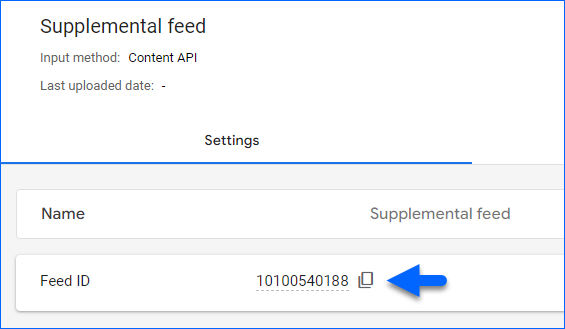
- Click the feed’s name, copy the Feed ID, and save it somewhere for later.
Next, contact Sellercloud Support to ensure that:
- The service GoogleOrderServices is enabled on your server.
- The AppSetting GoogleExpressContentAPIVersionForInventory is set to v2.1
Integrate Google Shopping
To integrate your Google Shopping account into Sellercloud:
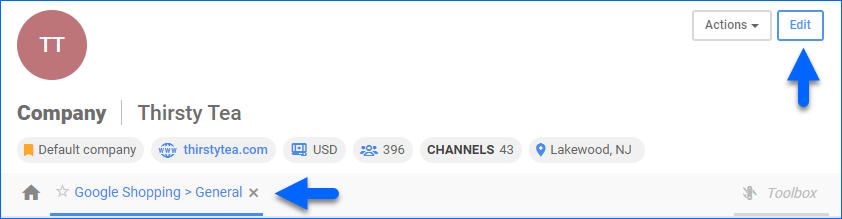
- Go to Company Settings.
- Click Toolbox and select Channels > Google Shopping > General Settings.
- Click the Edit button.
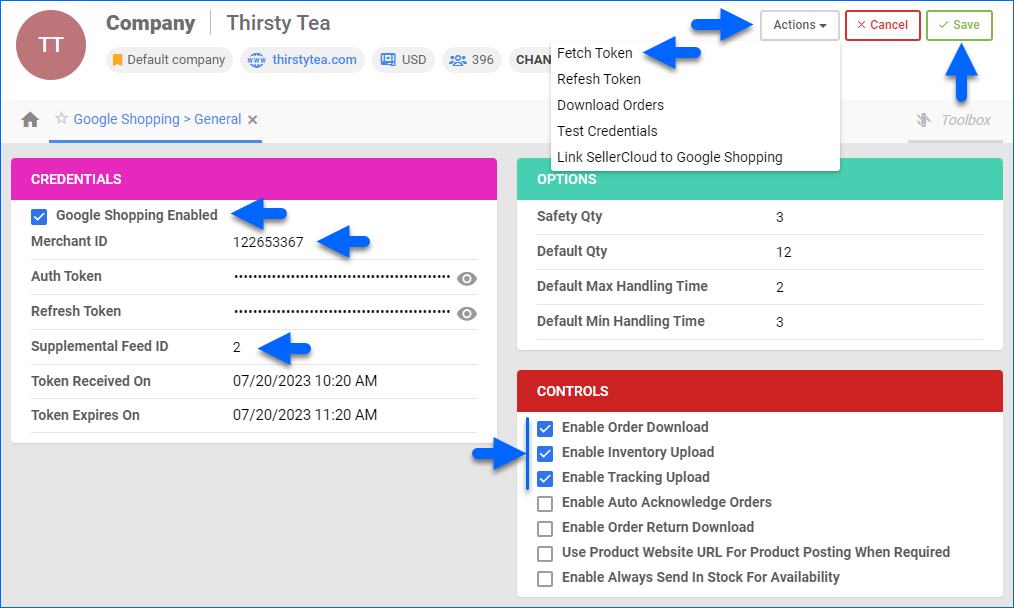
- Check Google Shopping Enabled in the Credentials panel.
- Enter the merchant ID you saved earlier into the Merchant ID field.
- Enter the feed ID you saved earlier into the Supplemental Feed ID field.
- Click Actions and select Fetch Token to populate the Auth Token field. The token lasts for 60 minutes but auto-refreshes hourly after the initial authorization.
- Check Enable Order download, Enable Inventory Upload, and Enable Tracking Upload.
- Click Save.
Optionally, you can configure the rest of the settings on this page. To learn what each setting does, see the next section of this article.
General Settings and Actions
You can configure the following settings on the Google Shopping > General Settings page:
| SETTING | DESCRIPTION |
| CREDENTIALS | |
| Google Shopping Enabled | Enables the Google Shopping integration. |
| Merchant ID | Enter your merchant ID from Google Shopping. |
| Auth Token | Filled in automatically after authentication with the Fetch Token action. |
| Refresh Token | Filled in automatically after authentication with the Refresh Token action. |
| Supplemental Feed ID | Enter your supplemental feed ID from Google Shopping. |
| Token Received On | Filled in automatically after authentication. |
| Token Expires On | Filled in automatically after authentication. |
| OPTIONS | |
| You can override these options per product on the Google Shopping Properties page. |
|
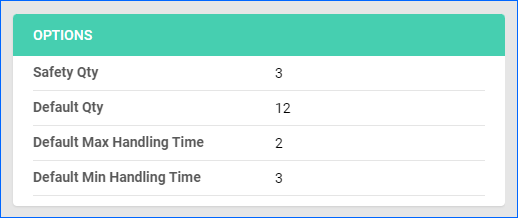
| Safety Qty | Sets the default Safety Quantity for products on Google Shopping. |
| Default Qty | Sets a default number of Replenishable Products that will always be available on the channel. |
| Default Max Handling Time | Sets a default maximum time from order placement to shipment. |
| Default Min Handling Time | Sets a default minimum time from order placement to shipment. |
| CONTROLS | |
| Enable Order Download | Automatically download Google Shopping orders to Sellercloud. |
| Enable Inventory Upload | Automatically upload inventory information from Sellercloud to Google Shopping. |
| Enable Tracking Upload | Automatically upload tracking information from Sellercloud to Google Shopping. |
| Enable Auto Acknowledge Orders | Automatically send order acknowledgment from Sellercloud to Google Shopping after downloading orders. |
| Enable Order Return Download | Automatically download returned Google Shopping orders to Sellercloud. |
| Use Product Website URL For Product Posting When Required | Enable to use the URL from the Redirect URL option (no longer available for new setups) in the Credentials section for product posting when required. |
| Enable Always Send In Stock For Availability | Enable to always show products as In Stock, even when there’s no available inventory in Sellercloud. Disable to list products as Out of Stock when there’s no available inventory. |
In addition, you can access the following options by clicking the Actions button:
| ACTION | DESCRIPTION |
| Fetch Token | Authenticate and grant Sellercloud permission to access your Google account. |
| Refresh Token | Manually refresh the authentication token. |
| Download Orders | Manually download orders from Google Shopping to Sellercloud. |
| Test Credentials | Verify your Google Shopping credentials. |
| Link SellerCloud to Google Shopping | Authenticate a developer account. |
Next Steps
After enabling the integration, the next step is to set up products and product settings:
- On the Google Shopping > General Settings page, you can configure the default Safety Qty, Default Qty, Default Max Handling Time, and Default Min Handling Time settings for all products.
- You can override the default settings on the product level, set up properties, and take product-related actions on the Google Shopping Properties page.
- Create a Shipping Template.
Integrate with Google Shopping on Alpha interface
Prerequisites:
- To advertise products on Google, you must first become eligible.
- You must contact Sellercloud Support to enable GoogleOrderServices on your server (if not already running).
Onboarding to Shopping Actions
This procedure comprises numerous configuration steps needing completion in Sellercloud and the Google Merchant Center.
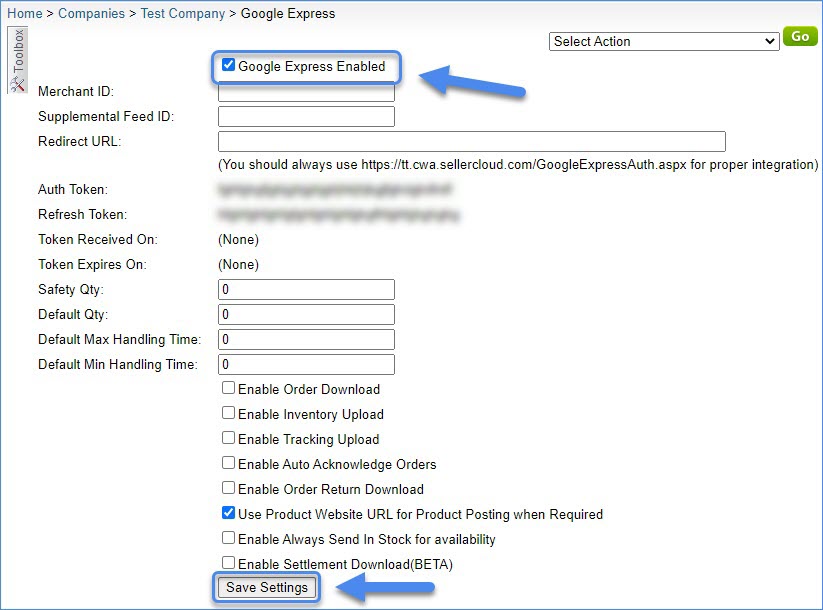
- In Sellercloud, click Company Settings > Toolbox > Google Express.
- Select Google Express Enabled > Save Settings. This is required for 2 reasons: One, for your account to go live when you are ready; and two, to configure your products’ Google Express properties in Step #4.
- Create a shipping template for Google Express. Note: A shipping template is a prerequisite for Step #4.
- Configure your products’ Google Express properties. Note: Unchecking Require Link For Product Posting (shown above in the sample screen) disables the requirement to enter each product’s public URL when configuring its Google Express properties.
- Log into your Google Merchant Center and copy your Merchant ID from the upper left corner. This is the unique numeric code assigned to you when you set up your payments profile.
- In Sellercloud, go to your Company Settings > Toolbox > Google Express > paste the copied Merchant ID into the Merchant ID field.
- Create a Supplemental Feed on your Google Express account
Please note that AppSetting GoogleExpressContentAPIVersionForInventory needs to be set to v2.1. You can create a ticket to Sellercloud Support to confirm this has been done.
If you wish to learn more about the migration of the content API to version 2.1, please read here.
- In Sellercloud, go to your Company Settings > Toolbox > Google Express and paste the copied Supplemental Feed ID into the Supplemental Feed ID field.
- Perform the following 2 steps:

- Enter your Shopping Actions URL in the Redirect URL field. The correct URL format appears right below this field for guidance.
- Click Action Menu > Fetch Token > Go to populate the Auth Token field.
Note: The token expires in 60 minutes, but seamlessly auto-refreshes each hour after you initially authorize it.
- Complete the following 3 settings:
Here, you will configure these settings at the company level to default for all products; however, you can always override each of these settings at the product level on each product’s Google Express page.
- Safety Qty – Set a default safety quantity
- Default Max Handling Time – Enter the maximum amount of time from when the order is placed until the order will be shipped.
- Default Min Handling Time – Enter the minimum amount of time from when the order is placed until the order will be shipped
- Return to your Merchant Center. To make the following configuration steps even easier, let Shopping Actions guide you through the required pages and settings. Show me how!
- Choose a product feed that you would like to sell through Shopping Actions. Show me.
- Set up proper user roles. Required roles are Payments manager, Order manager, and Admin. Show me.
Also, see this Google Merchant Center Support Quickstart article. - Upload branding. Show me. Also, see this Google Merchant Center Quickstart article.
- Set up tax settings. Show me. Also, see this Google Merchant Center Quickstart article.
- Set up returns policies. Show me. Be sure to enter at least one policy and one return address. Also, see this Google Merchant Center Quickstart article.
- Set up payments (will require the Payment manager user role). Show me. Also, see this Google Merchant Center Quickstart article.
- Configure these settings to complete onboarding. Show me.
- Customer Service Contact Email
- Marketing Settings
- Privacy Policy URL
- When you are ready to go live: Return to Sellercloud’s Company Settings > Toolbox > Google Express > and select these settings:
- Enable Order Download – Only select when you are ready to ship orders. This auto-imports Google Express orders.
- Enable Inventory Upload – Only select when your inventory is accurate for listings.
- Enable Auto Acknowledge Orders – Select to automatically acknowledge orders
- Enable Order Return Download
- Enable Tracking Upload – Only select when you are ready to go live
- Click Save Settings.
- Submit the account for review. Generally, this takes about a week but maybe longer if Google lacks all their required information. Watch for emails from Google Support.
- Launch.
Post-launching actions
- In the Merchant Center, review Product Approvals and Disapprovals.
- Verify your offers live on Google.
- Verify that orders are coming in via the Orders tab in the Merchant Center and in Sellercloud.
- Optimize your estimated Delivery Dates (handling time + shipping).
- Review your retailer standards and make adjustments, if needed. See this Google Merchant Center Quickstart article.
- Enable promotions for % off discounts, promo codes, $ off discounts, and quantity discounts. To start the process, complete this Merchant Promotions Interest Form. After approval, create individual promotions or use a promotion feed.
- Competitive pricing and expanded assortment are key to growing your business. Use Shopping Actions insights reporting to see how competitive your products are and determine which products to add to your assortment. Learn more about Shopping Actions Insights.