Overview
Houzz Locations is a feature that allows you to manage and track inventory across multiple physical locations. It helps fulfill orders from the closest or most appropriate location, track inventory levels, and manage stock transfers. This article explains how to set up and map your Houzz Locations in Sellercloud.
Prerequisites
First, you must create and configure locations on the Houzz portal before adding them to Sellercloud.
After you integrate Sellercloud with your Houzz account and create your Locations, you should add and map them to your Sellercloud Warehouses.
Manage Houzz Locations
Seamlessly create, edit, or delete Houzz locations in Sellercloud and manage their associated safety quantity as needed.
Create Locations
You can create Houzz Locations in Sellercloud in a few simple steps. The IDs of your Houzz locations will be visible in Sellercloud.
- Go to Settings > Companies > Manage Companies.
- Open a company > Toolbox > Houzz > Locations.
- Click Edit > press the plus icon in the Houzz Locations panel header.
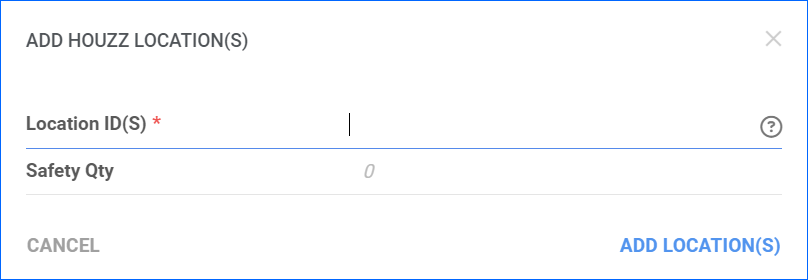
- In the pop-up dialogue, enter:
- Location ID(S) – should match the ID in Houzz. You can enter several IDs separated by a comma to add locations in bulk.
- Safety Qty – here, you can set a Safety Quantity for the specified location. If you include a list of locations, this safety qty will apply to all of them.
- Click Add Location ID(S).
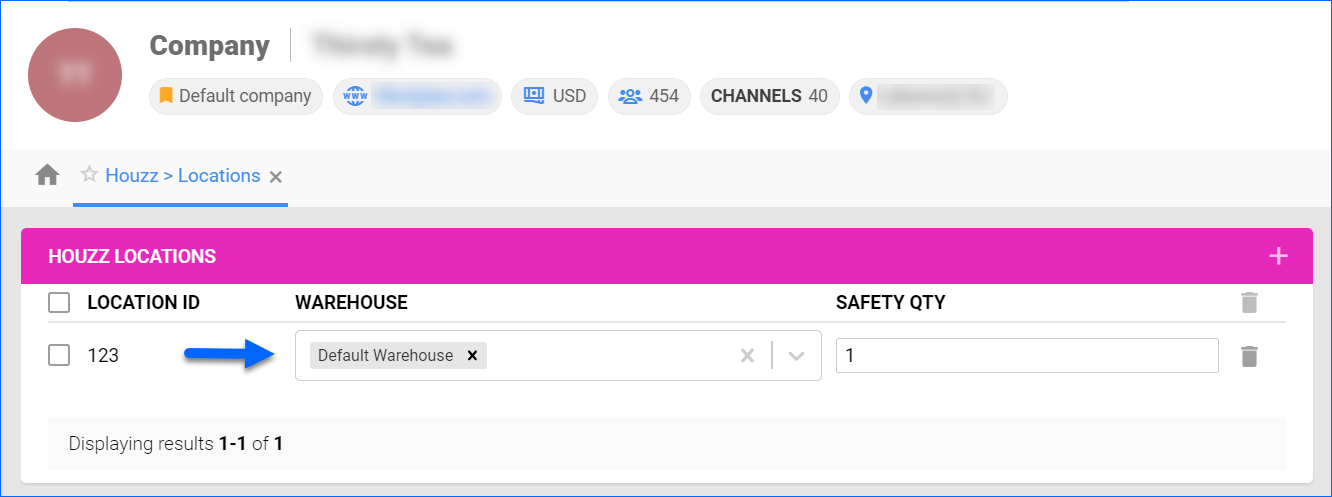
Map Locations to Sellercloud Warehouses
Once you configure your Houzz Locations, each must be mapped to a Warehouse in Sellercloud. This mapping will determine which warehouse’s available inventory is sent to which location and prevent errors when updating inventory.
To map Houzz Locations to your Sellercloud Warehouses:
- Navigate to Settings > Companies > Open a Company.
- Toolbox > Houzz > Locations > Click Edit.
- In the Warehouse dropdown, choose your desired warehouse(s).
- Click Save.