Overview
Sellercloud’s Launch on Channel feature enables you to seamlessly list your products on various channels using a single interface. Before listing a product, it is necessary to integrate the selected channel with your Sellercloud account and ensure that your products are Ready to Post.
Following the launch, Sellercloud provides a comprehensive set of tools to Manage your Channel Listings, allowing you to execute diverse actions tailored to the specific requirements of each marketplace.
Launch Channel Listings
When products are Enabled and ready for posting, you can use the Launch on Channel option to list them, either individually or in bulk. Alternatively, you can automate the process using Sellercloud’s Product Publishing Tool.
Individually
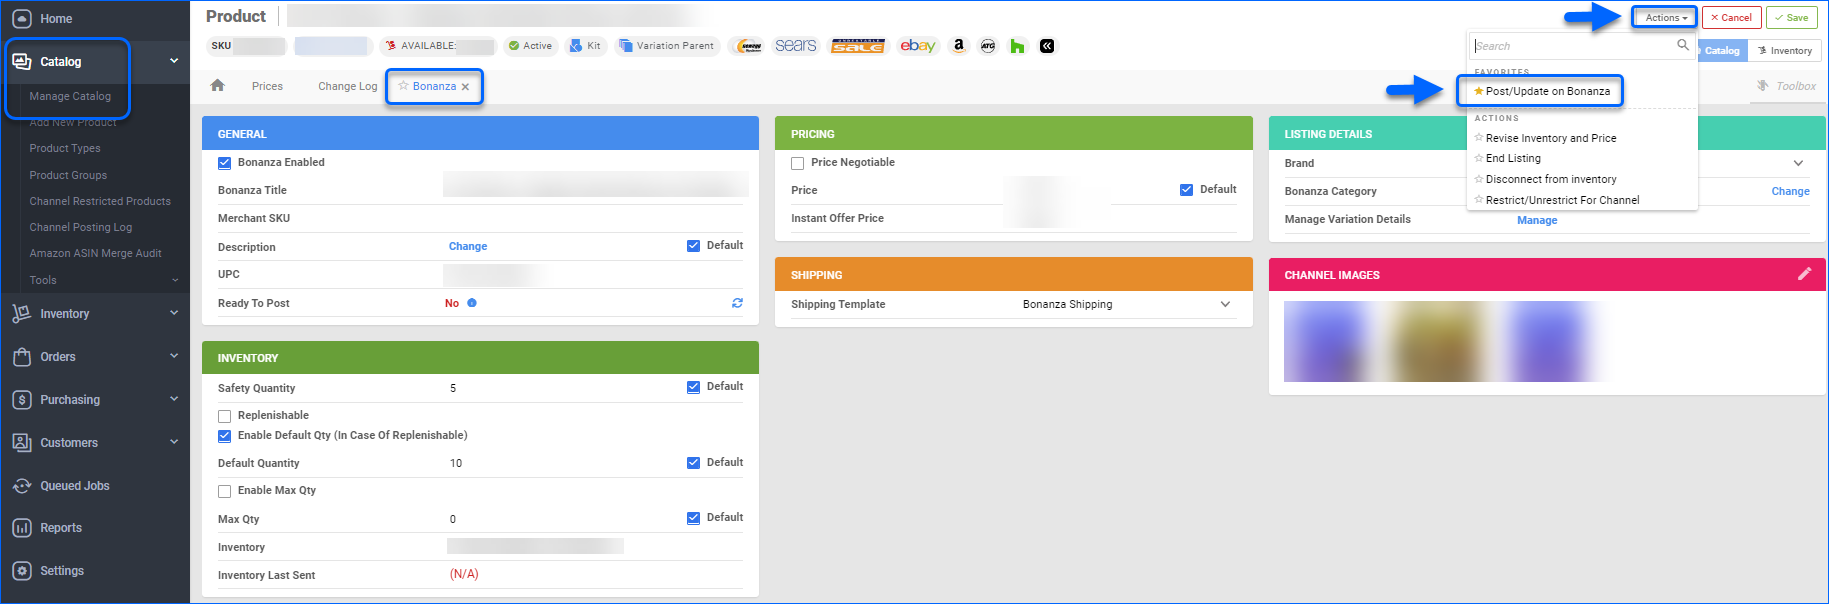
You can also post products individually:
- Access Catalog > Manage Catalog and open your product.
- From its Toolbox choose the required Channel.
- Click Actions and select Post on Channel/List on Channel.
In Bulk
If required, you can launch multiple products on your chosen retail Channel:
- Access Catalog > Manage Catalog > Select your products.
- Click the Action menu and choose Launch on Channel.
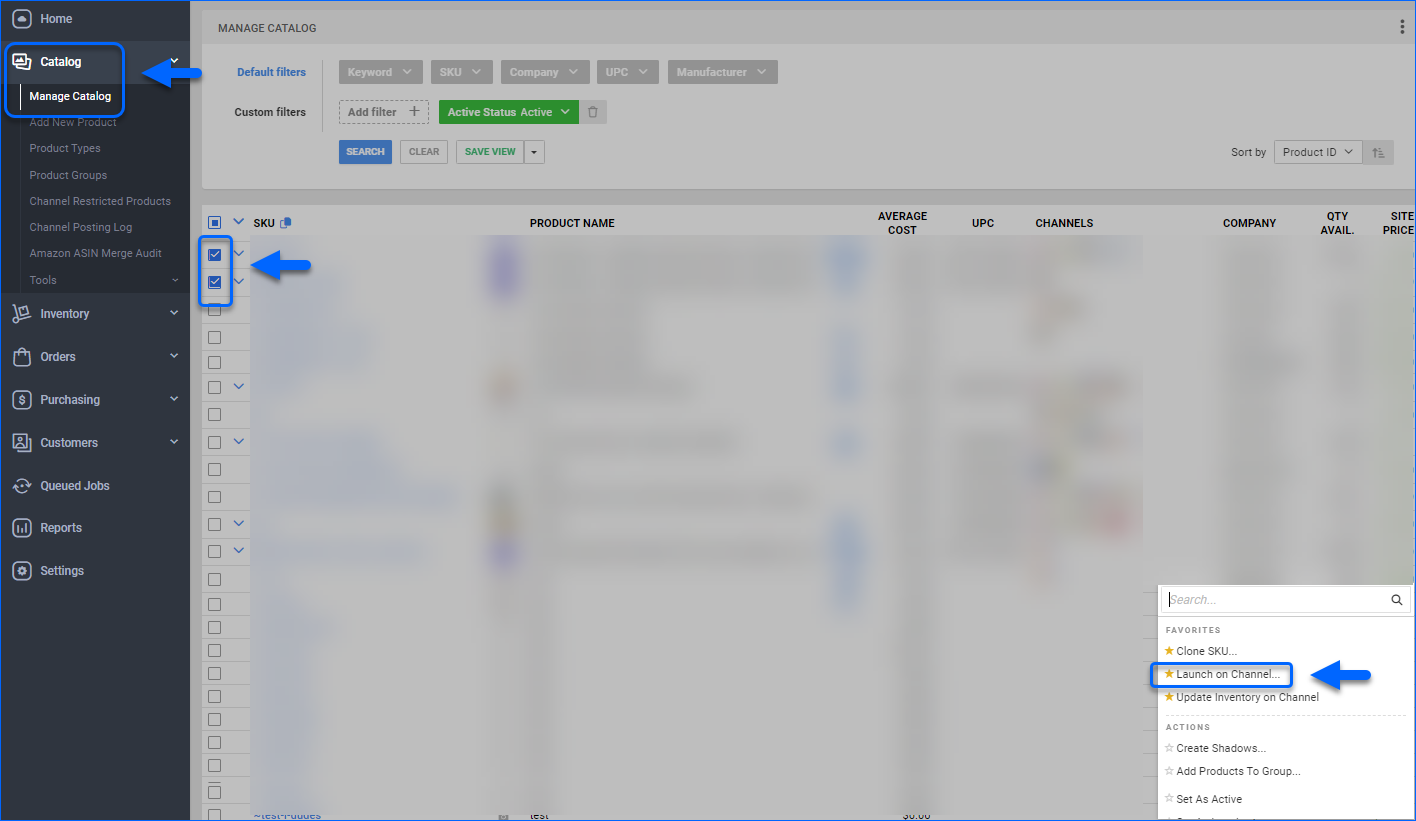
- Select the desired Channel from the dropdown menu and click Launch.
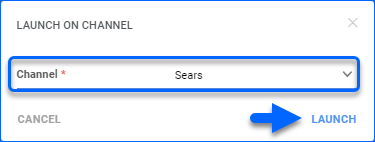
A Queued Job is created and when completed, your products will be posted on the selected channel.
Channel Posting Log
Every time you post a listing on a channel, for example Amazon or Walmart Marketplace, a record of the action is registered in Sellercloud’s Channel Posting Log.
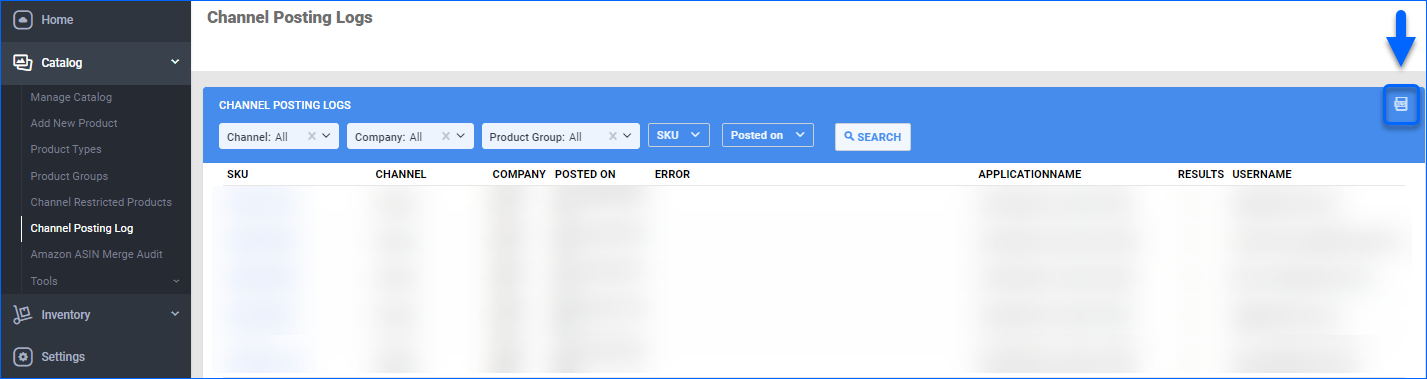
To locate your company’s posting records, navigate to Catalog and click Channel Posting Log.
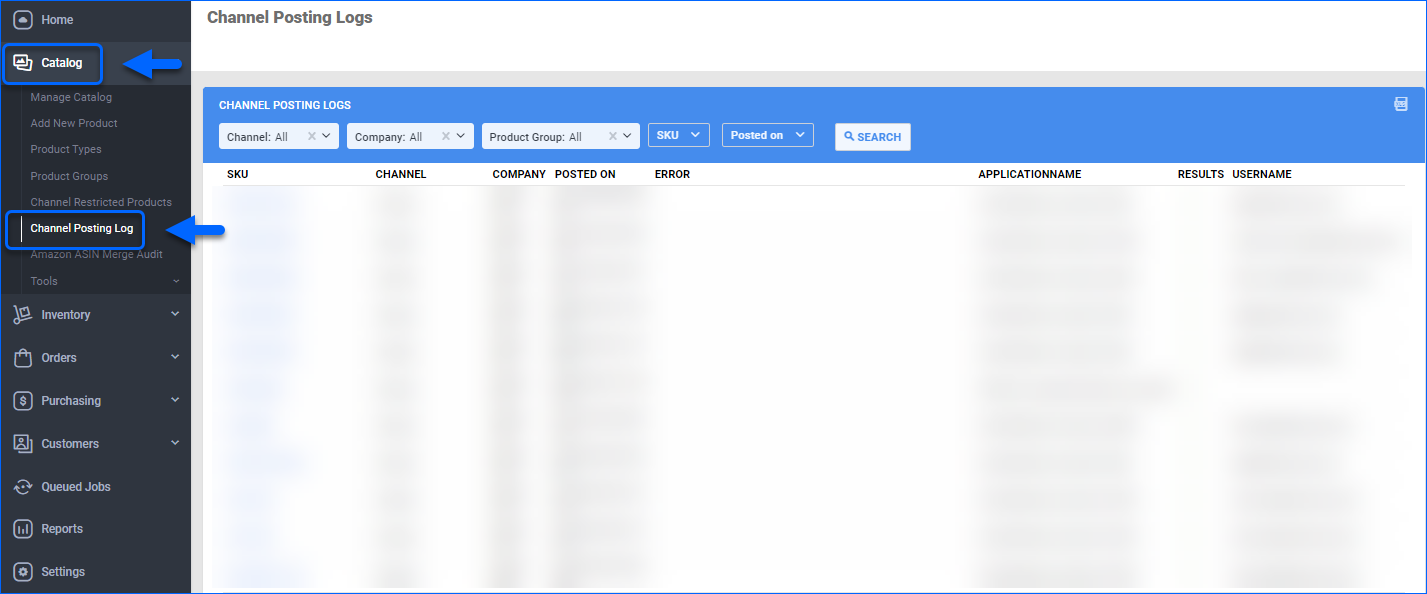
You can limit the number of displayed logs, by using the available filters and clicking the Search button.
Export to Excel
If you wish to export your channel posting logs list, click the Export to Excel button.
The exported Excel file will contain the following columns:
- ProductID – Product’s SKU.
- ErrorMessage – If the listing launch is unsuccessful, the reason will be displayed in this field.
- PostedOn – This is the date on which the posting was attempted.
- Username – The email of the person who attempted to post the listing.
- ApplicationName – The way the posting was requested (e.g. via a Queued job).
- IsSuccess – If the posting was successful, the value in this field will be True. In case of an error, it will be False.
- Company Name – The company associated with the posting.
- Channel Name – In this field, you can find on which channel the listing was published.
Overview
Sellercloud’s Launch on Channel feature enables you to seamlessly list your products on various channels using a single interface. Before listing a product, it is necessary to integrate the selected channel with your Sellercloud account and ensure that your products are Ready to Post.
Following the launch, Sellercloud provides a comprehensive set of tools to Manage your Channel Listings, allowing you to execute diverse actions tailored to the specific requirements of each marketplace.
Launch Channel Listings
When products are Enabled and ready for posting, you can use the Launch on Channel option to list them, either individually or in bulk. Alternatively, you can automate the process using Sellercloud’s Product Publishing Tool.
Individually
You can also post products individually:
- Access Inventory > Manage Inventory and open your product.
- From its Toolbox choose the required Channel.
- Click Select Action > Post/List Product to Channel and press Go.

In Bulk
If required, you can launch multiple products on your chosen retail Channel:
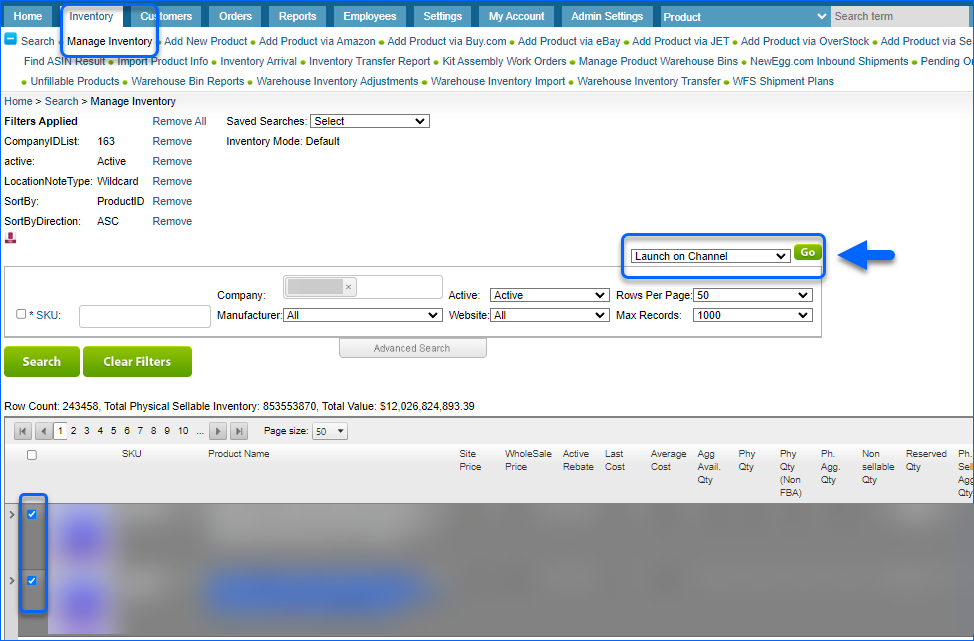
- Access Inventory > Manage Inventory > Select your products.
- Click the Select Action menu, choose Launch on Channel and press Go.
- Select the desired Channel from the dropdown menu and click Continue.
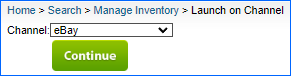
A Queued Job is created and when completed, your products will be posted on the selected channel.
Channel Posting Log
Every time you post a listing on a channel, for example Amazon or Walmart Marketplace, a record of the action is registered in Sellercloud’s Channel Posting Log.
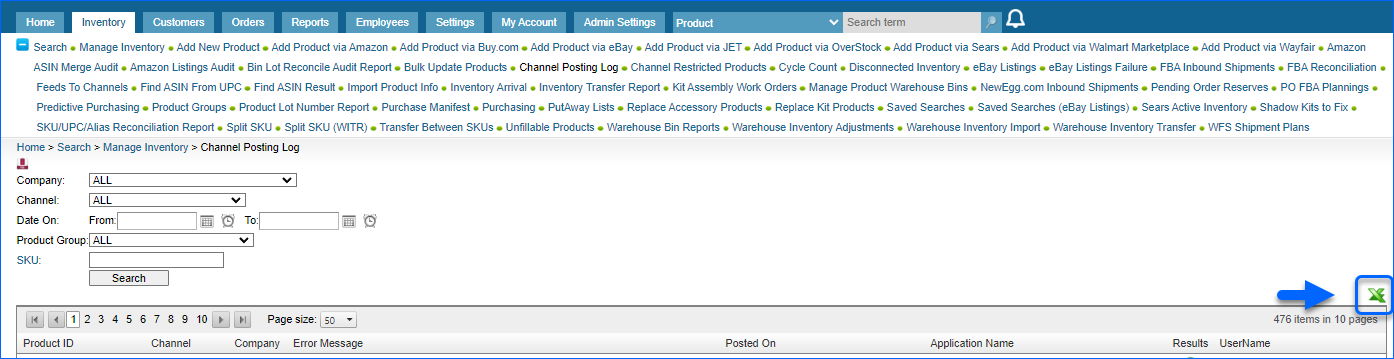
To locate your company’s posting records, navigate to Inventory and click Channel Posting Log.
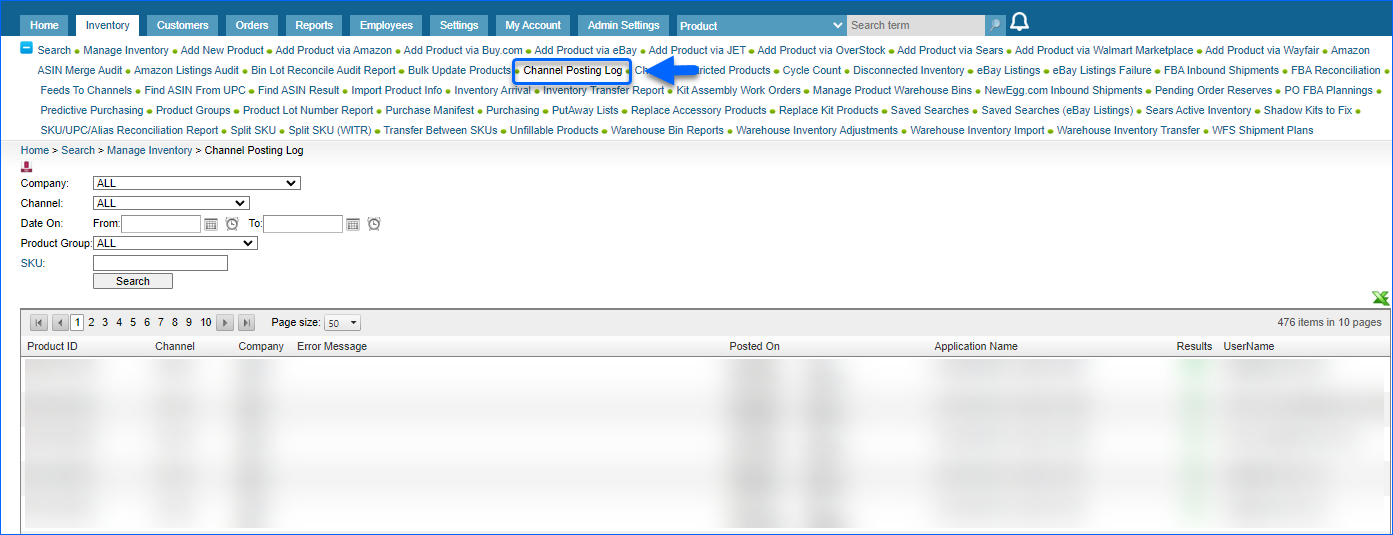
You can limit the number of displayed logs, by using the available filters and clicking the Search button.
Export to Excel
If you wish to export your channel posting logs list, click the Export to Excel button.
The exported Excel file will contain the following columns:
- ProductID – Product’s SKU.
- ErrorMessage – If the listing launch is unsuccessful, the reason will be displayed in this field.
- PostedOn – This is the date on which the posting was attempted.
- Username – The email of the person who attempted to post the listing.
- ApplicationName – The way the posting was requested (e.g. via a Queued job).
- IsSuccess – If the posting was successful, the value in this field will be True. In case of an error, it will be False.
- Company Name – The company associated with the posting.
- Channel Name – In this field, you can find on which channel the listing was published.