Overview
With Sellercloud, you can print product and location labels to simplify product identification during order fulfillment. Scanning labels with barcodes helps in picking and packing orders, ensuring customers receive the correct items. Using product labels in your warehouse management can improve efficiency, decrease labor costs, and increase customer satisfaction by reducing shipping errors and speeding up fulfillment.
You can customize the information you want printed on the labels, including basic information, like SKU or UPC with barcodes, or more information, like the ASIN or brand. You can also print labels in various sizes and formats to meet different requirements.
Printing Options
You can print product labels per product or per order. The following printing options are available:
- Location Labels – These contain the product’s Name and SKU, a UPC barcode, a Location Notes barcode, and lists of Aliases and Replacement SKUs.
- Product Labels – When printing a product label, you can select a product identifier and the label size:
- SKU – The product’s Sellercloud SKU (Stock Keeping Unit).
- UPC – The product’s UPC (Universal Product Code), a unique barcode used for product identification and tracking.
- ALIAS – One of the product’s Aliases.
- ASIN – The product’s ASIN (Amazon Standard Identification Number), specific to Amazon products, for easy cataloging.
- FNSKU – The Amazon FNSKU (Fulfillment Network Stock Keeping Unit), used to identify products stored in their fulfillment centers.
- EAN – The product’s EAN (European Article Number), a unique barcode standard commonly used in Europe.
- GTIN – The product’s GTIN (Global Trade Item Number), a unique product identifier used worldwide for retail products.
- Detailed – Available only when printing per order. These contain the product’s SKU, the UPC and a UPC barcode, the Brand, and the Manufacturer SKU.
- Label Paper – Available only when printing per order. These contain the product’s Name and SKU, a Location Notes barcode, and the product’s Condition.
- Plugin or Profile – Use a Custom-Made Plugin or a Word to PDF profile to print labels. See Word2PDF Labels for more information.
Print Per Product
You can print product labels per product individually or in bulk.
Individually
To print product labels individually:
- Go to a Product Details Page.
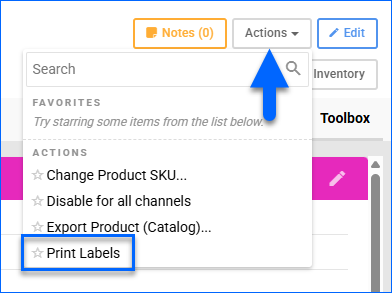
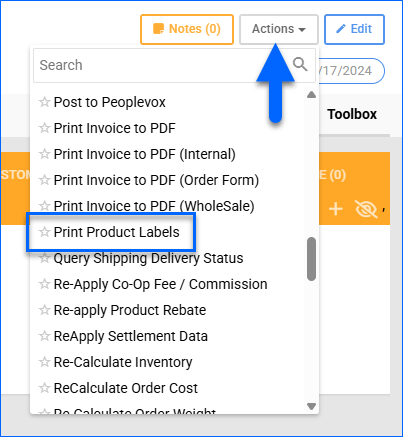
- Click Actions and select Print Labels.
- Select from the Printing Options. If you choose Product Labels, you may also be able to select a Label Size Option.
- Enter the Label Quantity to print.
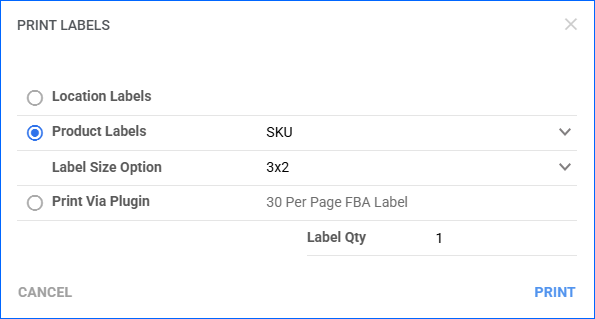
- Click Print. Your labels will be generated in a PDF file and downloaded to your device.
In Bulk
To bulk-print product labels:
- Go to Catalog > Manage Catalog or Inventory > Manage Inventory.
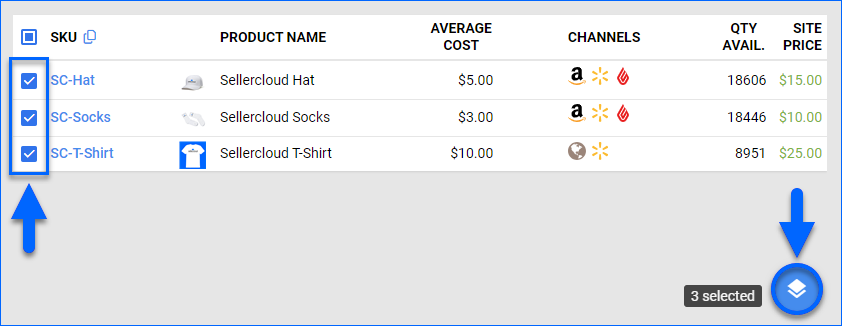
- Search and then select products.
- Click Actions at the bottom right and select Print Labels.
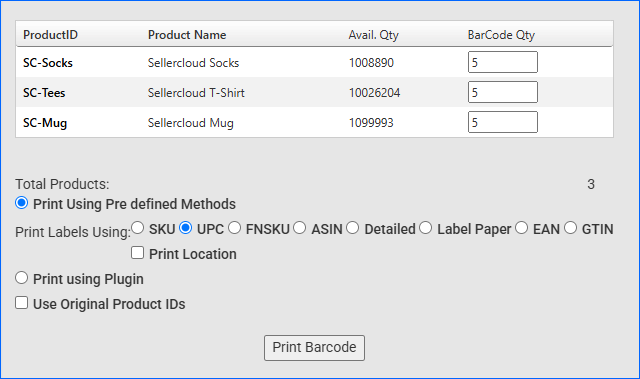
- The Products panel lists the selected SKUs, with their names and the available inventory.
- Enter the number of labels to print in the Label Quantity field. Click the arrows icon to auto-populate this field with the product’s full Available Quantity.

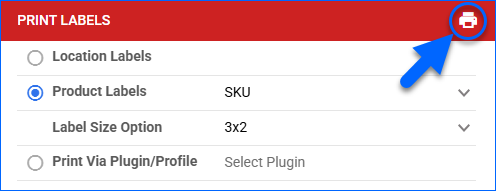
- In the Print Labels panel, select from the Printing Options.
- Click Print to generate the labels in a PDF file and download them to your device.
Print Per Order
You can print product labels per order individually or in bulk.
Individually
To print product labels for a single order:
- Go to the Order Details Page.
- Click Actions and select Print Labels.
- Enter the number of labels to print in the Barcode Quantity field.
- Select from the Printing Options.
- (Optional) If the order contains Shadow Products, you can check Use Original Product IDs to print labels for the initially requested SKU instead of the shadow.
- Click Print Barcode. This creates a Queued Job, and when it finishes, you will receive a Notification.
In Bulk
To print product labels for specific orders:
- Go to Orders > Manage Orders.
- Search and then select orders.
- Click Actions at the bottom right and select Print Product Labels.

- Select from the Printing Options. If you choose UPC, you can also check Print Location to print a Location Notes barcode.
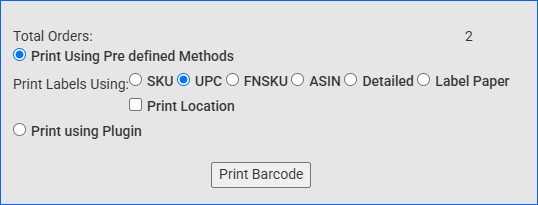
- Click Print Barcode. This creates a Queued Job, and when it finishes, you will receive a Notification.