Overview
Shopify Collections are groups of products used to organize your catalog and improve navigation in your Shopify store. There are two types of Shopify Collections:
- Manual – Contains only the products that are explicitly assigned to the collection. The collection remains unchanged unless products are manually added or removed.
- Smart – Includes products automatically based on defined conditions. You can set multiple rules and control whether products must meet all or any of them to qualify for the collection.
Shopify Account Integration allows you to download your existing Shopify collections into your account and assign them to your products.
Shopify Collections
When downloading Shopify Collections in Sellercloud, the Use Smart Collections setting determines which collection types are included – if enabled, Sellercloud downloads both Manual and Smart collections. If the setting is disabled, only Manual collections are downloaded, excluding any rule-based collections configured in Shopify.
Download Collections
To download your Shopify Collections in Sellercloud:
- Navigate to Settings > Companies > Manage Companies and select a Company.
- Open the Toolbox and find Sellercloud Integrated Website > Shopify Collections.
- Click the icon in the Collections panel to Re-Download Collections.
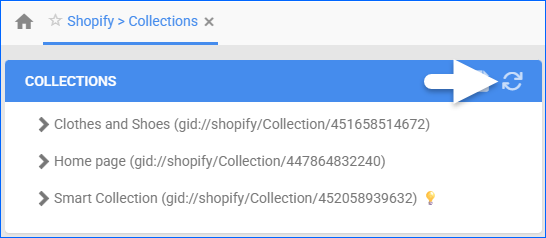
- The collections list will then appear below.
- Optionally, click Export Collections to export their respective IDs and Names into an Excel file. You can later use these values to easily bulk update your products.
Configure Product Collections
Once you have downloaded your Shopify Collections in Sellercloud, you can assign them to your posted products as Website Categories.
Individually
To assign collections to individual products, open the product and navigate to its Website Properties page > Listing Details panel> Select Website Categories.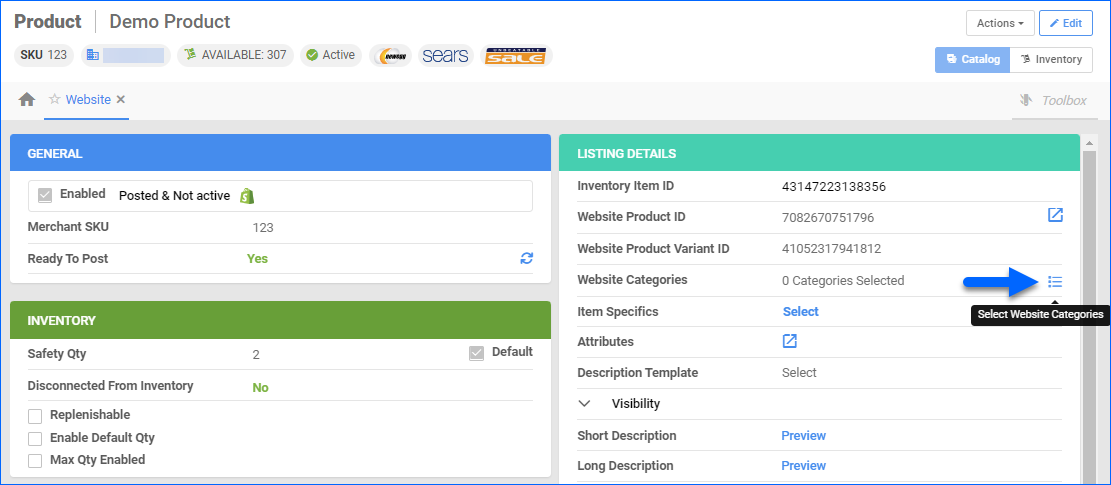
In Bulk
To assign collections for multiple products, select your desired products on the Manage Catalog page, open the Action menu, and select Export Product (Catalog)… In the pop-up window, select Custom and add column header Categories. Select your desired export format and click Export. Performing this action allows you to see the products’ existing categories. 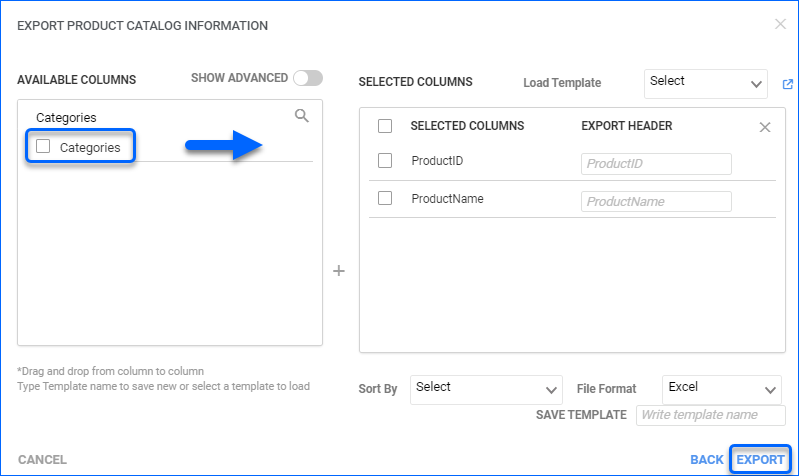 To update them, populate your desired category values in the downloaded file and save it locally. Upload it into Sellercloud using the Bulk Update Products function.