Overview
Authorize.net is a payment gateway service that facilitates online and in-person transactions. Their solution seamlessly connects with Sellercloud’s Waytopay.me application, allowing you to accept payments for customer orders quickly and securely.
This integration allows you to accept payments from the following channels:
- Wholesale
- Local store
- Website
- Magento
Authorize.net supports vaulting, meaning that with each transaction, payment card and personal data are securely stored in their vault. A token is then sent to Sellercloud, allowing for future transactions to be processed without additional card details. This streamlines the checkout experience for your repeat customers, making future purchases faster and more convenient.
Prerequisites
Before you can integrate Authorize.net, open a ticket with Sellercloud Support to ensure that the AuthorizeNet payment processor plugin is installed on your server.
Next, you must obtain an API Login ID and Transaction Key from Authorize.net. To achieve this:
- Log into the Merchant Interface.
- Select Account from the main toolbar.
- Under Security Settings, select API Credentials & Keys.
- Your unique API Login ID will be displayed.
- Select New Transaction Key. To disable an old Transaction Key, check the Disable Old Transaction Key Immediately box. If left unchecked, the old Transaction Key will automatically expire in 24 hours.
- Select Submit to continue.
- Enter your verification PIN and the new Transaction Key will be displayed.
For in-depth instructions, refer to the dedicated Authorize.net article.
To utilize Authorize.net vaulting services, you must enable their Customer Information Manager. To do this:
- Log into your Authorize.net account and navigate to your Merchant Profile.
- Locate Additional Services and enable the Customer Information Manager service.
Learn how to manage the CIM service in detail here.
Integrate Authorize.net
To integrate Authorize.net with WayToPay:
- Log into the Waytopay Merchant Portal.
- Select the company for which you want to set up the Authorize.net payment gateway.
- Click Enable Waytopay for this company.
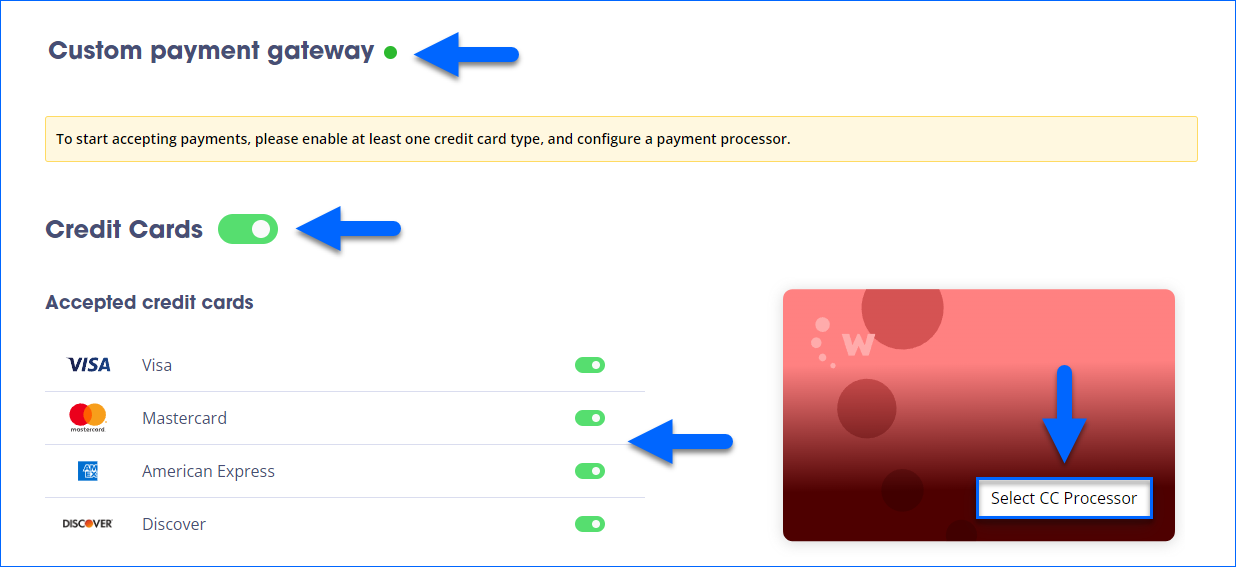
- Select Custom payment gateway.
- Click the button to enable Credit Cards and then enable the desired Accepted credit cards.
- Click Select CC Processor.
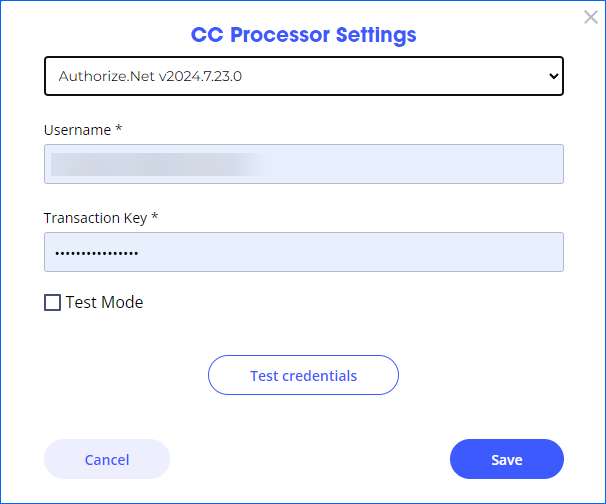
- Select Authorize.net from the dropdown and enter your API Login ID and Transaction Key.
- Click Test credentials to ensure the connection works.
- Click Save.
After completing the above steps, ensure that the Custom payment gateway method is updated with a green dot indicator, signifying the connection. Selecting any other option will disable Authorize.net. 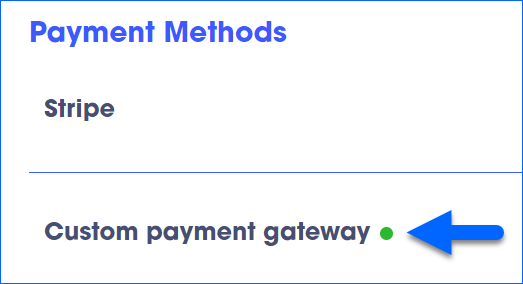
Additional Settings
Apart from connecting a payment processor, you can configure the following payment settings in Waytopay:
- Channels
- Company Alias
- Customer Support
- Payment Notifications
- Payment Preferences
- Other Preferences
Channels
Here, you can see and manage all channels for which you can accept order payments.
To enable or disable Waytopay for specific channels, click Manage channels.
Company Alias
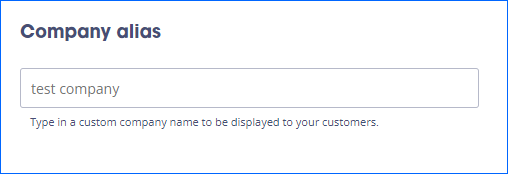
In this section, you can enter an alternative company name to appear on the customer’s payment page.
Customer Support
Here, you can:
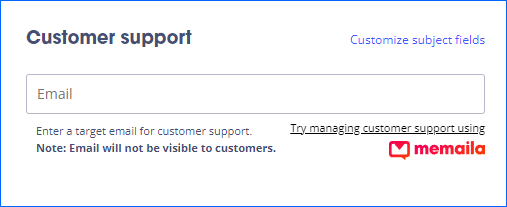
- Try Sellercloud’s live CRM service, Memaila, to effectively communicate with buyers.
- Enter an email as a customer support contact on the payment page. This address will remain hidden from your clients.
- Click Customize subject fields to configure predefined support request reasons in your customer support form.
Payment Notifications
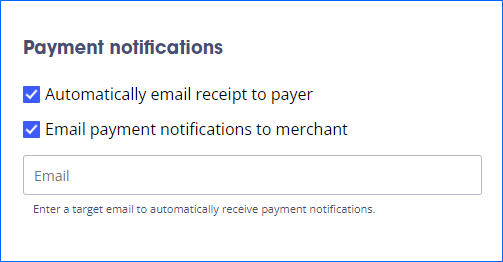
In this section, you can activate the following payment notifications:
- Automatically email receipt to payer – To automatically send an invoice to your customer after a successful charge.
- Email payment notifications to merchant – To receive notifications when payments are processed, check this setting and enter an email address.
Payment Preferences
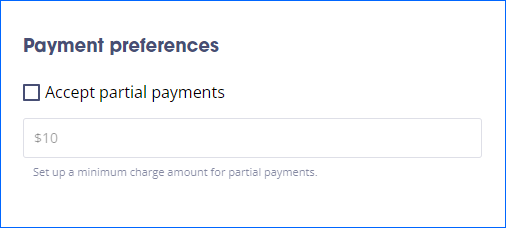
If desired, you can enable the following Payment Preferences:
- Accept partial payments – Check this box to let customers make partial payments.
- Set a minimum charge amount for partial payments.
Other Preferences
Additionally, you have the option to enable the Show back order quantity preference. This setting determines whether to display Backorder Qty and related warnings on the payment page for orders containing backordered items.

