Overview
Amazon Multi-Location Inventory (MLI) is a feature that allows you to manage and track inventory across multiple physical locations. It helps you to fulfill orders from the closest or most appropriate location, track inventory levels, and manage stock transfers between locations.
This article explains how to set up Amazon Locations, map them to your Sellercloud warehouses, and how you can switch from the normal inventory management workflow to MLI.
Enable MLI
Once you have set up your Amazon Account Integration in Sellercloud, and the Multi-Location Inventory feature is enabled in Seller Central:
- Go to Company Settings.
- Open the Toolbox > Amazon General Settings.
- Click Edit.
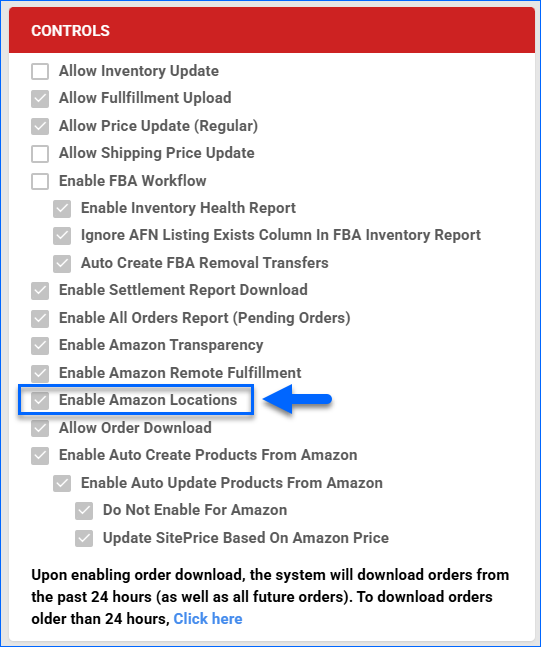
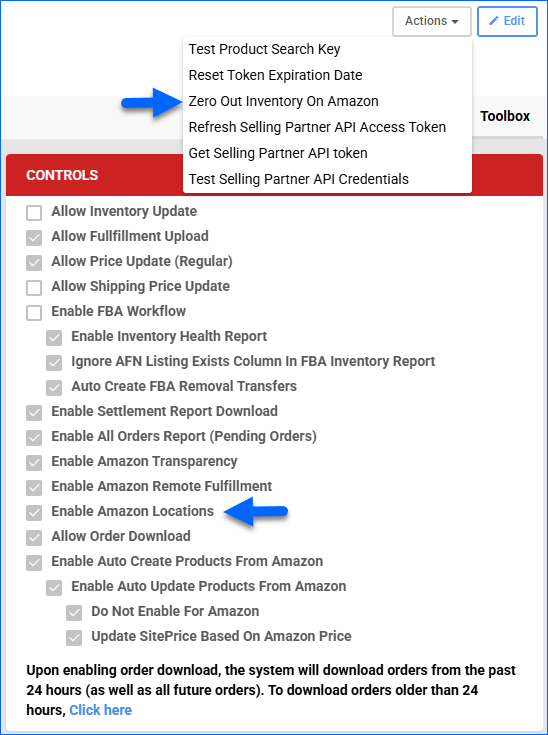
- In the Controls panel, check Enable Amazon Locations.
- Click Save.
Once the setting is configured in Sellercloud, all SKUs within that company will be managed per location for Amazon.
Manage Amazon Locations
In Sellercloud, you can create and download your Amazon Locations, update details, and manage the location’s status on Amazon.
Download
To download and sync your Amazon Locations in Sellercloud:
- Go to Company Settings.
- From the Toolbox, select Amazon Locations.
- In the Amazon Locations panel header, click the rotating arrows icon to Download/Sync Locations from Amazon.
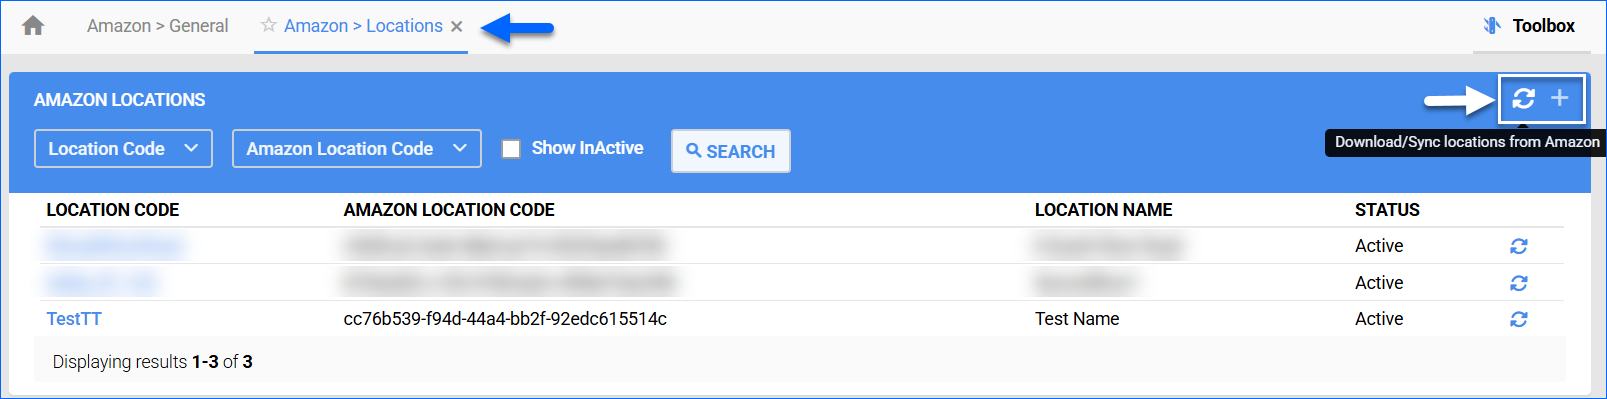
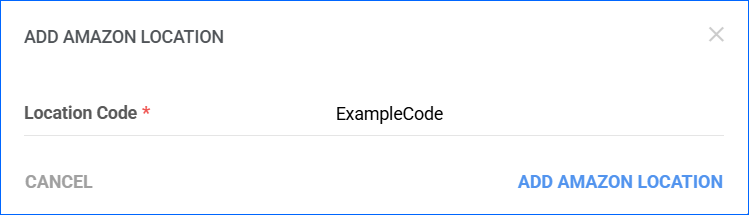
- Alternatively, you can add locations manually. Click the + icon in the panel header and fill in the Location Code. Then, click Add Amazon Location.
Configure
To open the Amazon Location details page:
- Go to Company Settings.
- From the Toolbox, select Amazon Locations.
- Click the Location Code hyperlink.
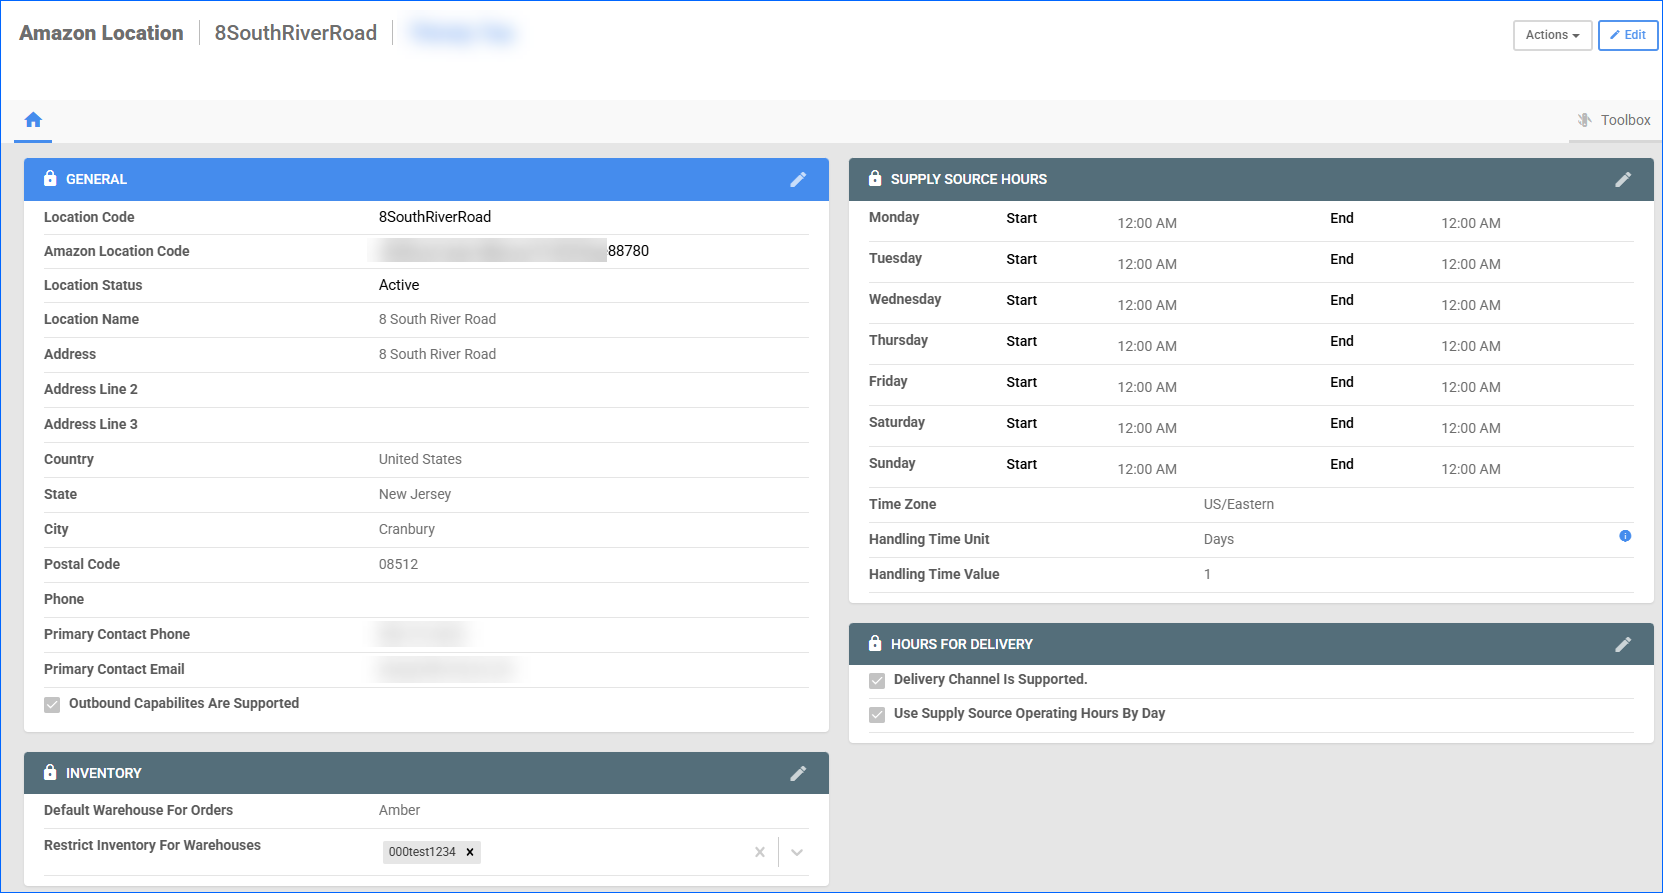
On this page, you can configure the location’s details, as described below:
- In the General panel, you can view the location Code, Amazon Code, and Active Status. Additionally, you can configure the address and contact details.
- The Inventory panel allows you to designate a Ship From warehouse and specify warehouses for storing inventory. Before you activate the Default Warehouse for Orders feature, you must enable the required order report column in Seller Central. To do this, go to Orders > Order Reports > Add or remove order report columns, and enable Fulfillment Plan.
- The Supply Source Hours panel lets you configure working hours for the location.
- The Hours For Delivery panel provides settings related to order fulfillment from the location.
Actions
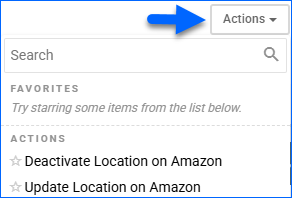
The Amazon Location Details page action menu allows you to:
- Deactivate Location on Amazon – By performing this action, you notify Amazon that you wish to deactivate this location. Additionally, a one-time update will be sent to Amazon to zero out all inventory held in this location.
- Update Location on Amazon – If you have edited the location’s details, you can use this action to send the new information to Amazon.
Manage Products Per Location
Once the MLI workflow is enabled in the Amazon General Settings of your integrated company, all products linked to it will be managed per location. This means that instead of sending the combined inventory from all sellable warehouses, we will break down the feed per location. To view the specific numbers:
- Go to the Product Details page.
- From the Toolbox > click Amazon Properties.
- In the Inventory panel, click the View Per-Location Inventory hyperlink.
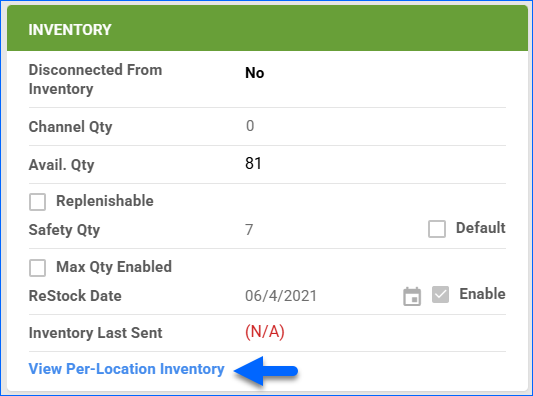
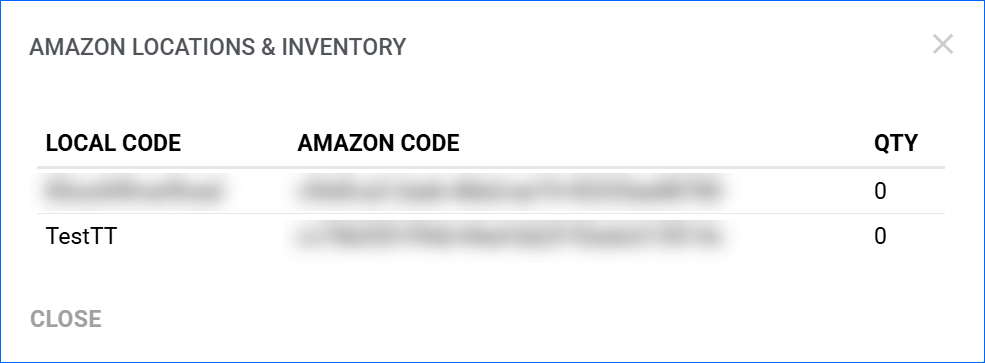
- In the pop-up modal, you will see which active locations this SKU has inventory in and how many units.
Order Warehouse
Once you have configured your products, the next step is to ensure new orders are assigned the correct Ship From Warehouse in Sellercloud. This can be achieved by enabling the necessary column in Amazon’s order report, which we use to create new orders.
To start importing the order location selected in Amazon:
- Log in to Seller Central.
- From the top Orders menu, select Order Reports.
- Click Add or remove order report columns on the right.
- From the list of Optional Columns, enable Fulfillment Plan.
Switch to MLI
If you already have an existing Amazon integration and you have been using the normal inventory update workflow, you can migrate your catalog to MLI by following the instructions in this article. However, you must follow the steps in the exact order below.
When switching an existing catalog to MLI, it is expected to have a period of downtime when you will have no available inventory, and you will not receive new orders.
- Zero out your inventory – This is a requirement from Amazon. All Active Listings under the integrated company must be zeroed out before switching to MLI:
- Go to Manage Catalog > filter by Company, Amazon Statuses: Enabled and Posted and Active > Click Search.
We recommend adding all the SKUs you are disabling during this step to a dedicated Product Group. This way, it will be easier to re-enable them in bulk.
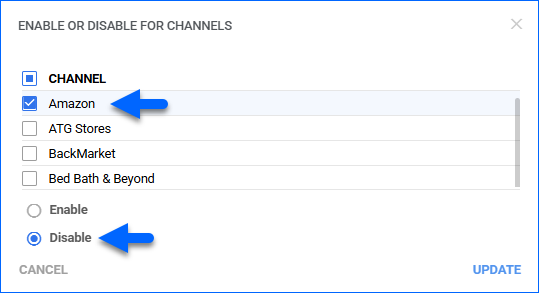
- In the grid, click Select All > Actions > Enable/Disable for Channel…
- In the pop-up modal, check Amazon and Disable. Then, click Update. This action will force a one-time inventory update for 0 quantity for the selected listings.
- Go to Manage Catalog > filter by Company, Amazon Statuses: Enabled and Posted and Active > Click Search.
- Enable MLI in Sellercloud
- Go to Company Settings > Amazon General Settings.
- Click Edit and check Enable Amazon Locations in the Controls panel.
- (Optional) Here, you can also perform the Zero Out Inventory on Amazon action.
- Disable Inventory Updates:
- On the Amazon General Settings page of your integrated company, click Edit and disable the Allow Inventory Updates setting. Click Save.
- Downtime – We recommend allowing one hour of downtime before continuing to the next step.
- Map Warehouses to Locations – Follow the steps in the Manage Amazon Locations section above. Ensure you have downloaded and mapped all active locations.
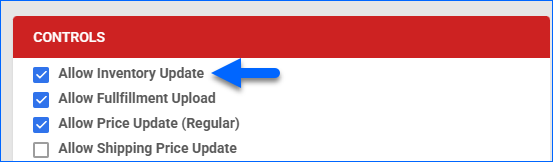
- Re-enable Inventory Upload:
- On the Amazon General Settings page of your integrated company, click Edit and enable the Allow Inventory Update setting. Click Save.
- On the Amazon General Settings page of your integrated company, click Edit and enable the Allow Inventory Update setting. Click Save.
- (Recommended) Test – Select a few products to use as a control group, preferably SKUs that have inventory in several mapped warehouses. Manually push an inventory update for them and check if the quantity shows up on Amazon correctly.
- Re-enable products:
- Go to Manage Catalog and filter out the SKUs you disabled in step 1. Click Select All > Actions > Enable/Disable for Channel…
- In the pop-up modal, check Amazon and Enable. Then, click Update. This action will resume the inventory synchronization between Amazon and Sellercloud.
- (Optional) Manually push inventory – If you prefer not to wait for the automated service to send quantities for the re-enabled SKUs, you can manually push a one-time update.
- Select All SKUs in Manage Catalog after you have applied your filters and click Actions.
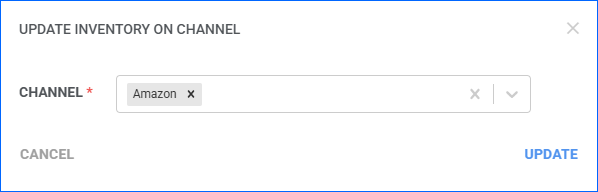
- Select Update Inventory on Channel.
- In the pop-up, choose Amazon from the dropdown and click Update.