Overview
Bonanza is an online marketplace that focuses on hard-to-find products. Bonanza sellers can create their own online stores and list products in various categories, such as fashion, electronics, home goods, collectibles, and more.
The Bonanza Account Integration allows you to manage your Bonanza listings from your Sellercloud account.
Ready to Post on Bonanza
Once you complete your Bonanza integration, you can ready a product for posting on Bonanza, by addressing the below mandatory requirements:
-
- Bonanza Enabled – Once enabled, Sellercloud will send automatic inventory and price updates to Bonanza Marketplace.
- Bonanza Category – You can choose a Bonanza Category from the various available options, based on your product’s specific features.
- Description – Enter product specification text to appear on your Bonanza listing.
- Default Image – Select a default image of your product to appear on your Bonanza listing.
- Shipping Template – Choose a shipping model, based on which your Bonanza orders will be delivered.
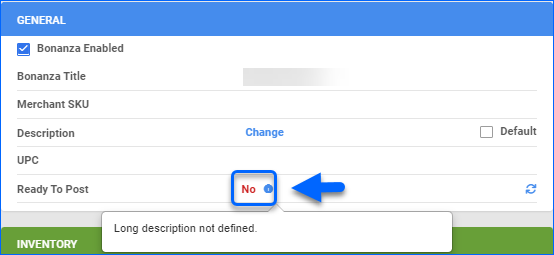
Products that are not ready for listing on Bonanza will display a red No message. Hover over the text to reveal the missing attributes. Products that are ready to post will have a green Yes message.
Bonanza Enabled
Sellercloud will send automatic inventory and price updates to your Bonanza Marketplace, only if your product is Bonanza Enabled. Products that are not Bonanza-enabled will be considered to have zero quantity.
To enable your product for Bonanza:
- Go to Catalog > Manage Catalog > Select a product.
- In the Toolbox, find Bonanza and click Edit.
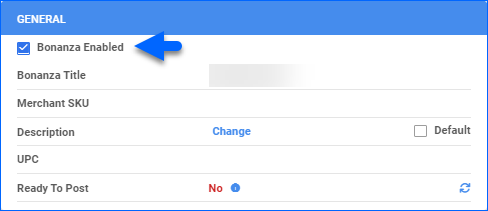
- In the General panel, select Bonanza Enabled > Save.
Bonanza Category
Bonanza offers various categories that are relevant to your product’s characteristics. A Bonanza Category is required to post your listing:
- Go to Catalog > Manage Catalog > Select a product.
- In the Toolbox, select Bonanza > Edit.
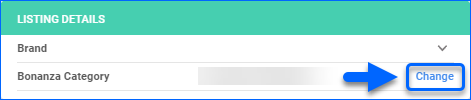
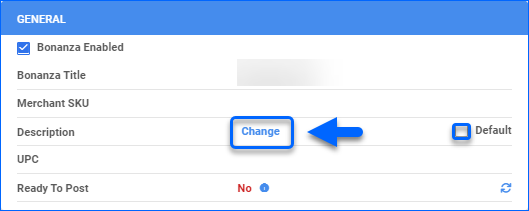
- Click Change to view all available categories.
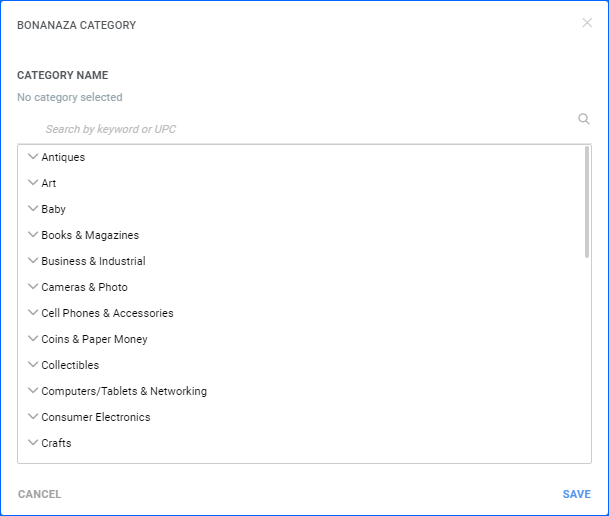
- A pop-up appears and you can select a Bonanza Category for your product from it.
- Save your changes.
Description
Enter product specifications to appear on your Bonanza listing:
- Navigate to the Bonanza Product Properties page and click Edit.
- In the General panel, select Change to enter your Bonanza product’s description, or check Default to use the product’s default long description.
- Click Save.
To assess the current Description, click Preview.
Default Image
Bonanza listings require a Default Image in jpeg, gif, or png format. You can import, upload, or use an existing default image of your product via the Bonanza Product Properties panel Channel Images, which will lead you to the product’s Image manager.
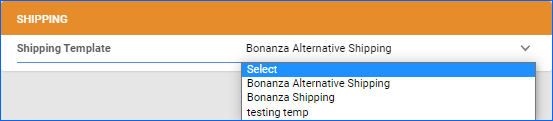
Shipping Template
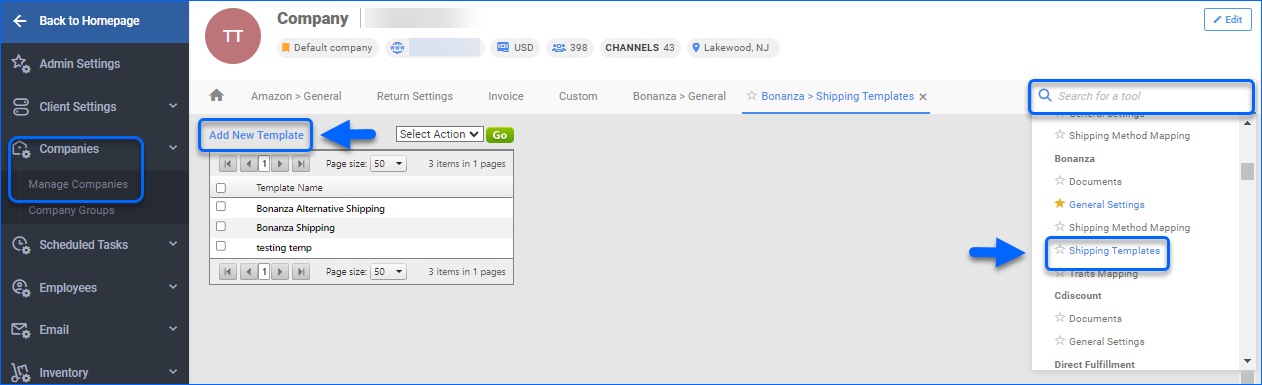
To post a listing on Bonanza, product’s shipping charges must be configured via a Shipping Template. To create Bonanza Shipping Template:
- Go to Settings > Manage Companies > Select a company.
- Click Toolbox and go to Bonanza > Shipping Templates > Add New Template.
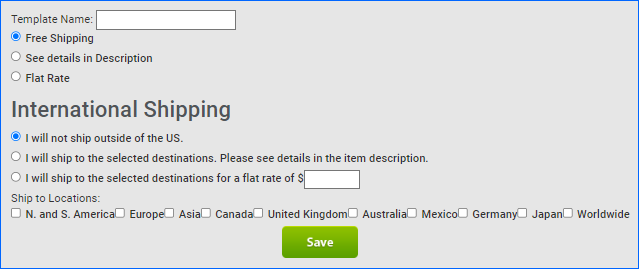
- Enter the template name.
- Choose domestic shipping fees: Free Shipping, Flat Rate (up to 3 services), or See details in Description.
- Flat Rate will reveal 3 shipping services. Enter shipping fee next to service.
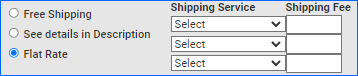
- Flat Rate will reveal 3 shipping services. Enter shipping fee next to service.
- Configure International Shipping:
- I will not ship outside of the US.
- I will ship to the selected destinations. Please see details in the item description.
- I will ship to the selected destinations for a flat rate of $_______.
- Select Ship to Locations countries.
- Save your New Shipping Template.
A Template must be selected on each product. Go to Catalog > Manage Catalog > Select a product > Toolbox > Bonanza Properties page > Edit > Shipping panel > Select a template.
Post on Bonanza
Once your product is ready for posting on Bonanza, you can do it Individually or In Bulk.
Post a Single Product
To post a Single product:
- Go to Catalog > Manage Catalog and select the desired product.
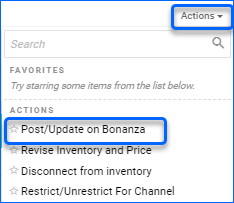
- Click Toolbox and find Bonanza.
- From the Actions dropdown, select Post/Update on Bonanza.

Post Multiple Products
To post Multiple products:
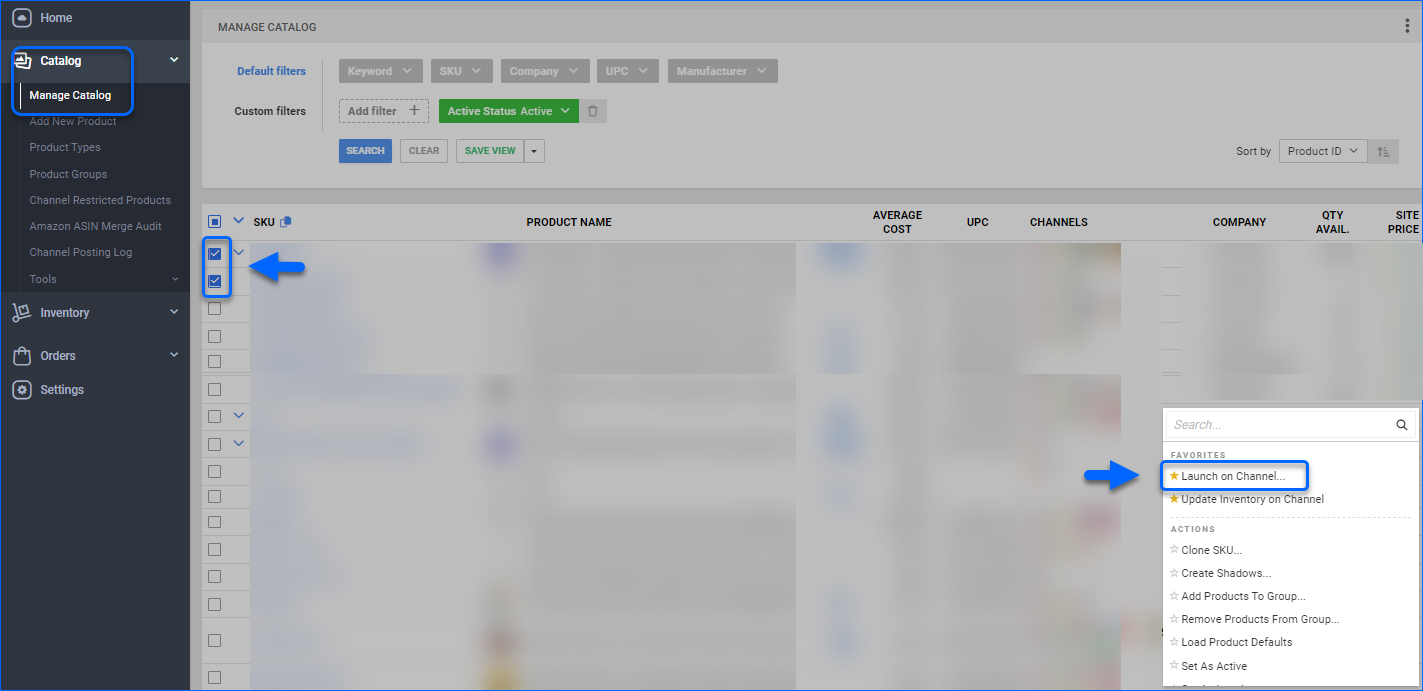
- Go to Catalog > Manage Catalog.
- Check the boxes of the desired products to select them.
- Click the Action icon on the bottom right and select Launch on Channel.
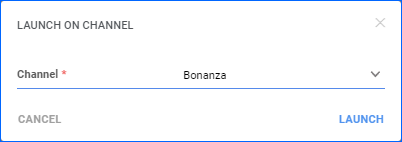
- Select Bonanza and click Launch.
- A Queued job will be created and can be reviewed on your Manage Queued Job page.
Update Bonanza Listings
Sellercloud allows you to update your Bonanza Listings Automatically and Manually.
Note that if you disconnect a Bonanza listing from inventory updates, Sellercloud will stop sending both the inventory and the price.
Automatic Update
To enable automatic product updates on Bonanza marketplace:
- Go to Settings > Companies > Manage Companies > Select a company.
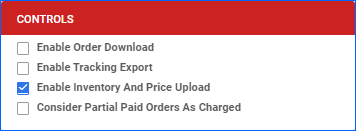
- In the Toolbox, select Bonanza > General Settings > Edit.
- Select Enable Inventory and Price Upload > Save.
Manual Updates
You can perform your Manual Product Updates Individually from the Bonanza Properties page and In bulk from the Manage Catalog page.
Individually
- Go to Catalog > Manage Catalog > Select a product.
- In the Toolbox, select Bonanza.
- On the Bonanza page, click Actions > Post/Update on Bonanza.
In Bulk
- Go to Catalog > Manage Catalog > Select products.
- Click the Action menu > Update Inventory on Channel.
- From the Channel dropdown list, select Bonanza > Update.
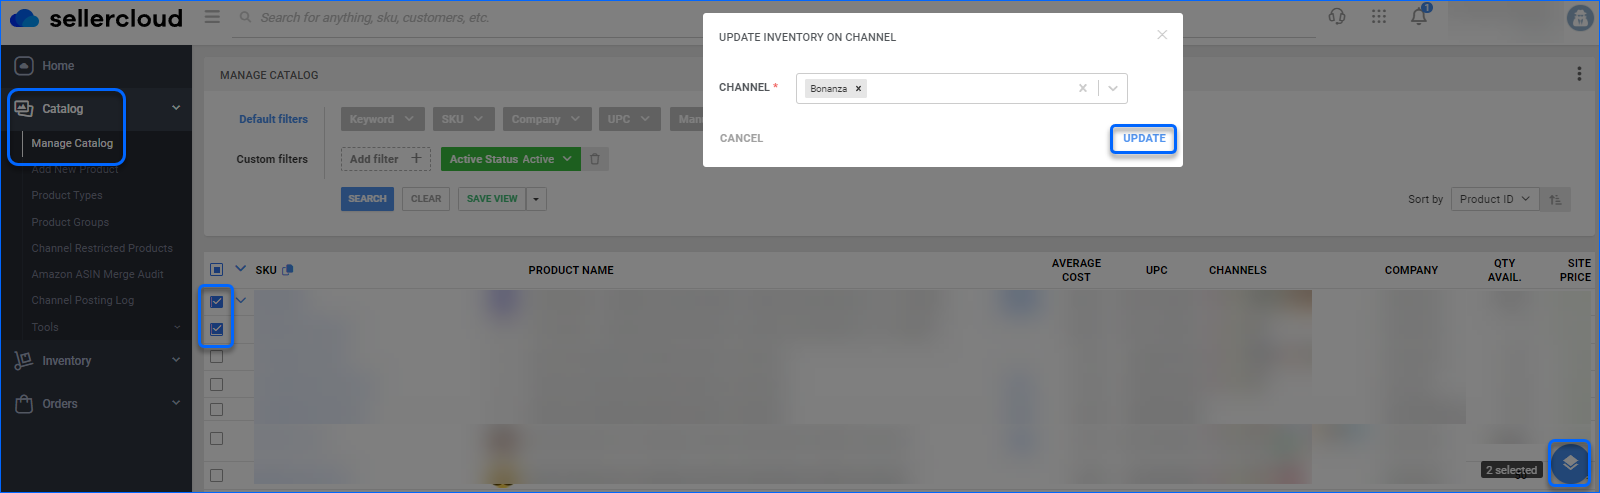
- A Queued job will be created and can be reviewed on your Manage Queued Job page.