Overview
In certain business models, ordering units from your vendors is handled by dedicated employees, known as buyers or purchasers. Assigning specific employees to this task helps you streamline the inventory procurement for your warehouse, ensuring consistent ordering and timely restocking. Additionally, you can configure various Employee Roles and Permissions and set up different Security Settings that align with your team’s unique requirements.
In this article, you will learn how to assign your employees to specific products, as well as configure Related Client Settings. For a detailed guide on managing and tracking employee information, refer to our Employee Management Overview article.
Prerequisites
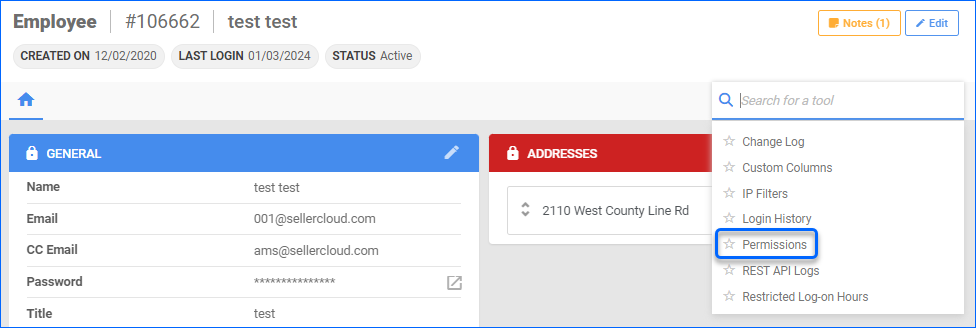
First, you must set up your Employee’s Permissions and grant them the appropriate access. To do that:
- Go to Settings > Employees > Manage Employees.
- Click on the Add icon at the lower-right corner to create a new user or open an employee’s profile from the list.
- Toolbox > Permissions.
On this page, you can configure different roles and permissions depending on the tasks they are assigned to perform.
Configure Buyers
Whenever a user adds a product to a purchase order, Sellercloud can automatically assign them as the Purchaser on the product’s Purchasing page. This ensures that the buyer is seamlessly linked to the purchased item without manual intervention.
However, assigning dedicated purchasers for specific products makes it easier to manage and divide tasks among the employees responsible for the procurement of goods. This can be done either individually or in bulk.
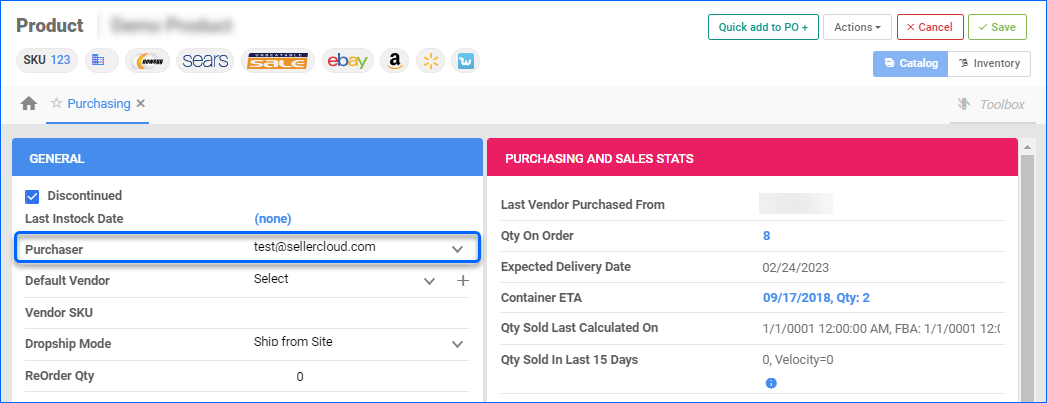
Individually
To configure buyers on an individual level:
- Go to Catalog > Manage Catalog > Select a product.
- On the Product Details Page, open Toolbox > Purchasing.
- Click on Edit.
- Navigate to the General Panel and select a Purchaser.
- Click Save.
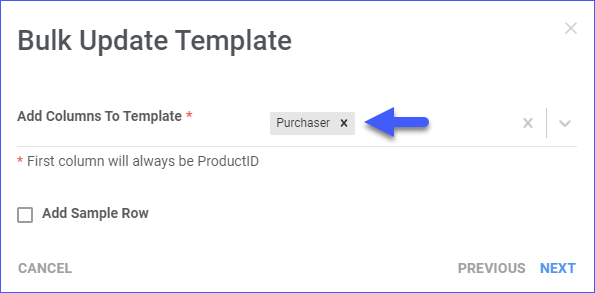
In Bulk
To configure buyers in bulk, use our Bulk Update Tool, choosing Purchaser from the Add
Columns To Template drop-down menu.
Related Client Settings
The following Client Settings are available:
- Auto Set Purchaser When Product Added To Purchase Order
- Automatically assign the user adding an item to a PO as the product’s purchaser. This helps you streamline the procurement process by efficiently linking products to the responsible individuals, eliminating the need for manual selection during purchase order creation.
- Require SiteCost And Buyer/Purchaser While Creating Product
- When you Create Product SKUs, the SiteCost and Buyer/Purchaser fields are considered mandatory.