Overview
The CS-Cart Account Integration lets you seamlessly manage your CS-Cart orders directly from the Sellercloud interface. It allows you to download orders, update their fulfillment status, customize shipping methods, and more.
To explore other related topics, refer to our CS-Cart Category.
Order Download and Tracking Upload
You can download CS-Cart orders automatically or manually.
Automatically
To automate the order download and tracking upload processes, as well as control which orders are imported from CS-Cart to Sellercloud:
- Go to the CS-Cart General Settings.
- Click Edit.
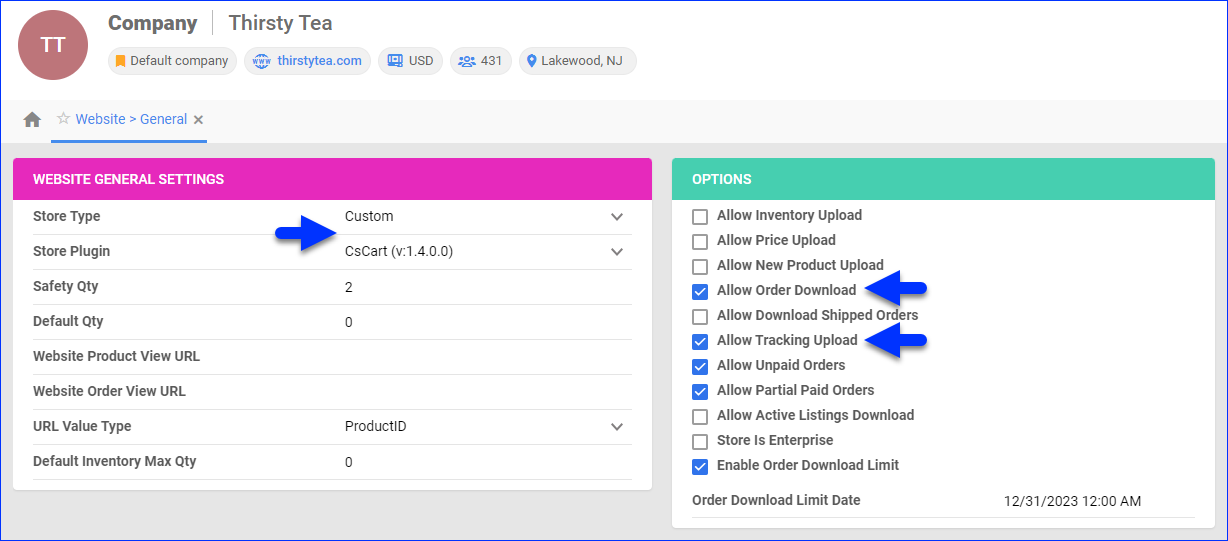
- Check the following boxes in the Options panel:
- Allow Order Download – Download orders from CS-Cart to Sellercloud automatically.
- Allow Tracking Upload – Upload fulfillment information for orders from Sellercloud to CS-Cart automatically.
- (Optional) Allow Download Shipped Orders – Allows orders marked as shipped to be downloaded from CS-Cart to Sellercloud automatically.
- (Optional) Allow Unpaid Orders – Enable Sellercloud to download Unpaid Orders from CS-Cart to Sellercloud automatically.
- (Optional) Enable Order Download Limit – Prevent orders created before a specific date from being downloaded to Sellercloud. You must also select an Order Download Limit Date.
Manually
To download CS-Cart orders manually:
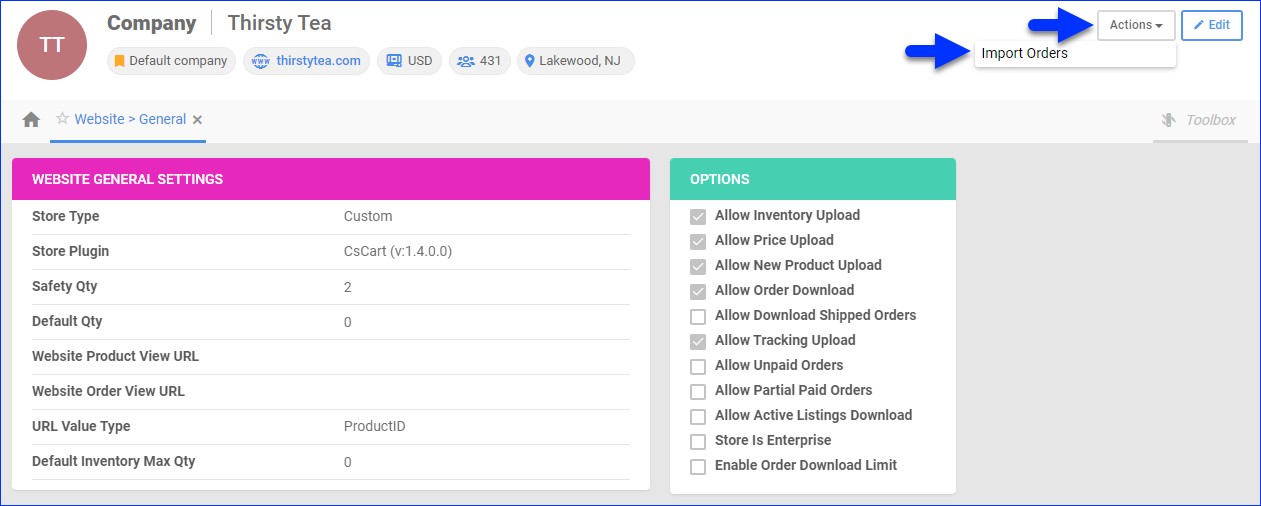
- Go to Company Settings.
- Click Toolbox and select Website > General.
- Click Actions and select Import Orders.
Shipping Method Mapping
When orders are imported from CS-Cart into Sellercloud, the customer’s chosen shipping method is also imported. The Shipping Method Mapping tool lets you map the shipping methods sent for each CS-Cart order to a preferred shipping carrier and service in Sellercloud.
To configure shipping method mapping for CS-Cart:
- Go to Company Settings.
- Click Toolbox and select Sellercloud Plug-in Website > Cart Shipping Method Mapping.
- The Plugin should be set to CsCart.
- Click Edit.
- Click the + icon to add a new mapping.
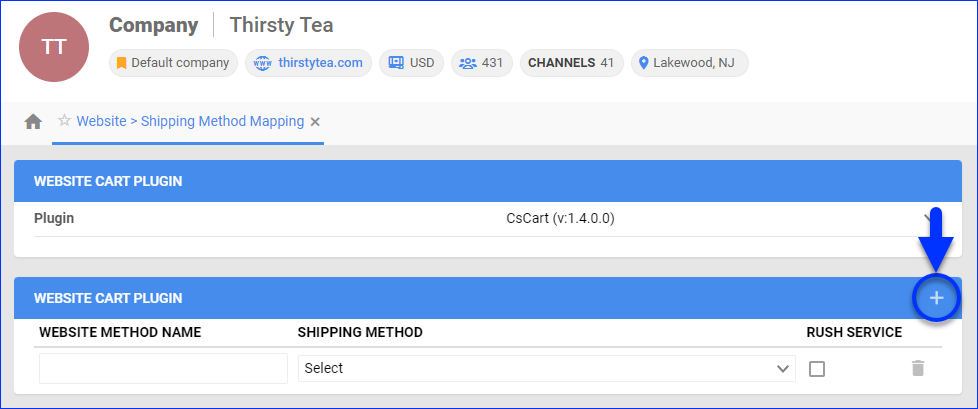
- Enter the Website Method Name and choose your desired Shipping Method option from the dropdown menu.
- (Optional) Indicate if the selected method is intended for Rush Orders.
- Click Save.
Manage CS-Cart Orders
You can only cancel a CS-Cart order before it is marked Ship Confirmed. If it is already Ship Confirmed, you must issue a refund. If the item is being returned to your warehouse, use the RMA process instead.
Cancel an Order
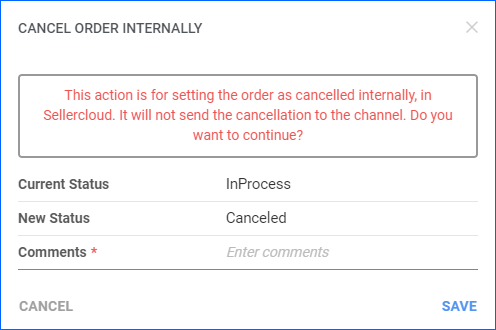
To cancel a CS-Cart order internally:
- Go to the Order Details Page.
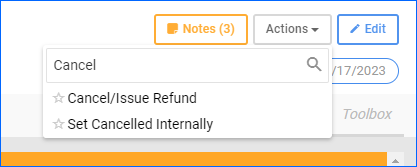
- Click Actions and select Set Cancelled Internally.
- Enter the reason for the cancellation in the Comments.
- Click Save.
Refund an Order
You can submit refunds to CS-Cart or issue them locally in Sellercloud to keep your Order Profit & Loss information accurate.
To refund and cancel a CS-Cart order:
- Go to the Order Details Page.
- Click Actions and select Cancel/Issue Refund.
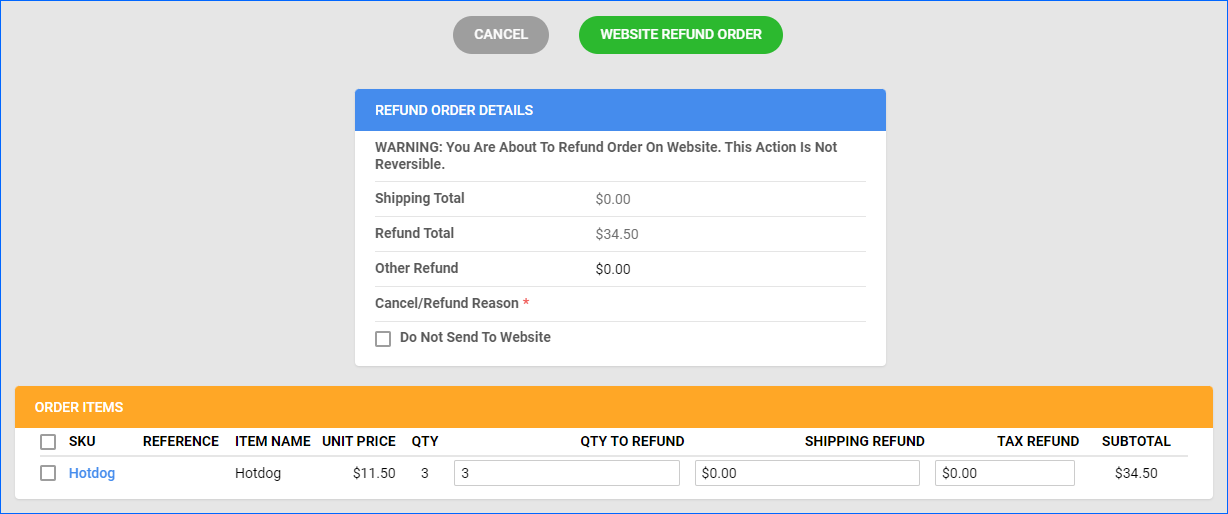
- Enter a Cancel/Refund Reason.
- Check the box to the left of the items you want to refund.
- Optionally, you can adjust the Qty To Refund/Cancel, Shipping Refund, and Tax Refund, which will update the information in the Refund Order Details panel.
- Check Do Not Send To Website to cancel the order and issue a refund only within Sellercloud.
- Click Refund. Note that the Order Status gets set to Cancelled.
Configure PDF Invoices
You can configure invoices for your CS-Cart orders. PDF Invoices usually contain information about your orders and the products they include. You can print Invoices with any specific requirements if needed. You can also select between Standard Invoice, Channel Specific, Word to PDF, or a plugin.
- Go to Company Settings.
- Click Toolbox and select Invoice Settings.
- Click Per channel preferences.
- Find Website in the list and select your preference.
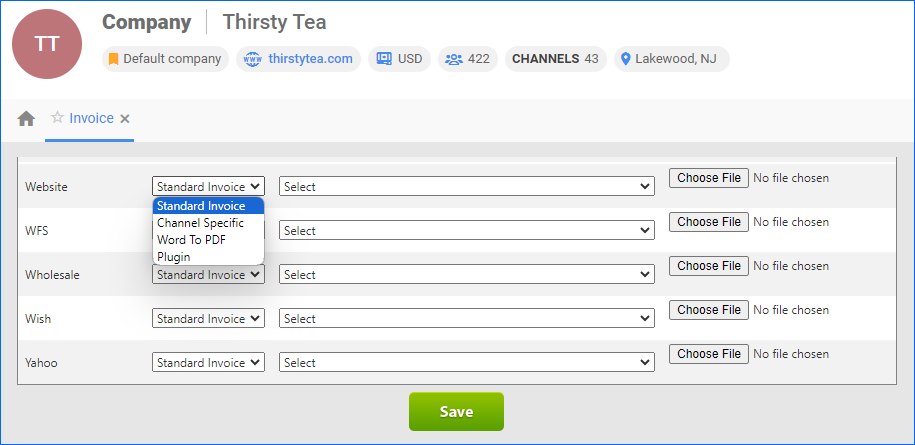
- Click Save.