Overview
The term Warehouse Location refers to the physical warehouse where you ship your orders, while Stations correspond to the specific Shipbridge installations. This setup allows for more precise events-logging for your orders, as well as accurate inventory tracking. This article explains how to add new locations in Sellercloud and how to configure Shipbridge for this workflow.
Configure Locations and Stations in Sellercloud
You can add and manage your Warehouse Locations and Stations only within Sellercloud. Once created, you can edit their details at any time. If you no longer need a warehouse location, you can delete it.
Create Warehouse Locations
To add a new Warehouse Location:
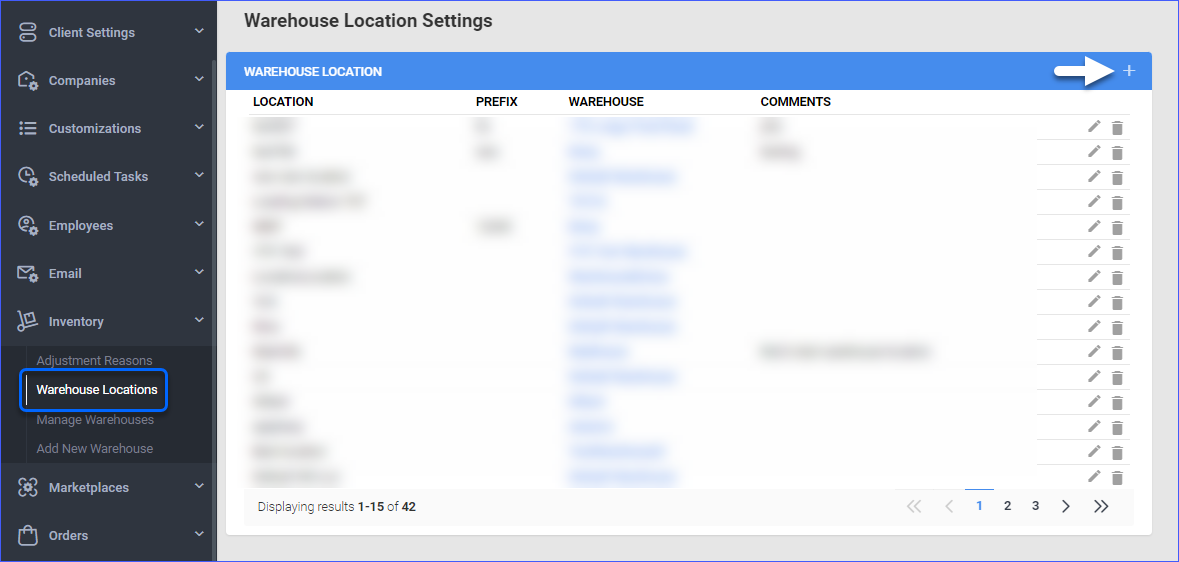
- Go to Settings > Inventory and select Warehouse Locations.
- Click the + icon in the grid to add a new location.
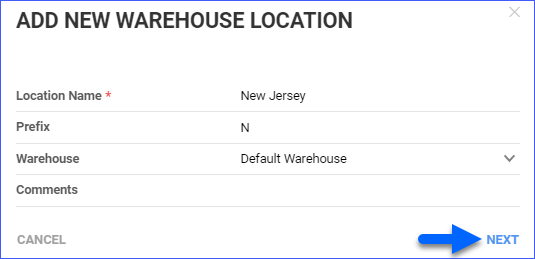
- Enter a Location Name.
- You can also type a Prefix if needed.
- Select a Warehouse from the dropdown.
- Add Comments if applicable.
- Click Next.
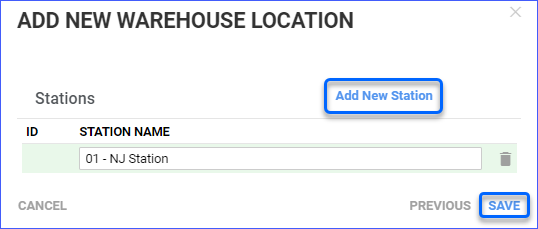
- Click on Add New Station and fill in a Name. This will correspond to a specific Shipbridge installation in your warehouse. During this step, you can create as many Stations as necessary. Alternatively, you can just create your location and then add stations at a later time.
- Click Save.
Manage Warehouse Locations
To edit a Warehouse Location:
- Go to Settings > Inventory and select Warehouse Locations.
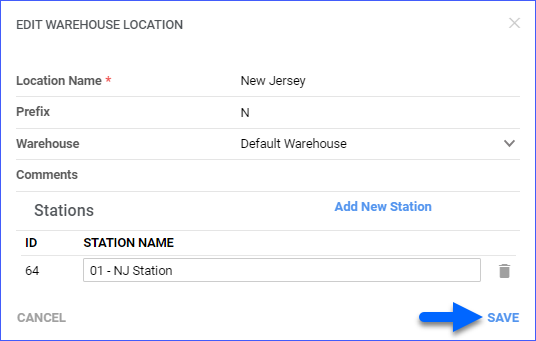
- Click the pen button next to a location in the grid to edit an existing location.
- Apply your changes and click Save.
To delete a Warehouse Location:
- Go to Settings > Inventory and select Warehouse Locations.
- Click the trash can next to a location in the grid to delete an existing location.
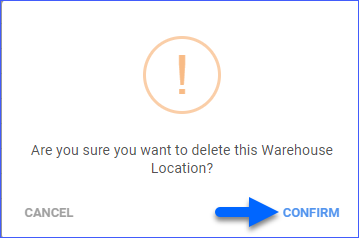
- Confirm the deletion.
Configure Locations and Stations in Shipbridge
When you create Warehouse Locations in Sellercloud, you can configure each Shipbridge installation in order to associate inventory reductions from a station to a specific warehouse. When shipping orders through Shipbridge, the inventory will always be deducted from the location Shipbridge is set to. This workflow can help prevent discrepancies if, for example, the Ship From warehouse on the order is different from the actual shipping location.
Assign Locations and Stations
To assign Locations and Stations:
- Open Shipbridge and click on Menu > Options.
- In the General tab, find the Location and Station fields and configure your preferences.
- Click Save.

Each order shipped from a Shipbridge with a configured Location and Station will have this information reflected in the Change Log page and the Shipping Panel of the Order Details Page.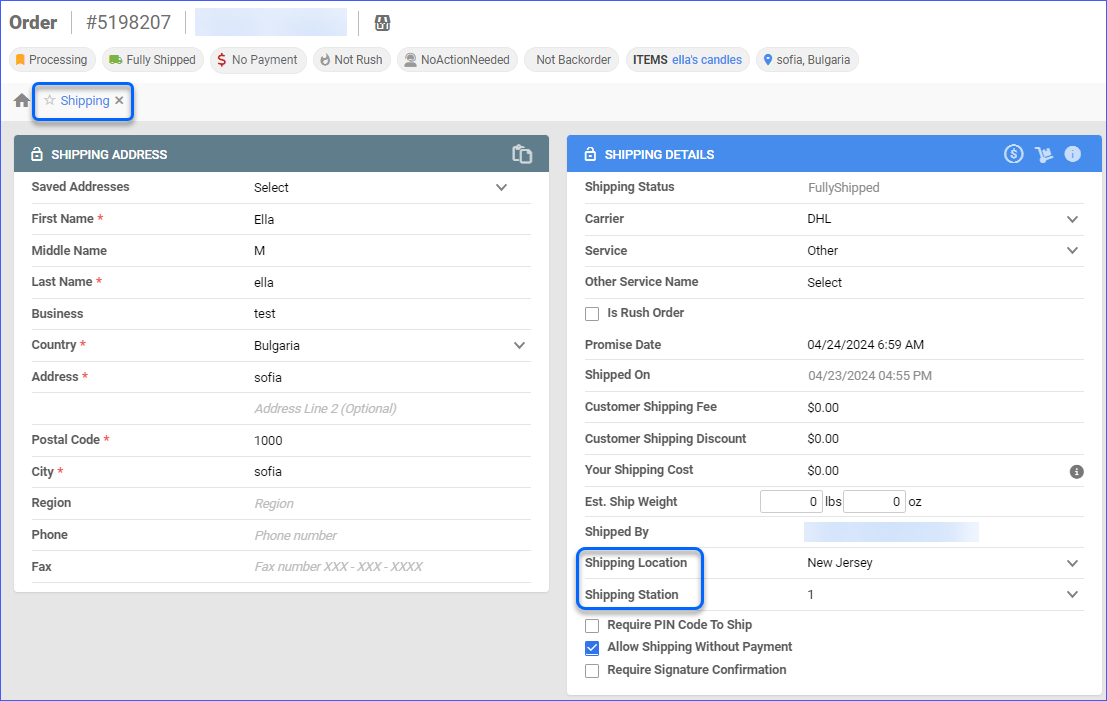
Related Settings
You can enable the following related Shipbridge settings:
- When using multiple warehouses, deduct inv qty from proper warehouse (based on location)
- Enable this setting to ensure all related inventory movements are associated with the selected warehouse.
- Only load orders from specific warehouse
- Enable this setting to prevent showing orders set to ship from a different warehouse/location.
- Use Warehouse Address (based on Location and Station)
- Enable this setting to configure Shipbridge to use the Warehouse address as the Ship From/Return address on related orders based on the set location. If disabled, Shipbridge will use the default address from the Order Company.
Overview
Warehouse Locations in refer to the physical warehouse where you ship your orders, while Stations correspond to the specific Shipbridge installations. This setup allows for more precise events-logging for your orders, as well as more accurate inventory tracking. This article explains how to add new locations in Sellercloud and how to configure Shipbridge for this workflow.
Adding a New Location
Locations and stations are added (and edited) in Sellercloud:
- Click Settings > Locations > Add New Location.
- Enter a location name; for example, New Jersey.
- If you want to associate the warehouse with inventory reductions, select a warehouse from the Warehouse dropdown. Note: This requires enabling the setting When using multiple warehouses, deduct inv qty from the proper warehouse (based on location) in Shipbridge.
- Add an optional comment.
- Save.
- Select the new location, and in the Station Name field, enter as many station names as needed, clicking Add Station after each one. Each station will be assigned an ID that can be used for identification, along with the station name.

Assigning Each Location To a Shipping Station
To assign each new or existing location and station to a different computer:
- In ShipBridge, click Menu > Options.
- On the General tab, find the Location and Station fields and select the desired values.

- Configure the following as desired:
- To only load orders into ShipBridge that are set to ship from this location – On the General tab, select Only load orders from specific warehouse
- To associate inventory reductions from a station to a specific warehouse, select the setting When using multiple warehouses, deduct inv qty from the proper warehouse (based on location) on the Shipping tab
- To print the warehouse address as the return address, select the setting Use Warehouse Address on the Shipping tab
Every order that is shipped from an assigned computer will have the location and station referenced on the Order Detail page.
Order History
All orders have a Show History button at the bottom of the page. Clicking it opens the Order Change History, logging every action applied to the order, including the employee login and timestamp.