Overview
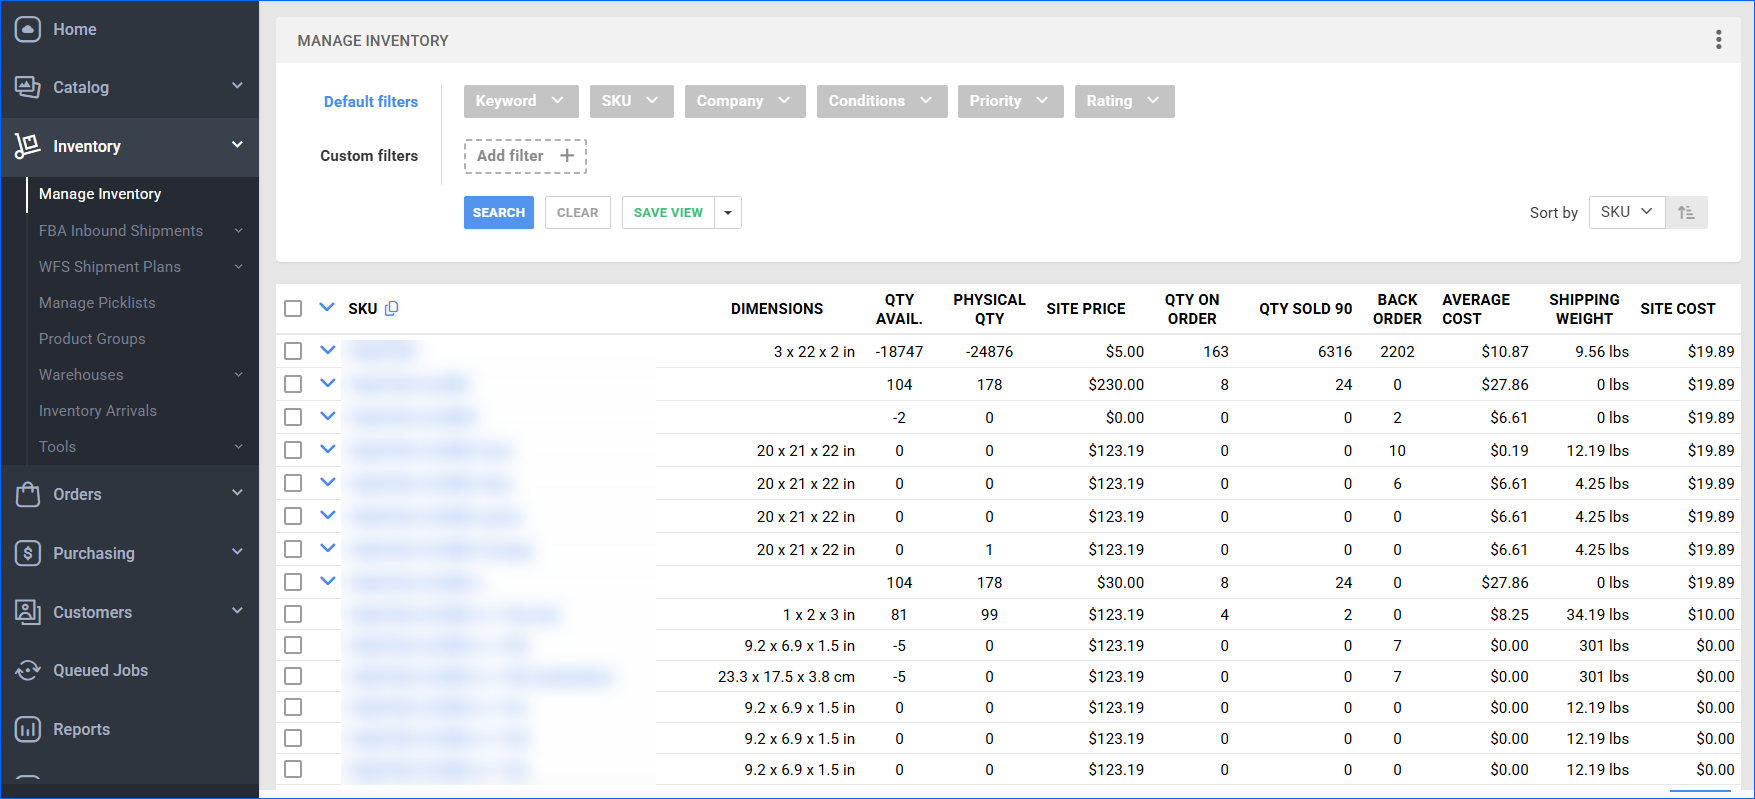
The Manage Inventory page is a snapshot of all the products you currently have in your catalog. While seemingly similar to the Manage Catalog page, it focuses on inventory functions rather than product properties and characteristics.
Manage Inventory Page Overview
To access the page, go to Inventory > Manage Inventory.
The Manage Inventory page consists of three key components:
- Search Filters – A wide range of search options that let you narrow down your search results and show only the products you are interested in. You can save specific searches for repeat use.
- Results Grid – A list of products that match your search criteria. You can sort it differently and even show or hide different data columns.
- Actions – A wide range of inventory-related actions you can perform on one or several products.
Search
Filters offer multiple-choice selection lists or allow you to enter specific values. Your choices build on each other. Each subsequent filter narrows the scope of your search results further and affects what the page displays. You can add as many filters as you like or none at all.
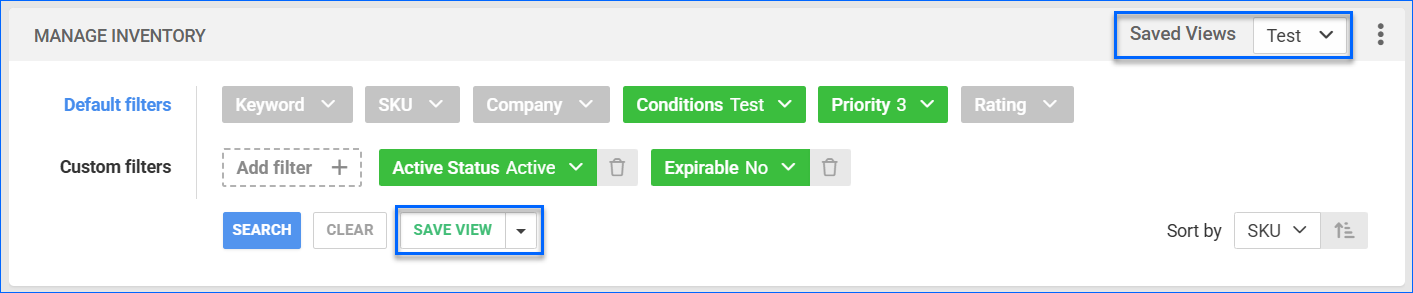
There are Default filters that are always displayed and Custom filters that you can add manually by clicking the Add filter button and selecting an option from the list. To remove a custom filter, click the Bin icon next to it.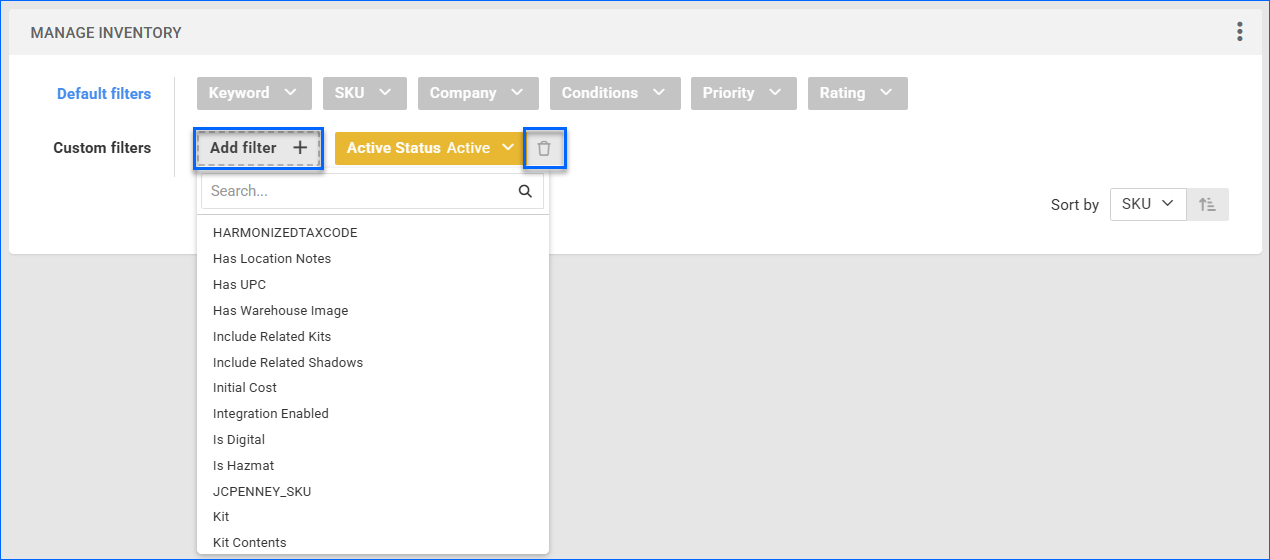 After you click Search, each filter you apply gets highlighted in orange or green. If a filter is gray or not displayed at all, it’s not active. You can add or remove filters and search again at any time.
Once you have set up your filters, you can click Save View to save the search. Then, you can repeat the same search by selecting it from the Saved Views menu on the top right.
 If the built-in filters are insufficient, you can create custom columns for product-related information. Then, you can enable the columns as described in Product Custom Columns, and they will appear in the Custom Filters list, where you can use them to search.
Results Grid
The results grid shows a list of products matching your search criteria. This list is comprised of various data columns showing product information.
There are two levels of columns. Level 1 columns are always visible. There are also Level 2 columns – when available, you can view them by clicking the small blue arrow to the product’s left. This provides you with more information about Kit Components without having to open the product details page.
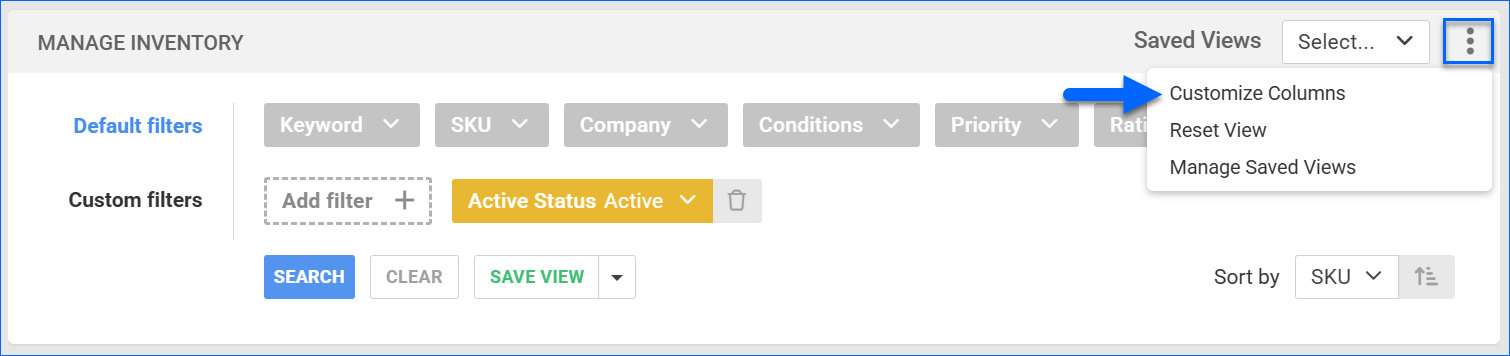
You can add, remove, and even reorder data columns. Click the three dots icon on the top right and select Customize Columns.
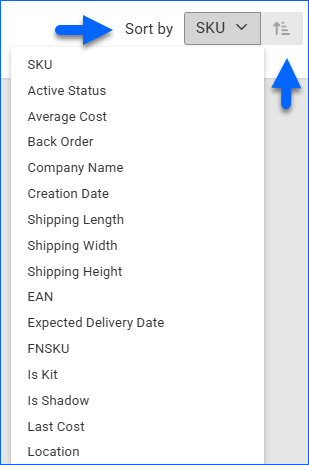
You can also sort the products in a different order based on a specific column using the Sort by dropdown menu.
Actions
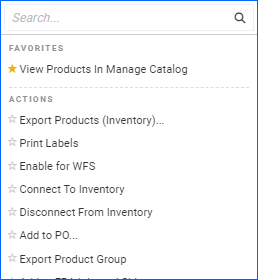
Select single or multiple inventory items to reveal a blue Action icon in the bottom right corner of the inventory grid. These functions are also available on each inventory item’s Product Details page. However, the Action menu allows you to use these functions for multiple inventory items without needing to jump back and forth between them. You can even display the same items directly into your Catalog with the Action View Products in Manage Catalog.
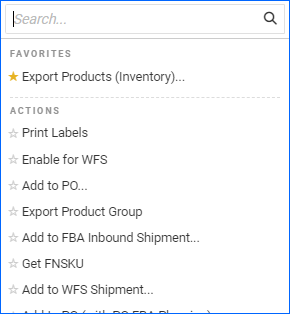
Click the Actions icon to open a dropdown menu with various inventory function options. Use the search to find a desired function or scroll.
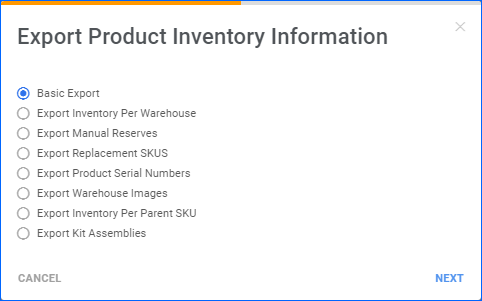
Export Product Inventory Information
Sellercloud allows you to download various types of Inventory Exports:
-
-
- Select the desired inventory items > Open the Actions menu > Choose Export Products (Inventory)…
- Select the desired inventory items > Open the Actions menu > Choose Export Products (Inventory)…
-
-
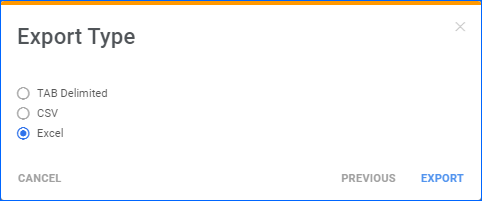
- Determine the desired Inventory Export type and click Next.
- Choose the needed file format – TAB determined, CSV, or Excel.
- Determine the desired Inventory Export type and click Next.
- Click Export. A Queued job will be created and can be reviewed on your Manage Queued Job page.
Related Client Settings
The following Client Setting control elements of the Manage Inventory page:
- Show Catalog Images In Manage Inventory – when enabled, your Catalog Product Images will be displayed as the product thumbnail on the Manage Inventory page.