Overview
Newegg.com is an online retailer specializing in electronics and tech-related products. It offers a wide range of items, including computer components, laptops, gaming peripherals, and consumer electronics, with frequent sales and discounts. Known for its competitive prices and positive reviews, Newegg operates globally and provides various shipping options, including international delivery.
Sellercloud helps you put your products in front of millions of Newegg shoppers by allowing you to integrate Newegg using API. After integrating your Newegg account, you can use Sellercloud to manage your Listings and Orders.
Prerequisites
Before you can integrate Newegg, you must:
- Log in to the Newegg Seller Portal.
- Go to Account > Data Feed Settings > API Settings > Auth a Developer.
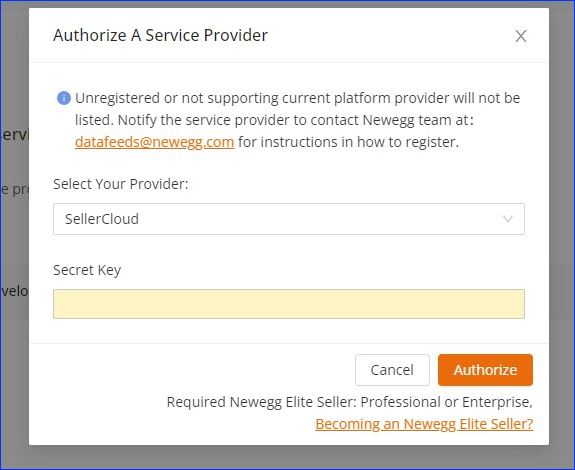
- In the Authorize A Service Provider popup, select Sellercloud from the dropdown and click Authorize.
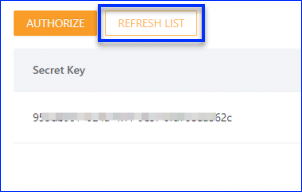
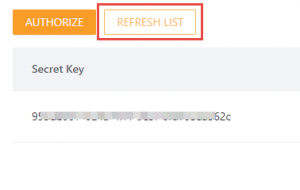
- Click the Refresh List button to update your current list and verify that Sellercloud has been added.
- You should see the Secret Key populate there. Copy it and be ready to use it in the next step.
Integrate with Newegg
Next, to integrate Newegg in your Sellercloud account:
- Go to Company Settings.
- Click Toolbox and select NewEgg.com > General Settings.
- Click Edit.
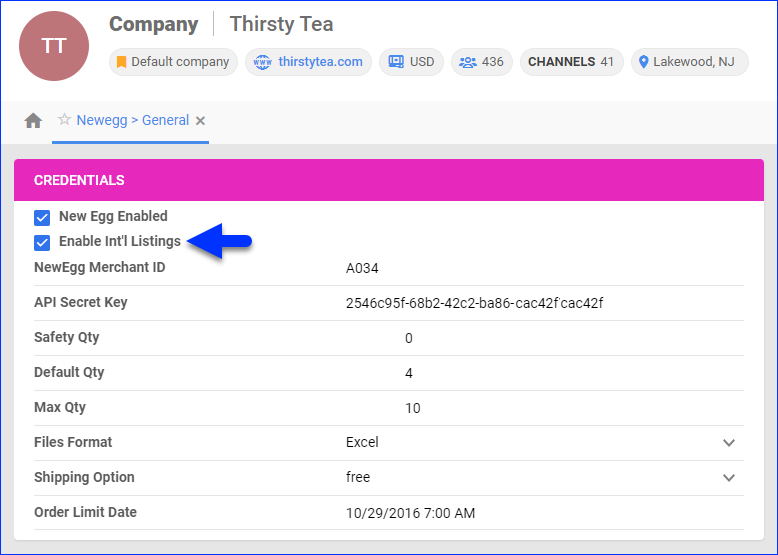
- Enter the Secret key into the API Secret Key field and enter your NewEgg Merchant ID.
- Click Actions and select Test API Credentials.
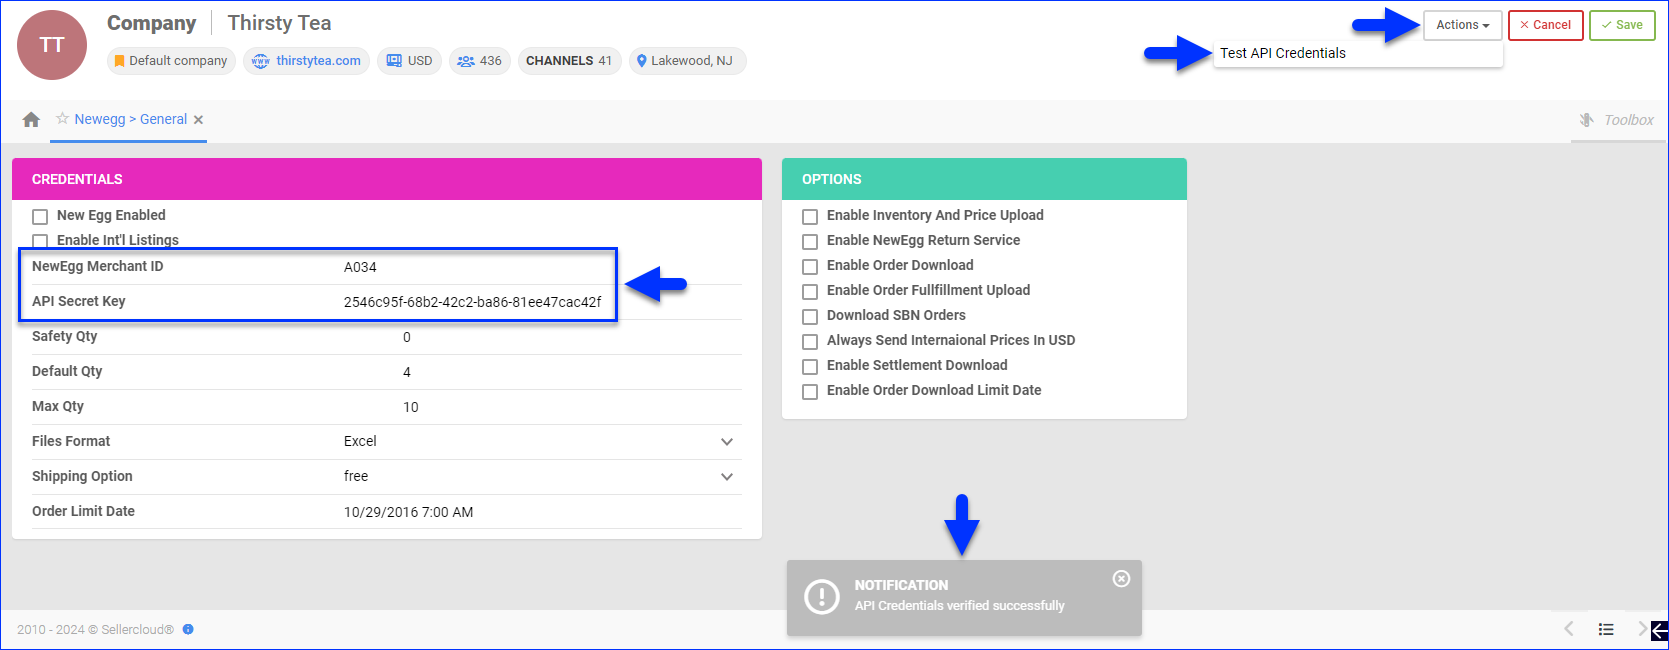
- Confirm the credentials have been verified successfully, and then check the New Egg Enabled box.
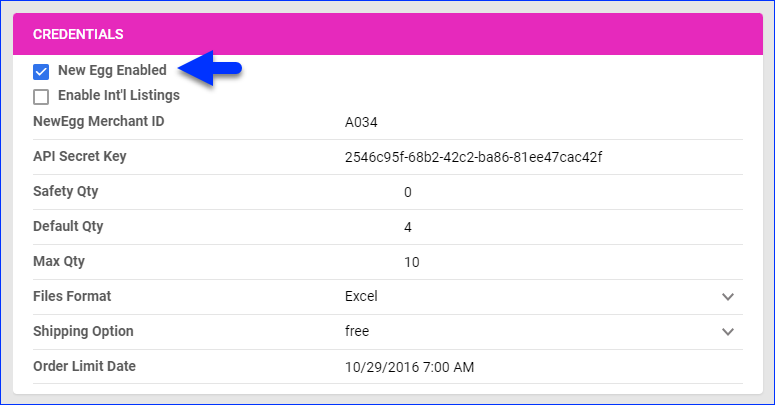
- Click Save.
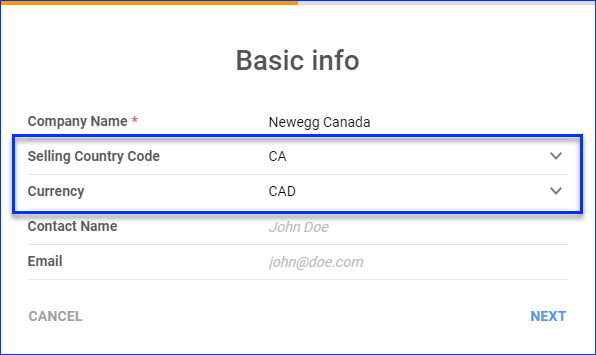
Newegg Canada
If you are a Newegg.ca seller, you can integrate your Canadian account with the steps shown above on a Sellercloud company set up for Canada. Simply follow the steps to Create a Company and set the Country Code to CA and the Currency to CAD.
If you are not registered yet, you can sign up for a Newegg.ca Seller Account.
Manage International Selling
As a Newegg merchant, you can sell internationally. This means you can control which countries are your shipping destinations.
To enable shipping destinations:
- Go to Company Settings.
- Click Toolbox and select NewEgg.com > General Settings.
- Click Edit.
- Check Enable Int’l Listings.
- Click Save.
- Click Toolbox and select NewEgg.com > Shipping Destinations.
- Click Edit.
- Check the destinations you want to enable.
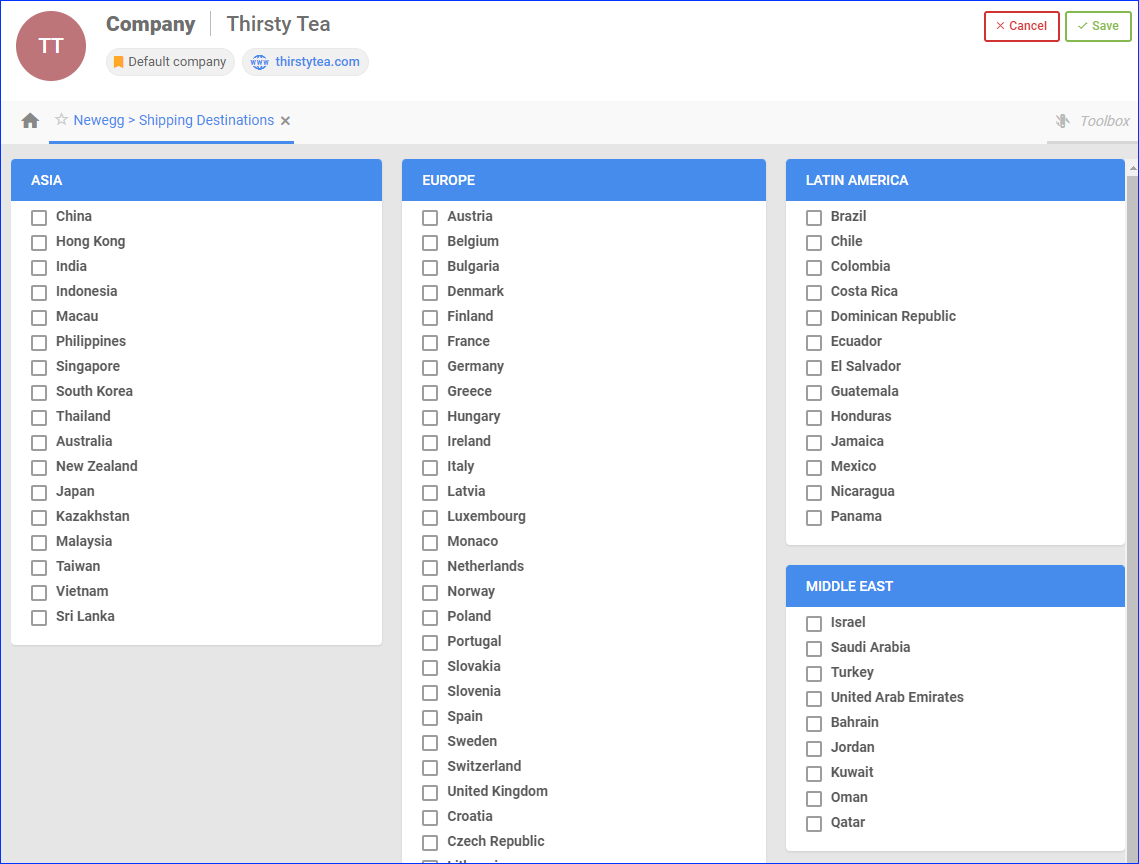
- Click Save.
Manage International Prices
Enabling multiple shipping destinations allows you to configure your product’s prices differently for each country. You can do this individually per product or in bulk.
Individually
To manage a single product’s international prices:
-
- Go to a Product Details Page.
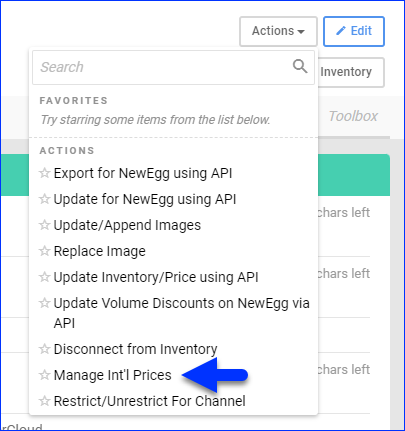
- Click Toolbox and select NewEgg.com Properties.
- Click Actions and select Manage Int’l Prices.
- Set the prices and settings for the selected shipping destinations:
- MSRP – The Manufacturer’s Suggested Retail Price (MSRP).
- MAP – The Minimum Advertised Price (MAP).
- SellingPrice – The selling price.
- CheckOutMap – Indicates whether to use the MAP during checkout or not.
- EnableFreeShipping – Indicates whether you offer free shipping or not.
- Active – Indicates whether the prices are currently active or inactive.
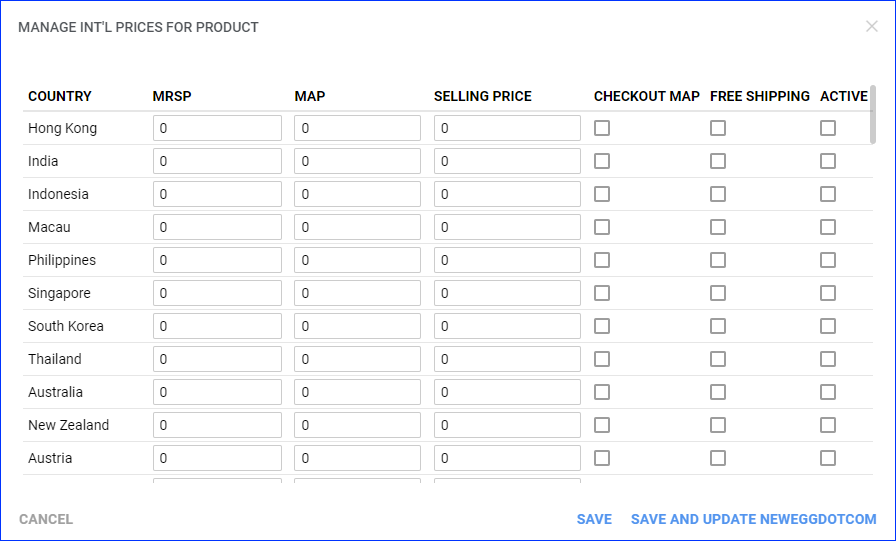
- Click Save to save internally or Save and Update Newegg.com to save and send the prices to Newegg.
In Bulk
To manage international prices for multiple products:
-
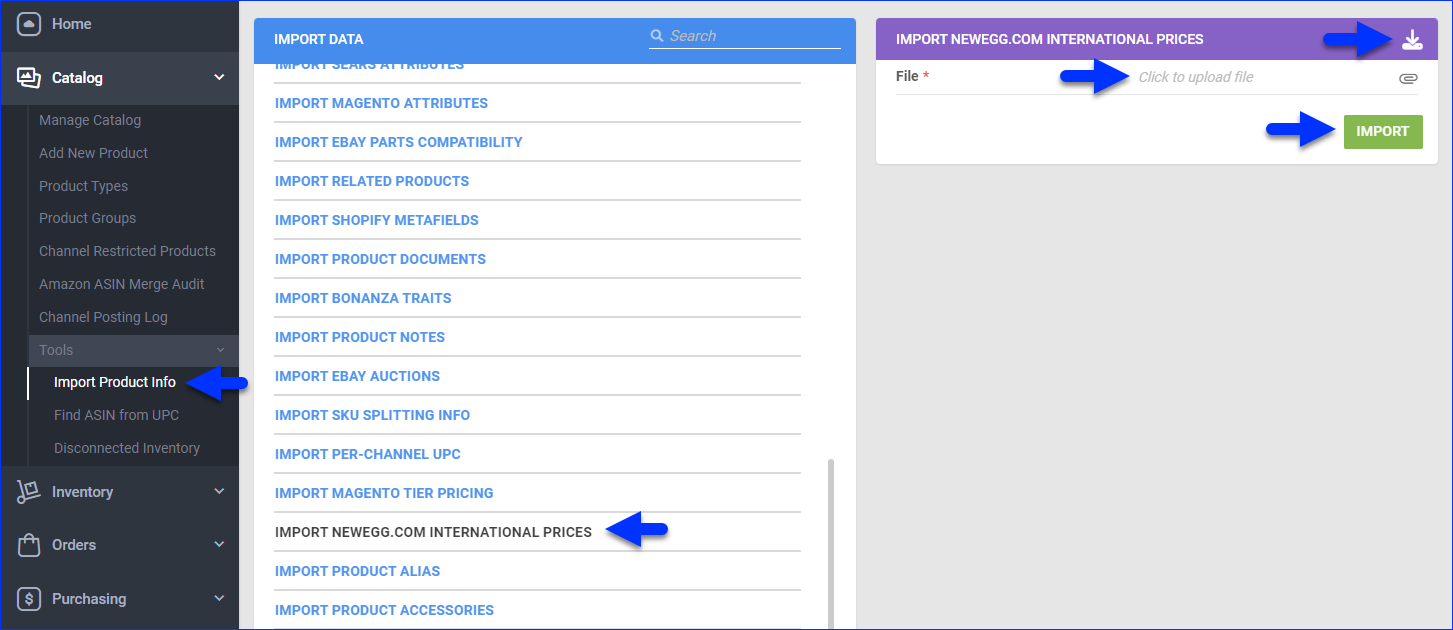
- Go to Catalog > Tools > Import Product Info.
- Select Import NewEgg.com International Prices.
- Click the Download button.
- Fill in the template. Enter the information below these required headers:
- ProductID – The product’s Sellercloud SKU.
- Country – The country for which prices are being set.
- MSRP – The Manufacturer’s Suggested Retail Price (MSRP).
- MAP – The Minimum Advertised Price (MAP).
- SellingPrice – The selling price.
- CheckOutMap – Set to True to enforce the MAP during checkout.
- EnableFreeShipping – Set to True to offer free shipping.
- Active – Set to True to indicate that the prices are currently active in the system.
- Click File and select the updated file.
- Click Import.
Overview
Newegg.com is an online retailer specializing in electronics and tech-related products. It offers a wide range of items, including computer components, laptops, gaming peripherals, and consumer electronics, with frequent sales and discounts. Known for its competitive prices and positive reviews, Newegg operates globally and provides various shipping options, including international delivery.
Sellercloud helps you put your products in front of millions of Newegg shoppers by allowing you to integrate Newegg using API. After integrating your Newegg account, you can use Sellercloud to manage your Listings and Orders.
General Settings
The Newegg API integration allows you to create listings directly from Sellercloud.
- Log in to your Newegg Seller Portal and go to Account > Data Feed Settings > API Settings > Auth a Developer.
- In the Authorize A Service Provider popup, select Sellercloud from the dropdown > Authorize.

- Click the REFRESH LIST button to update your current list and verify that Sellercloud was successfully added. You should see the Secret Key populate on that same page.
- Copy the Secret Key.
- In Sellercloud, enter the Secret key into the API Secret Key field and fill out your NewEgg Merchant ID (provided by NewEgg).
- Test your credentials from the Action menu.
- Check the New Egg Enabled box if the credentials have verified successfully.
- Check the Enable Inventory Upload, Enable Order Download and Enable Fullfillment Upload boxes when you are certain your products are Newegg-ready and you are ready to download orders.
- Press Save Settings.

NewEgg Shipping Destinations
By integrating NewEgg with Sellercloud, you can also manage shipping destinations and set different prices for each destination.
- Navigate to Settings > Choose a company > Toolbox > NewEgg.com > General Settings.
- Enable Int’l Listings > Save.
- Click Shipping Destinations > Choose the desired destinations.

- To manage prices for each product, go to Inventory > Manage Inventory > Select products.
- Navigate to NewEgg.com Properties > Go to the action menu > Manage International Prices > Go.

- Set prices for the shipping destinations you’ve selected.