Overview
The Shop HQ Account Integration lets you seamlessly manage your Shop HQ orders directly from the Sellercloud interface. It allows you to download orders automatically, update their fulfillment status, customize shipping methods, and more.
Automate Order Download and Tracking Upload
You can automate the process of order download and tracking upload by following the steps below:
- Go to Settings > Companies > Manage Companies > Open the company.
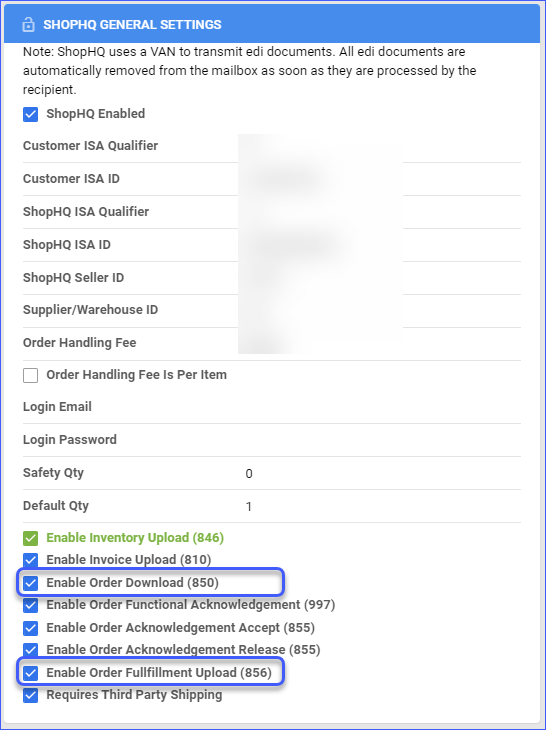
- Click Toolbox > Shop HQ > General Settings.
- Select the Enable Order Download and the Enable Order Fulfillment Upload checkboxes. Orders will be imported into Sellercloud approximately every 30 minutes.
- Tracking information and ship dates will automatically be sent to update the orders’ status on the channel in the next feed.
Additional Settings
- Enable Order Functional Acknowledgement (997) – Informs Shop HQ that the order file has been received.
- Enable Order Acknowledgement Accept (855) – Informs Shop HQ that the order file has been accepted.
- Enable Order Acknowledgement Release (855) – Informs Shop HQ that the order file is being processed.
- Requires Third Party Shipping – Enforces the use of a 3rd party account for Shop HQ orders.
- Enable Invoice Upload (810) – Enables automatic invoice upload for each shipped order from your Sellercloud account to Shop HQ.
In the same panel, you can also activate the Enable Inventory Upload (846) setting to update Shop HQ-enabled listings automatically. Learn more about Shop HQ listings management here.
Shipping Method Mapping
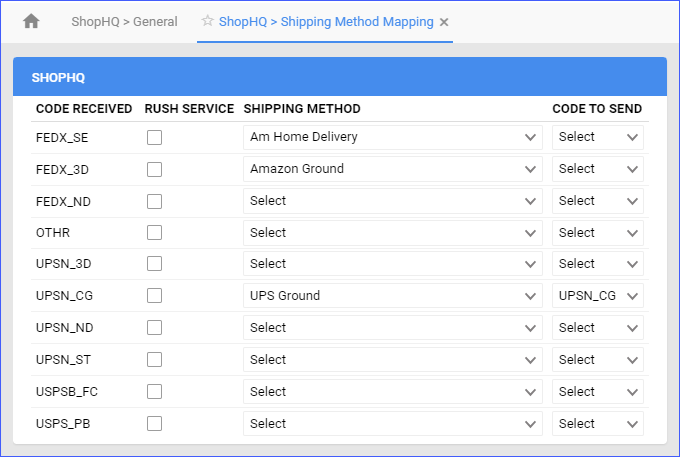
Sellercloud’s Shipping Method Mapping tool allows you to easily customize shipping for each channel integrated with your account. You can map the shipping methods sent for each order to a preferred shipping carrier and service. To make sure the right shipping method is applied for each order, you need to enter the shipping code for each respective shipping service.
When orders are downloaded into Sellercloud, the shipping method chosen by the customer will be imported as well.
- Go to Settings > Companies > Manage Companies > Select a Company.
- Toolbox > Shop HQ > Shipping Method Mapping.
- Click Edit > Go to Shipping Method > Choose your desired shipping option from the dropdown menu.
- Click Save.
Manage Shop HQ Orders
You can only cancel a Shop HQ order before it is marked Ship Confirmed. If it is already Ship Confirmed, you must issue a refund. If the item is being returned to your warehouse, use the RMA process instead.
Cancel a Shop HQ Order
To cancel a Shop HQ order internally:
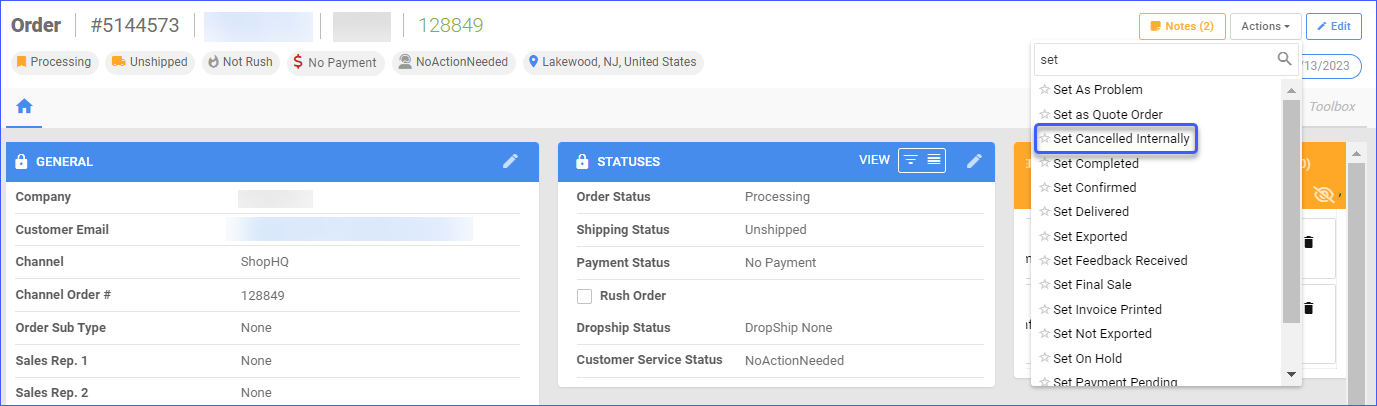
- Go to Orders > Manage Orders > Select an order.
- On the Order Details page, go to Actions > Set Cancelled Internally.
- Click Save.
Refund a Shop HQ Order
Prior to issuing a refund, a partial or full payment will be required. Navigate to:
- Orders > Manage Orders > Select an Order.
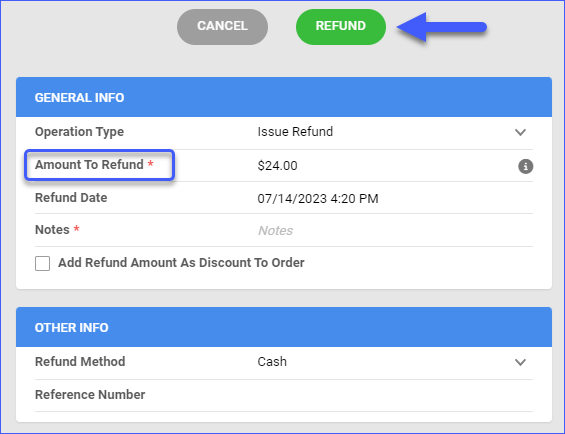
- On the Order Details page, go to Actions > Issue Refund.
- Fill out the Refund details:
- Operation Type
- Amount to Refund
- Refund Date
- Notes
- Click Refund.
Configure PDF Invoices
With the ShopHQ Invoice plugin set up under your designated company, you can print PDF Invoices with information about your ShopHQ orders and the products they include through Sellercloud or Shipbridge.
To set up the invoice plugin:
- Go to the Company Settings of the company you created for the integration.
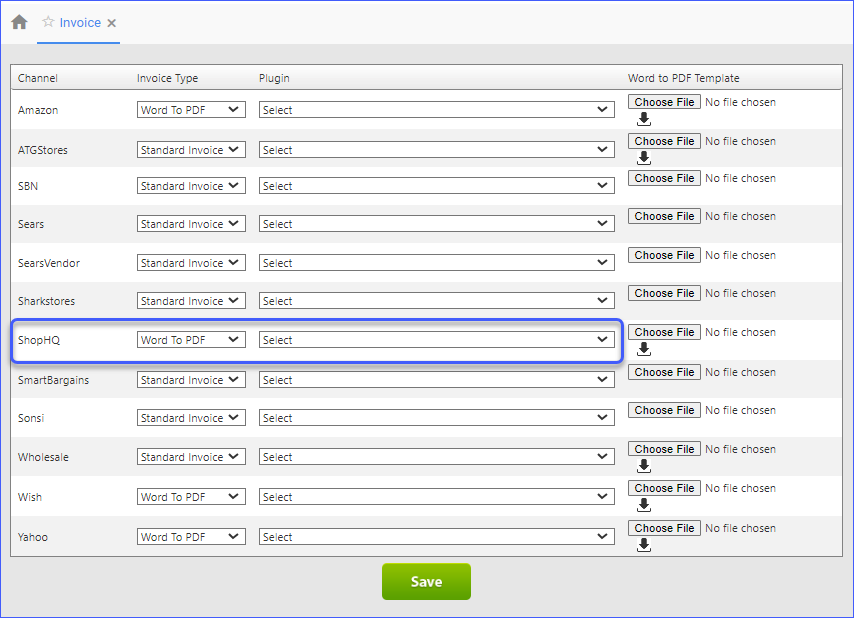
- Click Toolbox and select Invoice Settings.
- Click Per Channel Preferences.
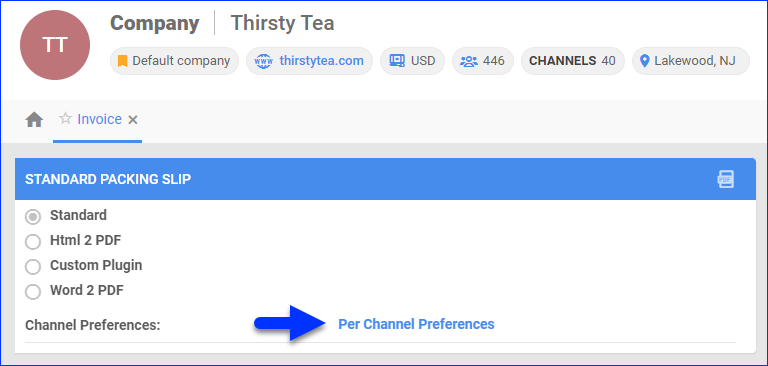
- For ShopHQ, select Plugin > ShopHQ Invoice.
- Click Save.