Overview
Each company has a unique address that plays a crucial role in various aspects of business operations. Sellercloud’s user-friendly interface helps you set up and manage your company addresses to ensure seamless and efficient workflows.
In this article, you’ll learn how to configure your company address, channel-specific company profiles, and address book entries.
Configure Company Address
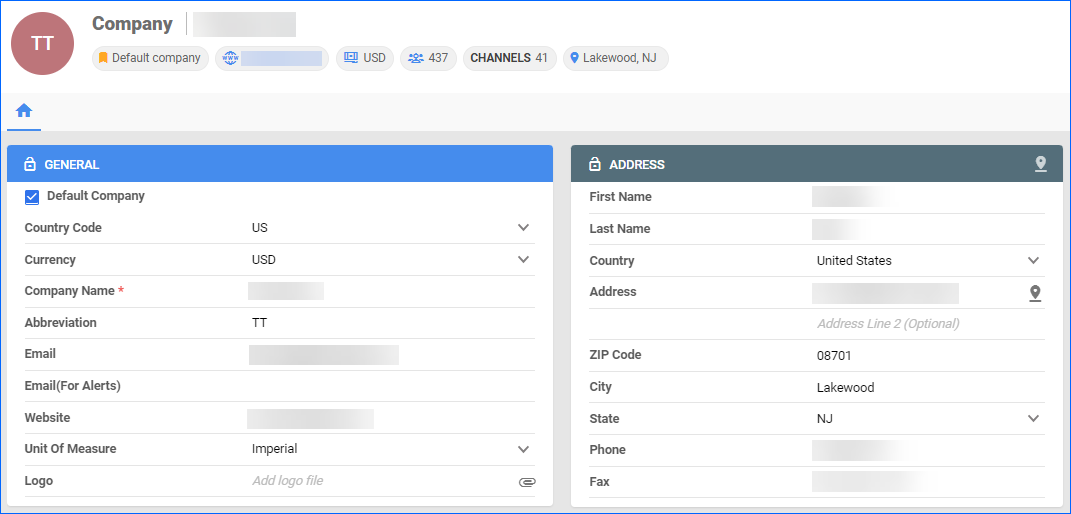
Your Company Address is used as the Ship From address on orders and invoices and is the default Ship To address on purchase orders.
To configure your Company Address, navigate to:
- Settings > Companies > Manage Companies.
- Select your Company.
- Click Edit > Enter your Company Address.
- Click Save.

Channel Company Profile
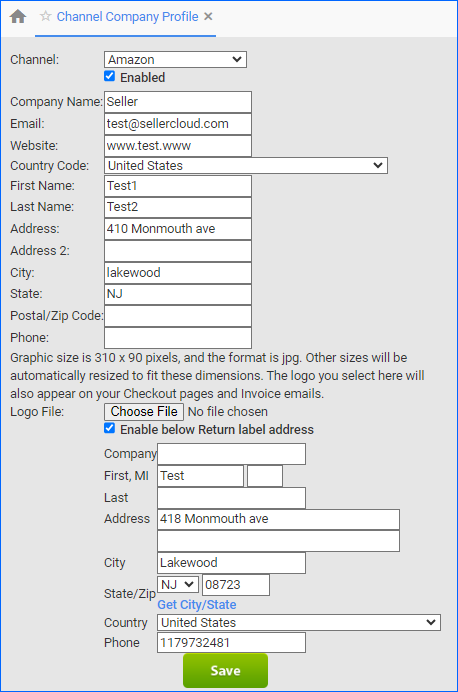
The same company may use various names and addresses across different sales channels. Additionally, distinct logos may be featured on invoices depending on the channel. When generating invoices through Sellercloud’s Channel Company Profile, the system will display the information associated with the respective sales channel’s orders.
To configure your Channel Company Profile:
- Settings > Companies > Manage Companies > Select your Company.
- Toolbox > Channel Company Profile.
- Choose a Channel from the dropdown list.
- Fill in your company profile for the desired channel.
- Click Save.

To utilize the Channel Company Profile feature in Shipbridge, follow these steps:
- Click on Menu > Options > Admin.
This tab is password-protected, contact Sellercloud Support for assistance.
- Enable the Setting Use company profile where enabled and available.
- Click Save.
Address Book Entries
In Sellercloud, the Address Book is a list of unique company addresses that can be retrieved and used as the Ship To address on Purchase Orders, as well as the Ship From address for FBA Shipments. Here you can view and manage information such as the date and time an entry was added, who created it, the warehouse it pertains to, as well as additional settings.
Create an Entry
To create an entry in your Address Book:
- Select a Company > Toolbox > AddressBook.
- Click on the Plus icon to create an entry.

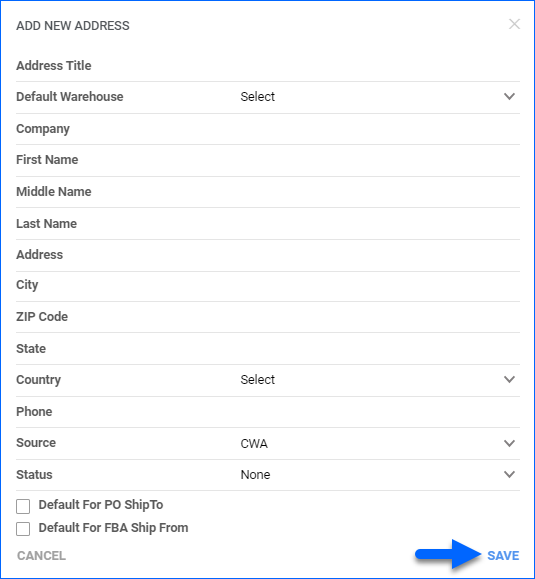
- Add the New Address.
- Fill in the required information.
- Optionally, select PO Ship To Default or FBA Ship From Default to designate this address as the default one for Purchase Orders or FBA Shipments.
- Click Save.

Edit an Entry
To edit existing book entries, navigate to:
- Select a Company > Toolbox > AddressBook.
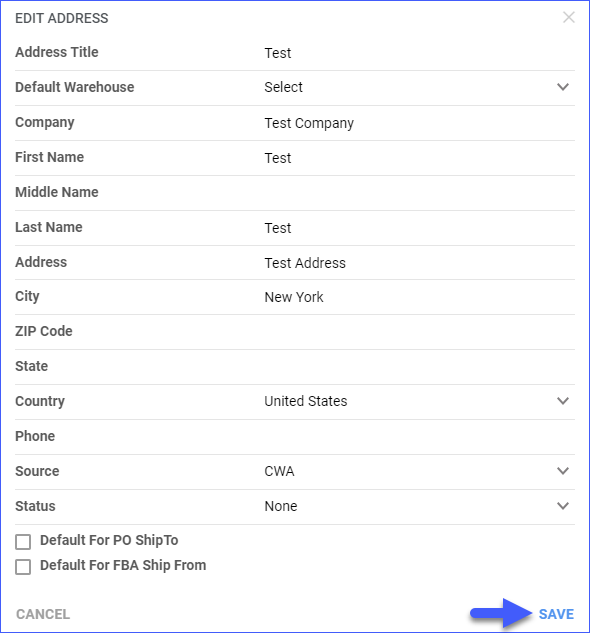
- Click on the Pencil icon in the grid next to an address to edit it.
- Apply your edits and click Save.

Delete an Entry
You can delete a single address book entry or multiple entries at once.
- Select one or more entries from the grid.
- Click on the Trash can icon to delete it.
- A confirmation pop-up message will appear > Click Confirm.
