Overview
A shipping template determines the shipping service and cost associated with each ordered product. To ensure compatibility with Google Shopping, it is necessary to manually create and assign at least one shipping template tailored to your specific requirements.
Google Shipping Templates
In Sellercloud, you can easily create multiple shipping templates with different pricing options and delete any templates you no longer need.
Create Templates
To create a Shipping Template for Google Shopping:
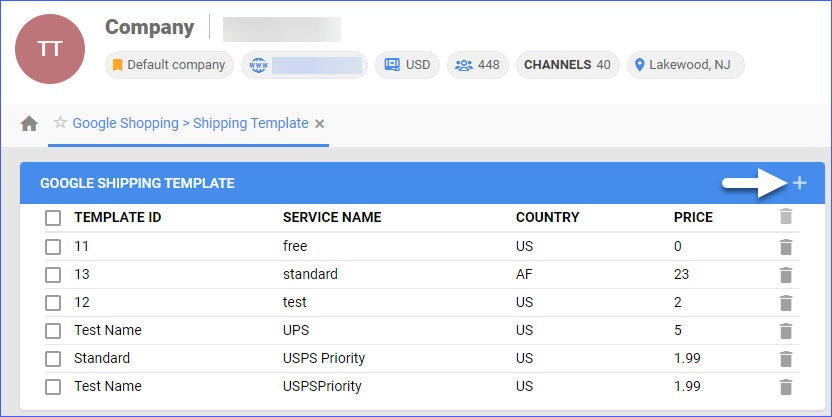
- Go to Company Settings.
- Toolbox > Google Shopping > Shipping Template.
- Click the + icon.
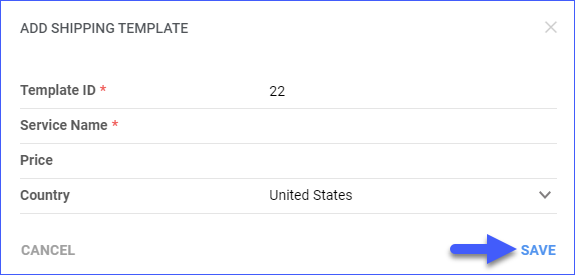
- Complete the following settings:
- Template ID – Enter a name for the template.
- Service Name – Enter the name of the shipping carrier.
- Price – Enter the shipping price.
- Country – Select the shipping destination country.
- Click Save Template. The template will appear in the grid below.
Delete Templates
If you no longer need a certain template:
- Go to Company Settings.
- Toolbox > Google Shopping > Shipping Template.
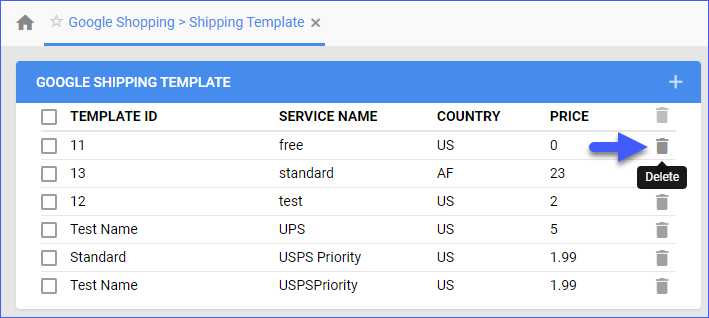
- Click on the respective Trash icon to delete the template.
- Confirm the deletion.
Assign Shipping Templates
To post a listing on Google Shopping, your product’s shipping preferences must be configured. You can assign Google Shopping shipping templates to products individually or in bulk.
Individually
To assign a template individually:
- Go to the Product Details Page.
- Click Toolbox > Google Shopping.
- Click Edit.
- Select a Shipping template from the drop-down menu in the Shipping panel.

In Bulk
To bulk-assign shipping templates to products:
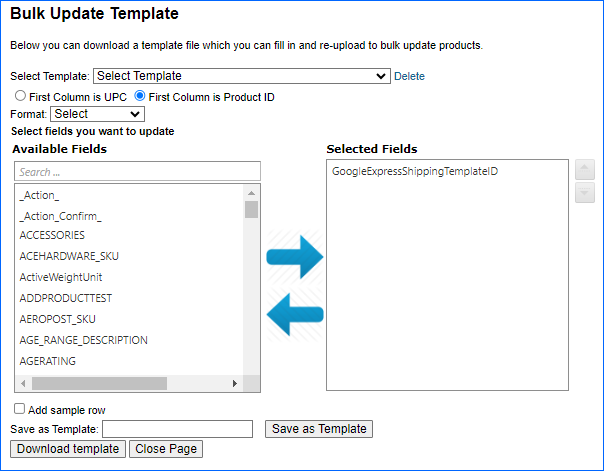
- Follow the steps to Bulk Update Products.
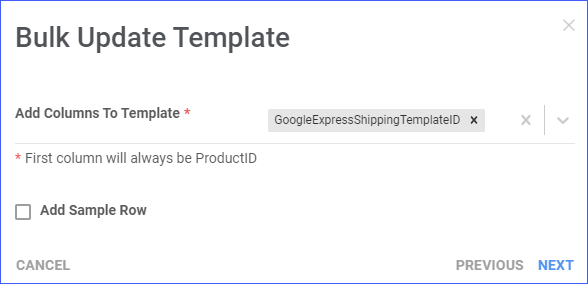
- Add the column header GoogleExpressShippingTemplateID to your template.
- Go back to Sellercloud and upload it.
Overview
A shipping template determines the shipping service and cost associated with each ordered product. To ensure compatibility with Google Shopping, it is necessary to manually create and assign at least one shipping template tailored to your specific requirements.
Google Shipping Templates
In Sellercloud, you can easily create multiple shipping templates with different pricing options and delete any templates you no longer need.
Create Templates
To create a Shipping Template for Google Shopping:
- Go to Company Settings.
- Toolbox > Google Shopping > Shipping Template.
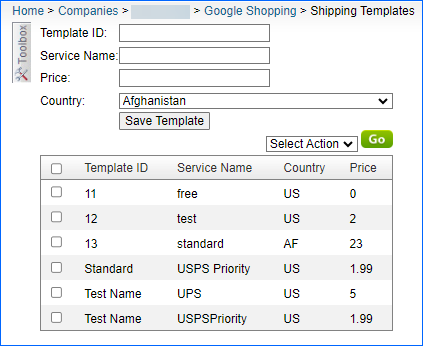
- Complete the following settings:
- Template ID – Enter a name for the template.
- Service Name – Enter the name of the shipping carrier.
- Price – Enter the shipping price.
- Country – Select the shipping destination country.
- Click Save Template. The template will appear in the grid below.
Delete Templates
If you no longer need a certain template:
- Go to Company Settings.
- Toolbox > Google Shopping > Shipping Template.
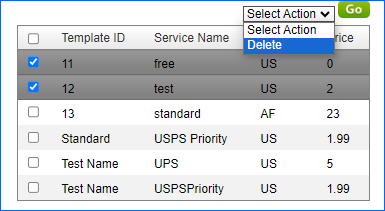
- Select the template/s from the grid > Action Menu > Delete > Go.
Assign Shipping Templates
To post a listing on Google Shopping, your product’s shipping preferences must be configured. You can assign Google Shopping shipping templates to products individually or in bulk.
Individually
To assign a template individually:
- Go to the Product Details Page.
- Click Toolbox > Google Shopping.
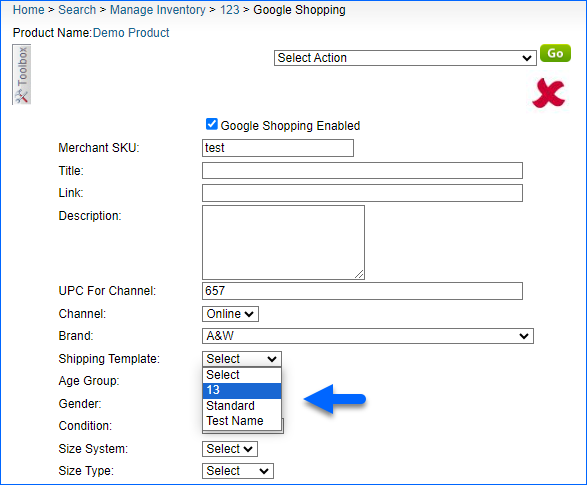
- Select a Shipping template from the drop-down.
- Scroll down and click Save.
In Bulk
To bulk-assign shipping templates to products:
- Follow the steps to Bulk Update Products.
- Add the column header GoogleExpressShippingTemplateID to your template.
- Go back to Sellercloud and upload it.
