Overview
Shipbridge is a desktop application that lets you import orders from your connected sales channels into a single interface where they can be fulfilled. In this article, you will learn how to download and install Shipbridge on your computer.
If you already have the application installed and need to update your current version, check out our Update Shipbridge article.
Prerequisites
Before installing Shipbridge, make sure you meet the following requirements:
- Operating System – Windows 7 or later
- RAM – 2 GB
- Hard Disk Space – 159 MB
- CPU – Dual-core 2GHz
Download Shipbridge
You can download the latest version from our Support Portal.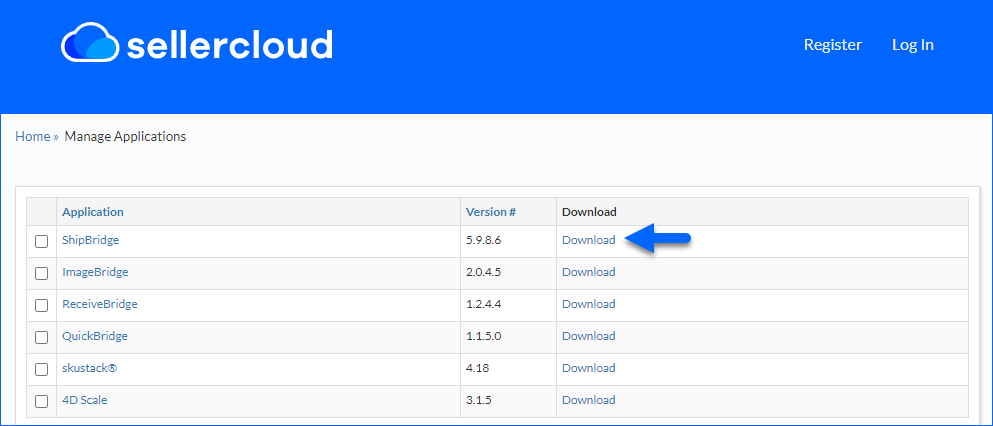
Only the most recent version is displayed on this page. If you need an older version, click the application name to see the Release History. You will see details about current and previous releases, including the version number, release summary, and release date. The latest version is always shown on the top row.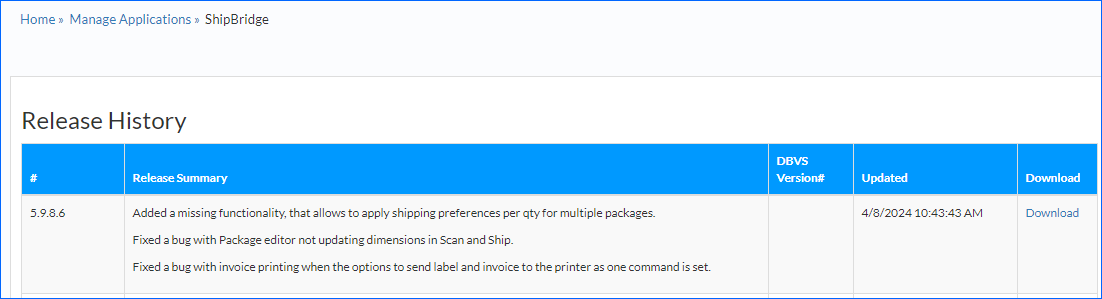
Install Shipbridge
To install Shipbridge on your computer, you must enter your Sellercloud credentials to verify your account and configure your settings. Refer to the steps below to set up your installation.
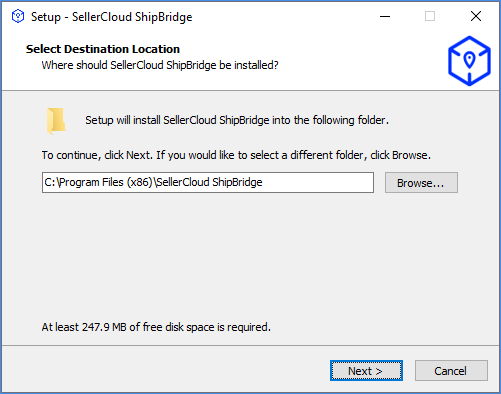
- Run the ShipbridgeSetup-<version>.exe file. The Setup window will pop up.
- Select the destination folder where Shipbridge should be installed.
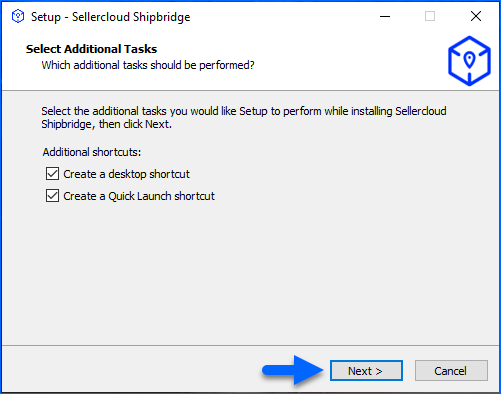
- In Select Additional Tasks, both shortcut options are checked by default. If needed, you can uncheck them. Click Next.
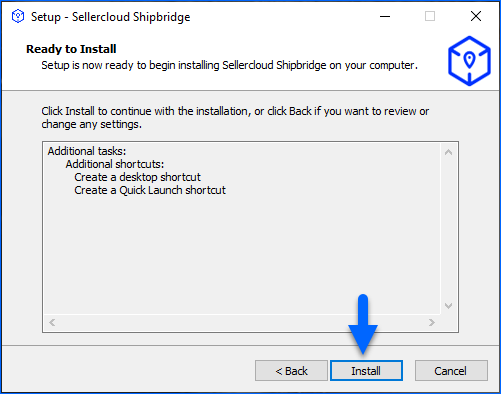
- Verify the options configured during the previous steps > Install.
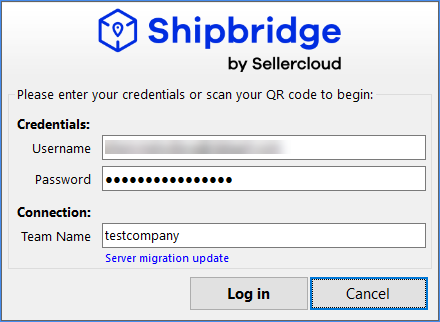
- Enter your Sellercloud credentials > Log in.
- Once your credentials are verified successfully, proceed with the Shipbridge configuration process. During this step, you will be prompted to set up some basic Shipbridge settings, e.g., your shipping and invoice preferences, Dazzle Settings, etc. These can also be adjusted later on in the Options window or via the Configuration Wizard.
- Click Next to complete the remaining carrier configuration steps.