Overview
With Shipbridge multi-package shipping, you can divide an order into multiple packages and shipping labels in a simple and streamlined process. By adding packages and dragging and dropping items, you can distribute the shipping contents into the desired packaging arrangements.
This feature of Shipbridge allows you to ship multiple packages in a single shipment. That way, you can save time and money when shipping by combining multiple packages into a single shipment. It also helps reduce the cost of shipping and minimize the number of packages that need to be processed.
Ship in Multiple Packages
An order with multiple items may need to be shipped in multiple packages. You can add packages to your order in Shipbridge. This can be done from the Main Order Grid by right-clicking on the order and selecting Edit Packages. If you use Scan and Ship, see the following steps:
-
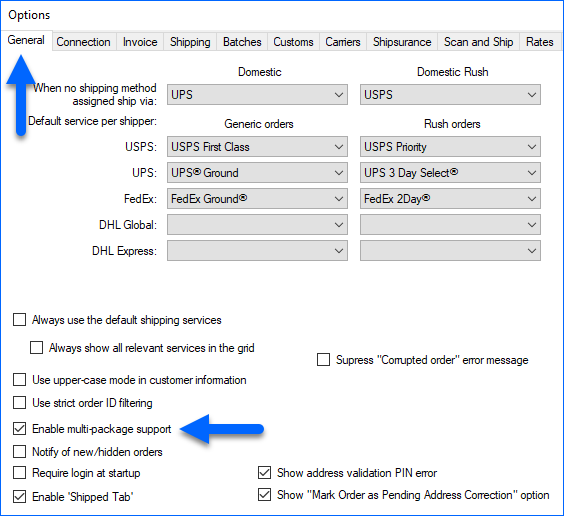
- Select the Enable multi-package support setting in Menu > Options > General tab > Click Save.
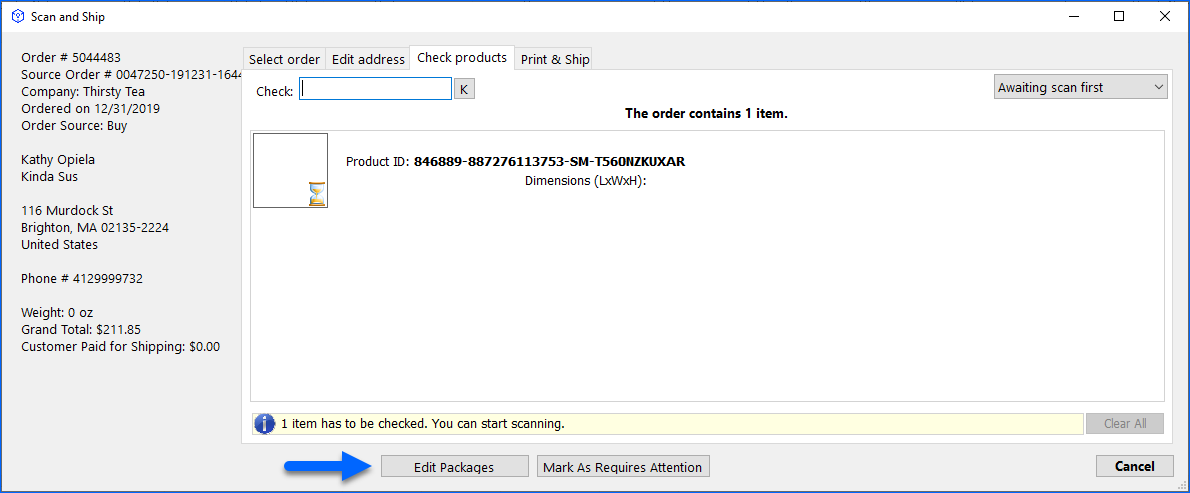
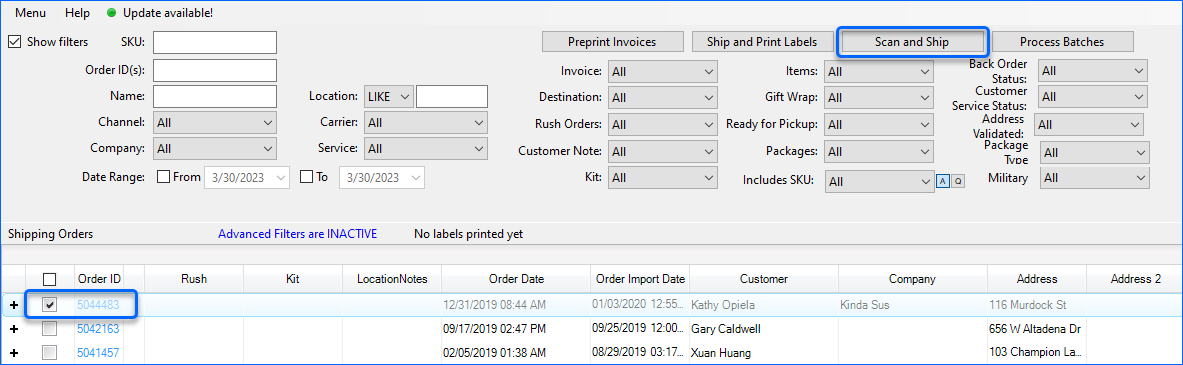
- From the Order Grid – Select the order that you want to divide into multiple packages. Click Scan and Ship.

- After scanning the products, press the Edit Packages button.
- Add packages by clicking on the green Add icon at the top right corner of the Edit Package window.
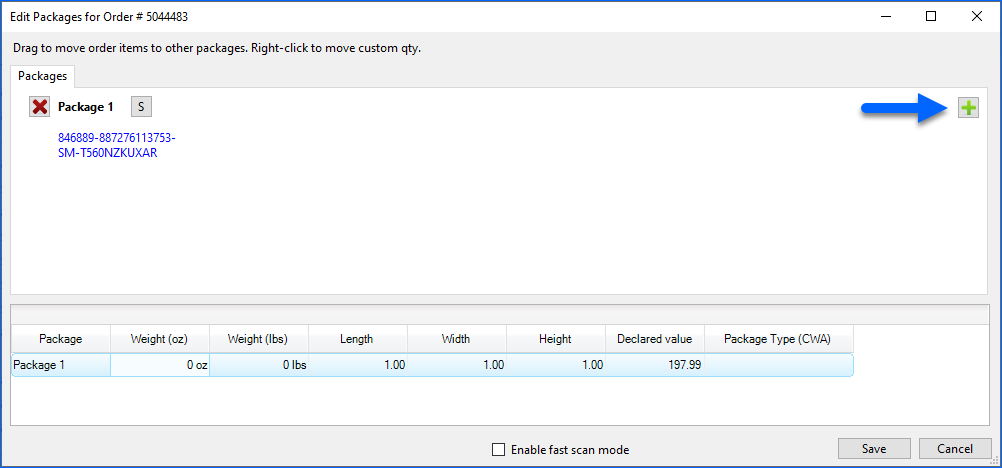
- Move Items – Split your items into separate packages by dragging and dropping them into the appropriate package.
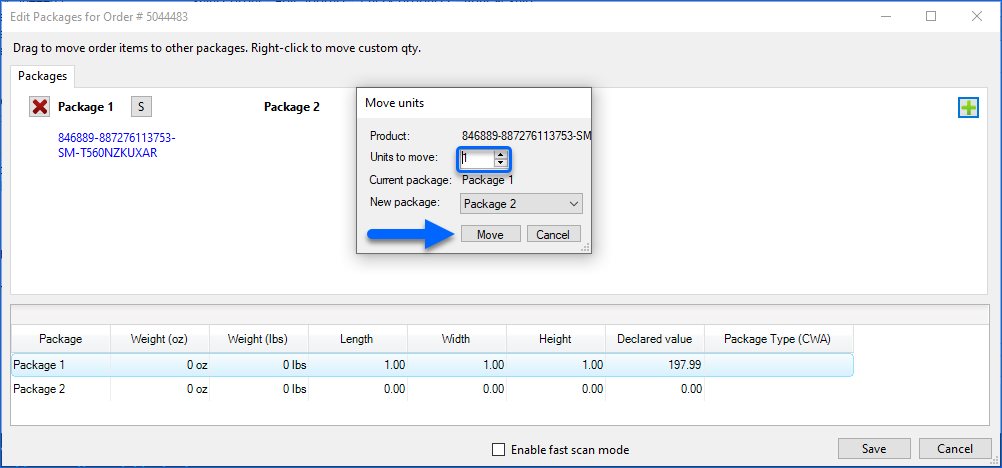
- Move Units – To split units from a single item, right-click on the item and click on the popup Move units to another package. A window will appear to select the amounts of units to move.
- Select the Enable multi-package support setting in Menu > Options > General tab > Click Save.
-
- Select a package number or create a new one. Then click Move.
During this step, you can also merge existing packages by dragging and dropping items. We recommend enabling the Exclude kit parents in Package Manager setting to ensure accurate quantities when managing Kit Products packages.
- Select a package number or create a new one. Then click Move.
- Click Save.
Scan Items into Packages
To scan your items into packages, you will need to set up a location in Sellercloud with a barcode scanner. Once the scanner is set up and connected to your Sellercloud account, you can scan items into packages in Shipbridge.
In Shipbridge, you can select the package you want to scan items into and then use your barcode scanner to scan the items into the package.
- From the grid menu, select the order you want to scan into packages
- Click on Scan and Ship.
- Click on Edit Packages.
- Click on the S icon next to the package. A pop-up will appear.
- Scan the SKU and Click Close.
- scanning the item through Fast mode would instantly add the SKU to the package and clear the SKU field so that you can scan another item afterward.

- scanning the item through Fast mode would instantly add the SKU to the package and clear the SKU field so that you can scan another item afterward.
- Once you’ve finished scanning all the SKUs, Click Save.
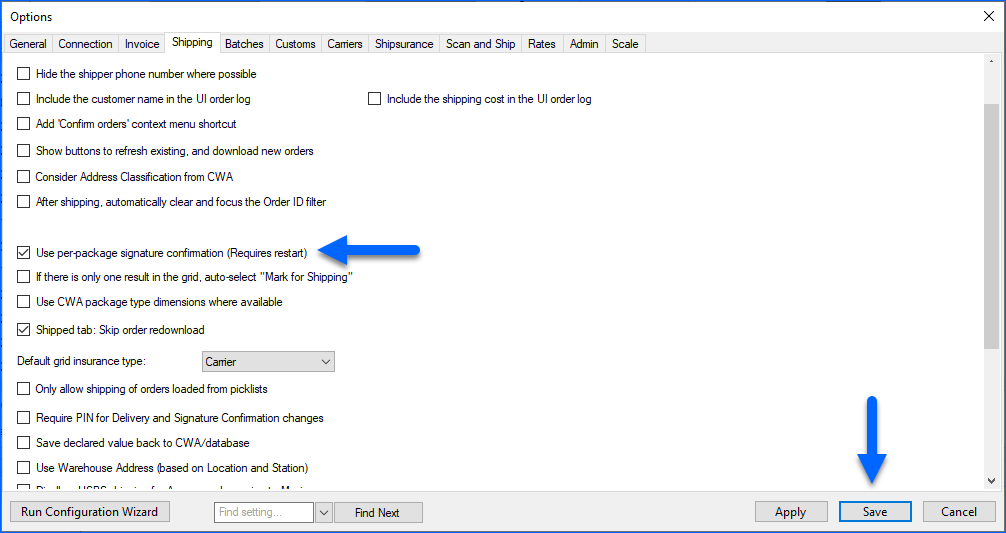
Confirm Multiple Packages With Signature
To require signature confirmation per package instead of per shipment, open the Menu > Options > Shipping tab and enable the setting Use per-package signature confirmation, then restart Shipbridge.