Overview
The Email tab in Sellercloud enables you to efficiently handle your email workflow by configuring SMTP Profiles, creating Email Templates, and assigning Email Rules. You can also access a detailed email communication log, as well as blacklist certain domains.
This article provides a concise guide to the complete email workflow.
Configure Email Settings
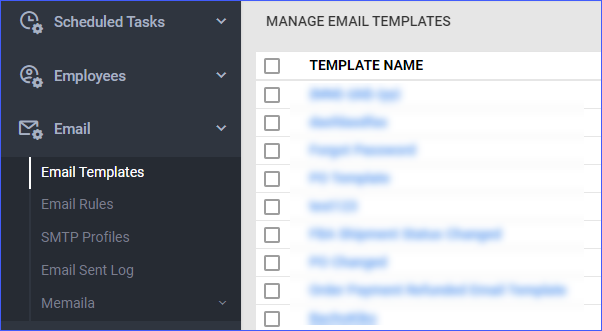
To access your Email Settings, navigate to Settings > Email. Explore the sections below for detailed instructions on configuring various email settings, establishing rules, and accessing additional information.
Email Templates
Email templates can be used for standardized emails. Email Templates can be assigned to a particular event or trigger like when an order is shipped or a PO is received. Read more in the Assign Templates section of the Email Templates article.
Additionally, when creating an email template, you have the option to add email placeholders. This helpful feature saves you time by inserting information for you. Read more about placeholders in the Email Placeholders article.
Email Rules
Save time by utilizing email rules, allowing you to automate the sending of standardized emails at scheduled times. Tailor rules to specific clients, such as payment reminders, or for broader company-based purposes, like issuing shipping confirmations.
Learn more about these rules in the dedicated Email Rules article.
SMTP Settings
SMTP, or Simple Mail Transfer Protocol, is the standard way to transmit emails over the Internet.
Most email providers, like Gmail, Yahoo, and Verizon, use SMTP to allow you to send emails from a source outside your account. Entering SMTP credentials will enable you to send outgoing emails from Sellercloud.
Read more about the configuration in the SMTP Profiles and Settings article.
Email Sent Log
You can view a detailed history of your email information using the Email Sent Log option. The log allows you to review information about who sent an email when an email was sent, if any errors occurred, and more.
You can also configure your email settings so that no emails are sent to certain domains. This is referred to as blacklisting and is especially helpful for channels such as Amazon and Newegg. These channels restrict specific content in emails to customers, mainly content that can be seen as business solicitations.
Domain Blacklist
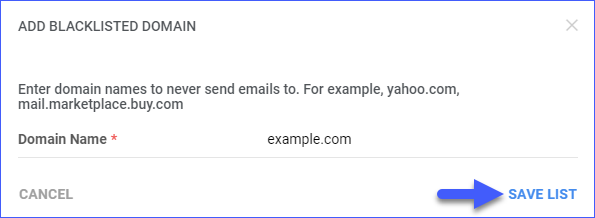
An email domain refers to the section of an email address that appears after the @ symbol. You can configure your email settings to block all incoming emails from specific domains. For example, if you wish to restrict emails from the following domain – xxxxx@amazon.com, you need to enter amazon.com in the designated field.
To blacklist a domain:
- Go to Company Settings.
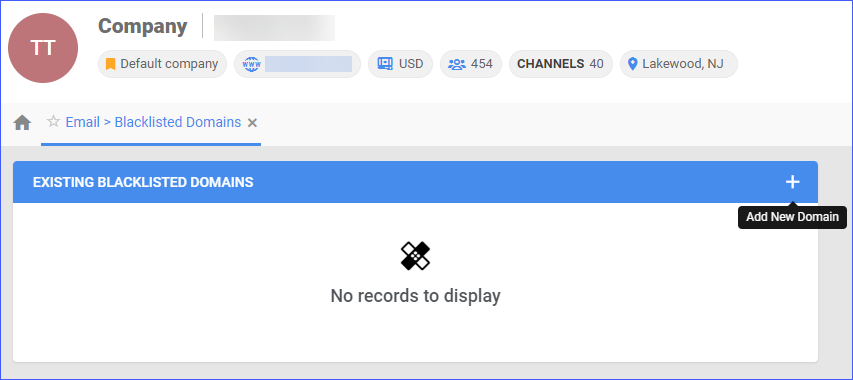
- Click on Toolbox > Email Settings > Blacklisted Domains.
- Click on the + button in the grid and a pop-up window will appear.

- Enter your blacklisted domain and click Save List.

To delete existing blacklisted domains, hover over the domain you want to delete and click on the trash icon.
Configure Memaila
Memaila allows individuals and businesses to create a team account with a chosen email address. Team members can receive emails and respond using that shared email address, all while utilizing their personal email inboxes. This simplifies communication and enhances efficiency in managing customer inquiries.
In the Email tab, you can configure your Memaila Account and access all relevant documents. Read more about how to Set Up your Memaila Account.
Memaila Account
In the Memaila Account tab, you can input and manage your account details, retrieve your verification token, and download your account information to a spreadsheet, streamlining your workflow. For detailed instructions, see how to Add a Memaila Account.
Access your Memaila Account Information by navigating to Settings > Email > Memaila.
Memaila Documents
Within the Memaila Documents tab, you can navigate through various document types, search by keywords, and review responses and requests associated with the documents.
