Overview
When dropshipping, vendors typically send tracking information for fulfilled orders to you through a file. Sellercloud streamlines this process by offering standardized templates that your vendors can utilize. These templates are then imported into Sellercloud to update the respective orders and upon receipt of this information, the tracking details will be uploaded to the channel the orders originated from with the next automatic feed.
Import Tracking Information
Sellercloud’s Import Order Info tool offers several functionalities to manually import tracking data:
- Import Tracking – From a default template/spreadsheet.
- Import Tracking Via Profile – From a spreadsheet, using a Mapping Profile.
- Import Tracking Via Plugin – From a file, using a Tracking Import-type plugin.
Import Tracking
To import tracking information using Sellercloud’s default template:
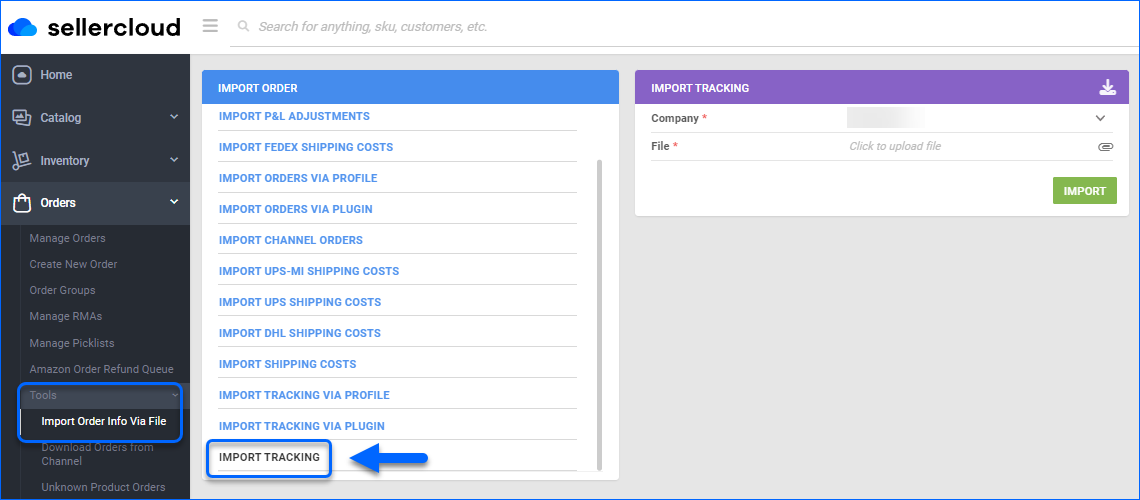
- Navigate to Orders > Tools > Import Order Info and click Import Tracking.
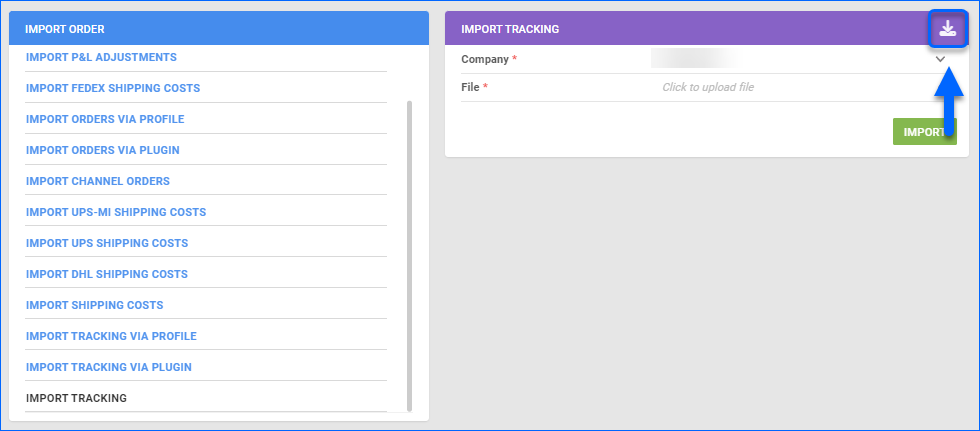
- Download an import template.
- The template contains the following columns:
- Order-ID – The internal Sellercloud order ID. If OrderID is provided, then Order-Source, Order-Source-Order-ID ,and PO-Number are not required. Entering the Channel’s OrderID in this field will result in an import error.
- Order-Source – Channel name. For example, if the order originated from Amazon, this column needs to be populated with that name. If the order channel is either Shopify, BigCommerce, or any plugin integration (such as ones through CommerceHub), the order source will be Website.
- Order-Source-Order-ID – Channel order ID. If there is more than one channel order IDs, enter the first one. If both Order-ID and PO-Number are not available, then you will need the Order-Source-Order-ID, which Sellercloud will try to match, even with no OrderSource provided.
- PO-Number – Marks orders as shipped based on the PO number they are associated with. If PO-Number is provided, then Order-ID, Order-Source, and Order-Source-Order-ID are not required.
- Ship-Date – Date of shipping. Standard date/time format is acceptable (e.g. 7/12/2020 4:45 PM / July 12 2020 4:45 PM).
- Carrier-Name – Shipping carrier name.
- Ship-Method – Shipping service name.
- Tracking-Number – Tracking number provided by the shipping carrier.
- Shipping-Cost – Price for the shipping paid to the shipping carrier. The Shipping Cost can be entered to ensure that the order P&L is correct.
- Company-ID – Sellercloud company ID under which the order exists.
- Package-ID – The order’s package ID, as recorded in Sellercloud. This column becomes available only if the Enable PackageID in Order tracking import Client Setting is enabled.
- Warehouse-Name – Name of the Sellercloud warehouse, from which order inventory is deducted. Warehouse Name can be entered to change the ShipFromWarehouse on the order.
The Tracking Import does not generate new packages for multi-package orders that are not already present in Sellercloud. However, it can effectively update the tracking numbers of existing packages, using the respective package IDs. You can create additional packages in Sellercloud or set a pre-defined quantity per package so they are created automatically.All column headers must be in the file, whether or not the column is populated with data.
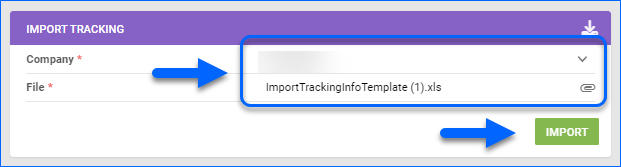
- Save the populated template and return to the Import Tracking panel.
- Select a Company from the dropdown menu, upload the saved file, and click Import.
An Order Import Tracking Queued job will be created, from which you can monitor the status of your task. After a successful job completion, the import has been processed in Sellercloud.
Import Tracking via Profile
Another alternative to import tracking information is to use a Mapping Profile.
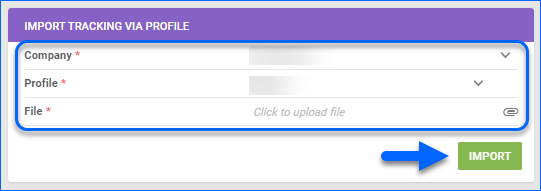
- Navigate to Orders > Tools > Import Order Info and select Import Tracking via Profile.
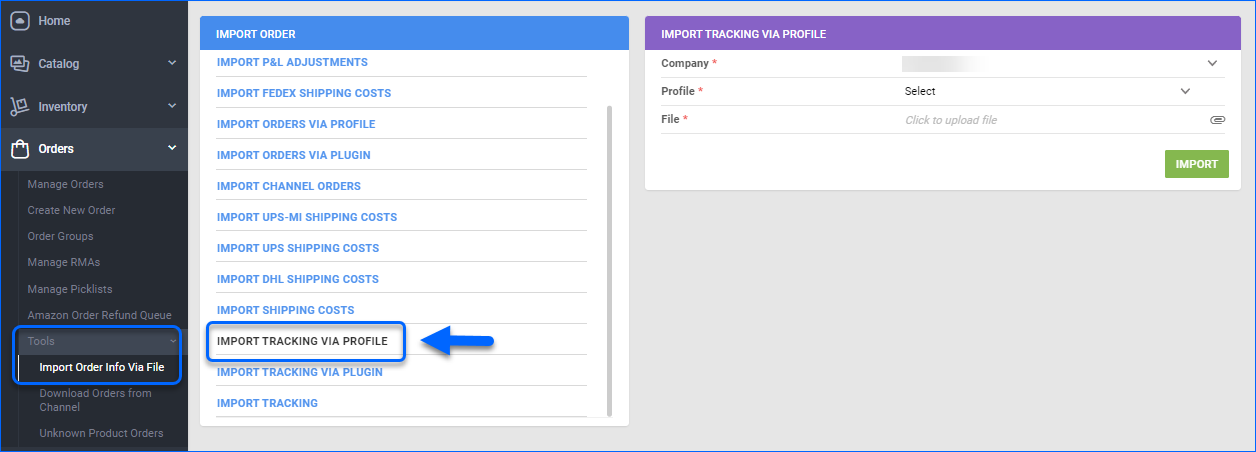
- Choose a Company, Profile, import a template file, and click Import.
An Order Import Tracking Queued job will be created, from which you can monitor the status of your task. After a successful job completion, the import has been processed in Sellercloud.
Import Tracking via Plugins
You can import orders based on utilized tracking plugins. If the vendor has a different format, contact Sellercloud Support to create a custom Import Tracking Plugin.
To import tracking information via an existing plugin:
- Navigate to Orders > Tools > Import Order Info > Import Orders Via Plugin.
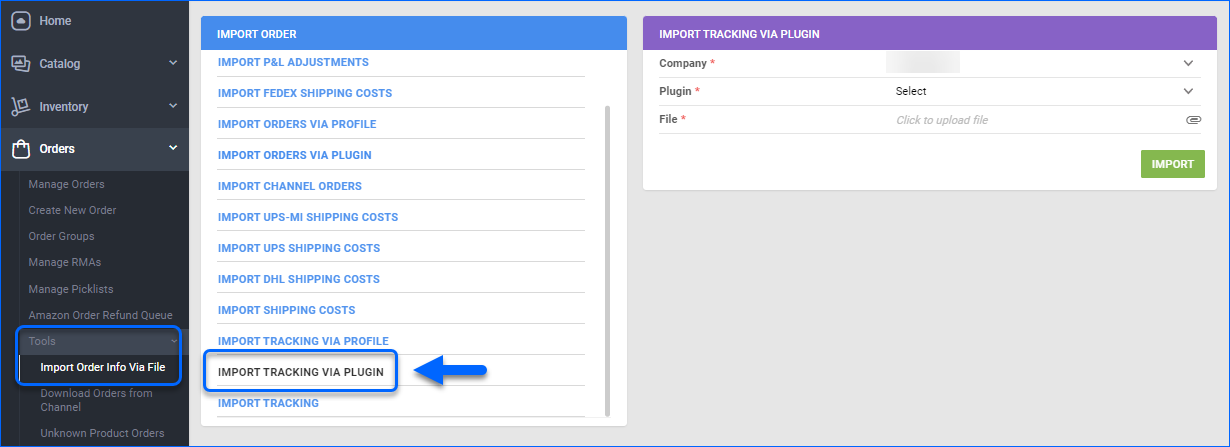
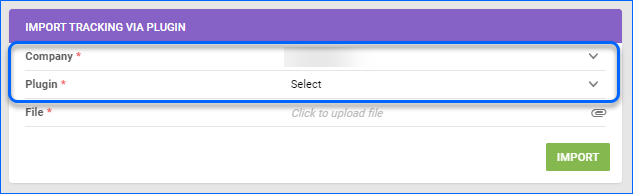
- Select a Company and a Plugin from the dropdown menus.
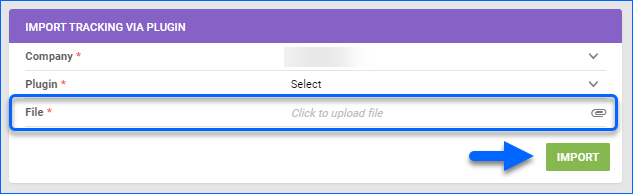
- Upload a File that corresponds to the plugin format and click Import.
An Order Import Tracking Queued job will be created, from which you can monitor the status of your task. After a successful job completion, the import has been processed in Sellercloud.
Automate Tracking Import
If you want to regularly import order tracking information, you can create a Scheduled task in Sellercloud. This way you can automate the import to run on a custom schedule of your choosing.
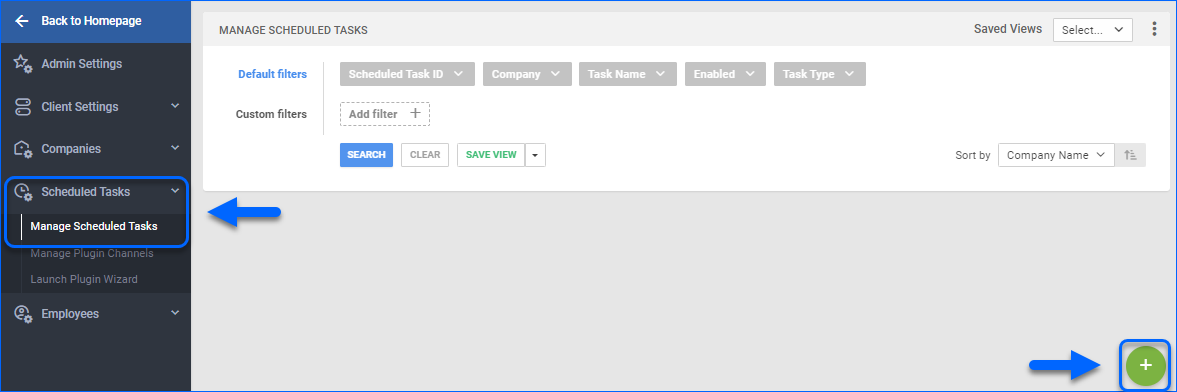
- Navigate to Settings > Scheduled Tasks > Manage Scheduled Tasks.
- Click the plus icon at the lower-right corner to create a new scheduled task.
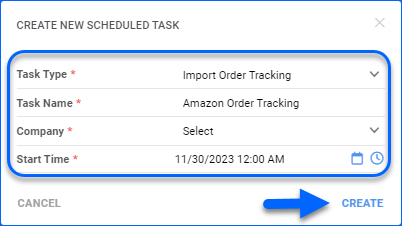
- Set the Task Type as Import Order Tracking, select Task Name, Company and Start Time, and click Create.
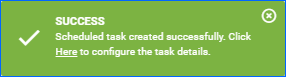
- Open the scheduled task from the success message.
- Click Edit.
- In the Import Options panel, select FTP and enter the FTP credentials.
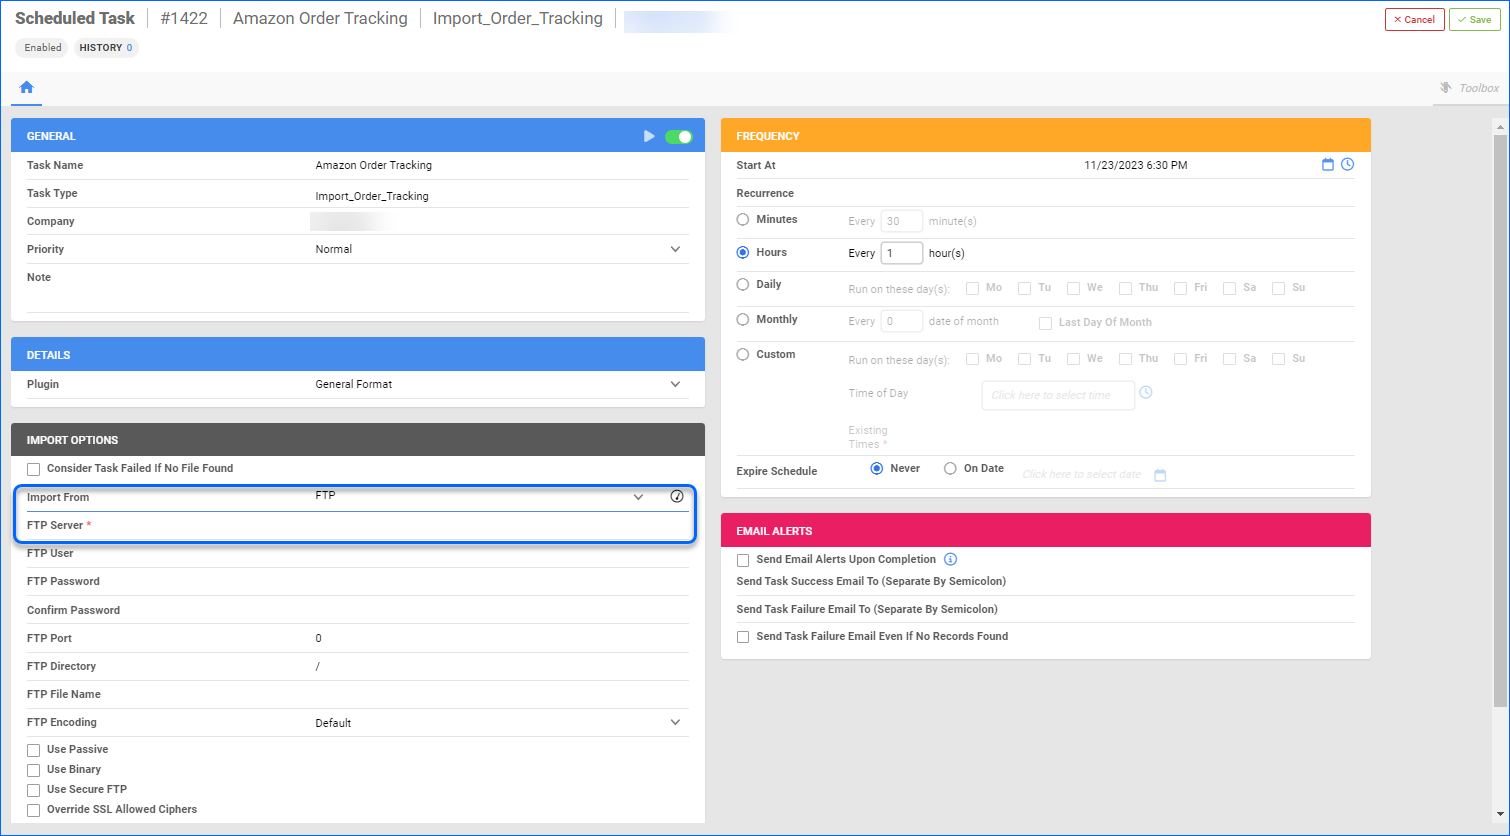
- You can also use a custom Plugin.
- Select a Recurrence schedule and Enable your task.
- Save your changes.
Email POs for Dropshipped Orders
Sellercloud enables you to email POs to different vendors when orders are dropshipped.
- Open the desired PO and from the Actions dropdown, select Send PO via Email.
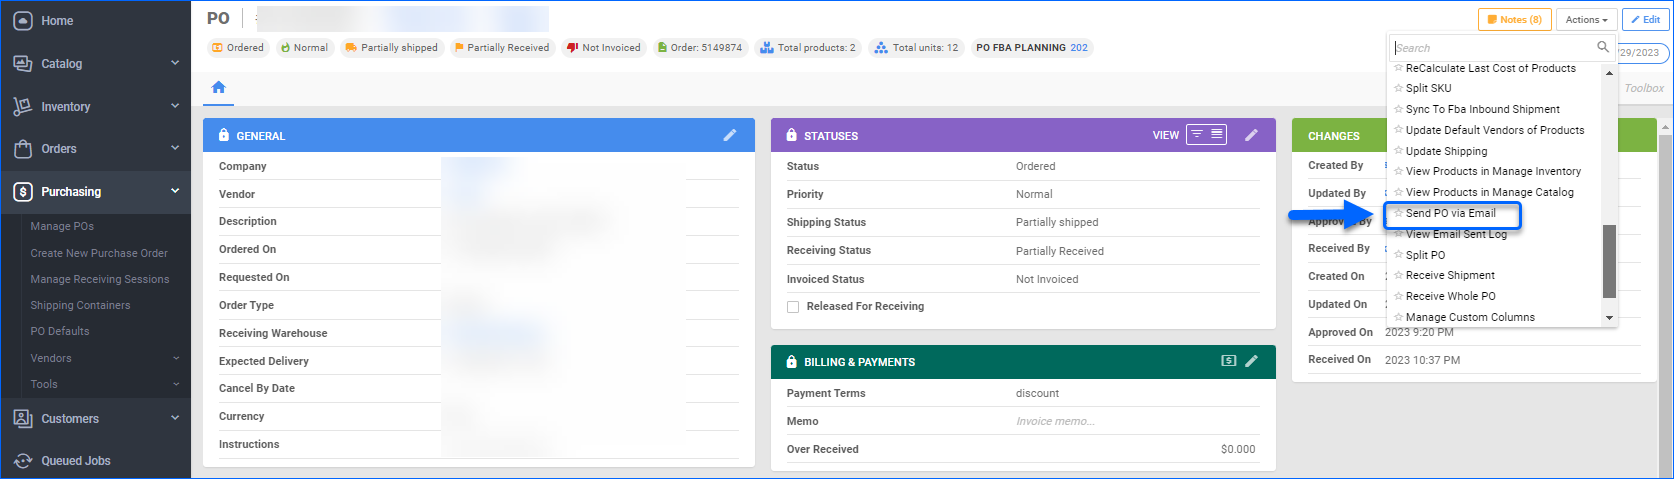
- In the General panel, fill out the required credentials:
- Vendor Email
- Subject
- Sender Name
- Sender Email
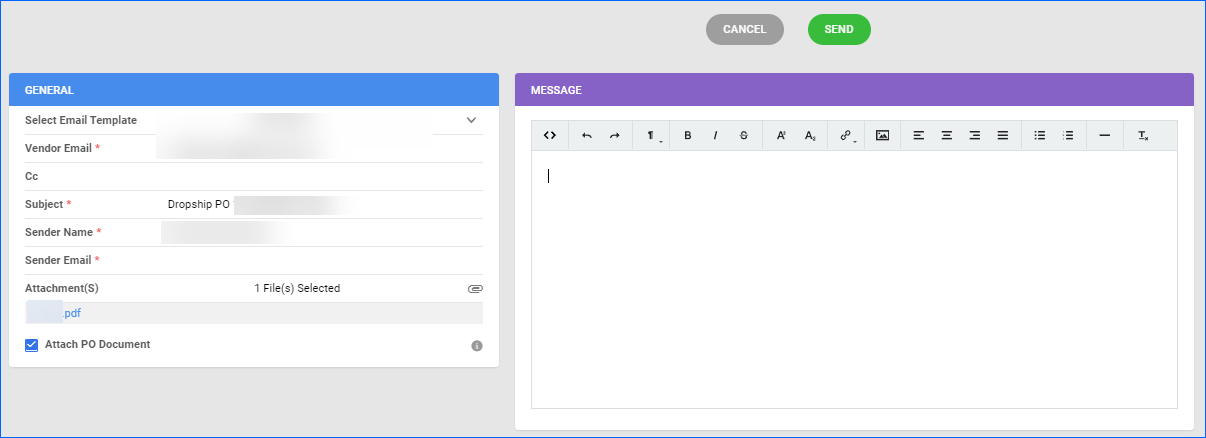
- You can choose a pre-existing email template.
- If the Attach PO Document option is checked, the PO file will be automatically attached to the email. If you wish, you can enclose additional files to your email, by clicking Attachment(s) and selecting the appropriate document.
- Enter your email text into the Message panel.
- Once done, click Send.
Overview
When dropshipping, vendors typically send tracking information for fulfilled orders to you through a file. Sellercloud streamlines this process by offering standardized templates that your vendors can utilize. These templates are then imported into Sellercloud to update the respective orders and upon receipt of this information, the tracking details will be uploaded to the channel the orders originated from with the next automatic feed.
Import Tracking Information
Sellercloud’s Import Order Info tool offers several functionalities to manually import tracking data:
- Import Tracking – From a default template/spreadsheet.
- Import Tracking Via Profile – From a spreadsheet, using a Mapping Profile.
- Import Tracking Via Plugin – From a file, using a Tracking Import-type plugin.
Import Tracking Info
To import tracking information using Sellercloud’s default template:
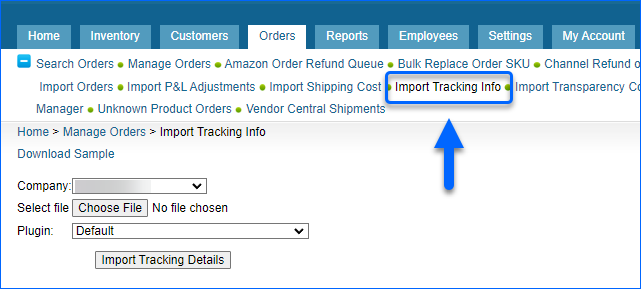
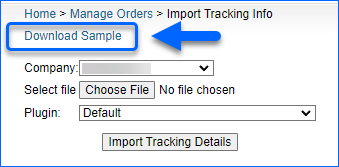
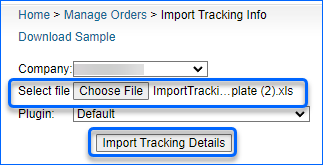
- Navigate to Orders > Import Tracking Info.
- Click Download Sample.
- The template contains the following columns:
- Order-ID – The internal Sellercloud order ID. If OrderID is provided, then Order-Source, Order-Source-Order-ID, and PO-Number are not required. Entering the Channel’s OrderID in this field will result in an import error.
- Order-Source – Channel name. For example, if the order originated from Amazon, this column needs to be populated with that name. If the order channel is either Shopify, BigCommerce, or any plugin integration (such as ones through CommerceHub), the order source will be Website.
- Order-Source-Order-ID – Channel order ID. If there is more than one channel order IDs, enter the first one. If both Order-ID and PO-Number are not available, then you will need the Order-Source-Order-ID, which Sellercloud will try to match, even with no OrderSource provided.
- PO-Number – Marks orders as shipped based on the PO number they are associated with. If PO-Number is provided, then Order-ID, Order-Source, and Order-Source-Order-ID are not required.
- Ship-Date – Date of shipping. Standard date/time format is acceptable (e.g. 7/12/2020 4:45 PM / July 12 2020 4:45 PM).
- Carrier-Name – Shipping carrier name.
- Ship-Method – Shipping service name.
- Tracking-Number – Tracking number provided by the shipping carrier.
- Shipping-Cost – Price for the shipping paid to the shipping carrier. The Shipping Cost can be entered to ensure that the order P&L is correct.
- Company-ID – Sellercloud company ID under which the order exists.
- Package-ID – Order’s package ID, as recorded in Sellercloud.
- Warehouse-Name – Name of the Sellercloud warehouse, from which order inventory is deducted. Warehouse Name can be entered to change the ShipFromWarehouse on the order.
The Tracking Import does not generate new packages for multi-package orders that are not already present in Sellercloud. However, it can effectively update the tracking numbers of existing packages, using the respective package IDs. You can create additional packages in Sellercloud or set a pre-defined quantity per package so they are created automatically.All column headers must be in the file, whether or not the column is populated with data.
- Save the populated template and return to the Import Tracking panel.
- Select a Company from the dropdown menu, upload the saved file, and click Import Tracking Details.
An Order Import Tracking Queued job will be created, from which you can monitor the status of your task. After a successful job completion, the import has been processed in Sellercloud.
Import Tracking via Profile/Plugin
You can also import tracking information by using a Mapping Profile or via a Tracking Plugin. If the vendor has a different format, contact Sellercloud Support to create a custom Import Tracking Plugin.
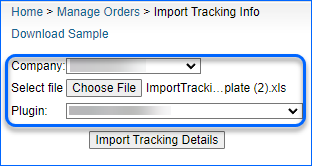
- Navigate to Orders > Import Tracking Info.
- Choose a Company, Profile/Plugin, import a template file, and click Import Tracking Details.
An Order Import Tracking Queued job will be created, from which you can monitor the status of your task. After a successful job completion, the import has been processed in Sellercloud.
Automate Tracking Import
If you want to regularly import order tracking information, you can create a Scheduled task in Sellercloud. This way you can automate the import to run on a custom schedule of your choosing.
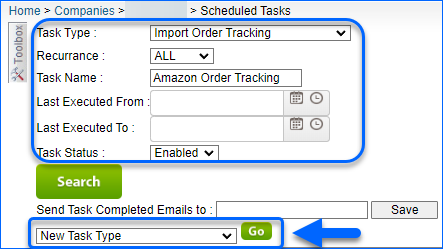
- Navigate to Settings and select Company > Scheduled Tasks.
- Set the Task Type as Import Order Tracking, and select a Task Name.
- Select New Task Type and click Go.
- Open the scheduled task.
- Select Import From FTP and enter the FTP credentials.
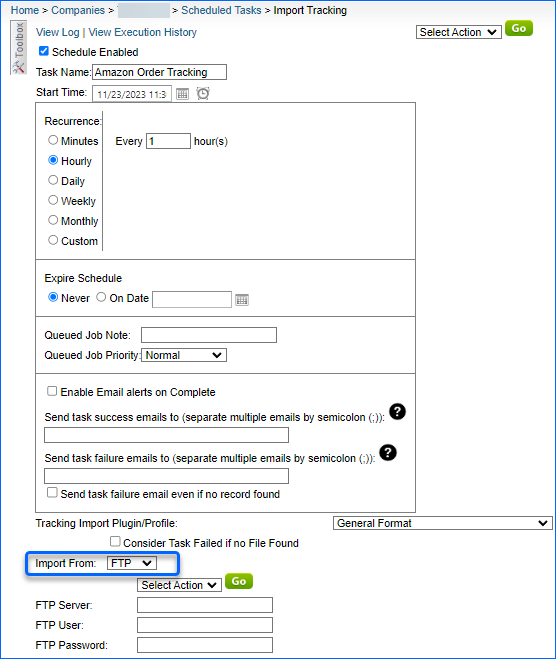
- You can also use a custom Plugin.
- Select a Recurrence schedule and Enable your task.
- Save your changes.
Email POs for Dropshipped Orders
Sellercloud enables you to email POs to different vendors when orders are dropshipped.
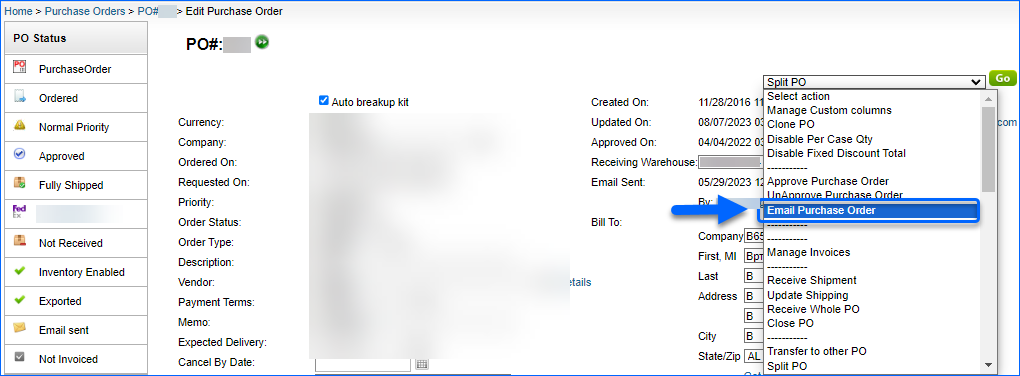
- Open the desired PO and from the Select action dropdown, select Email Purchase Order, and click Go.
- In the General panel, fill out the required credentials:
- Vendor Email
- Subject
- Sender Name
- Sender Email
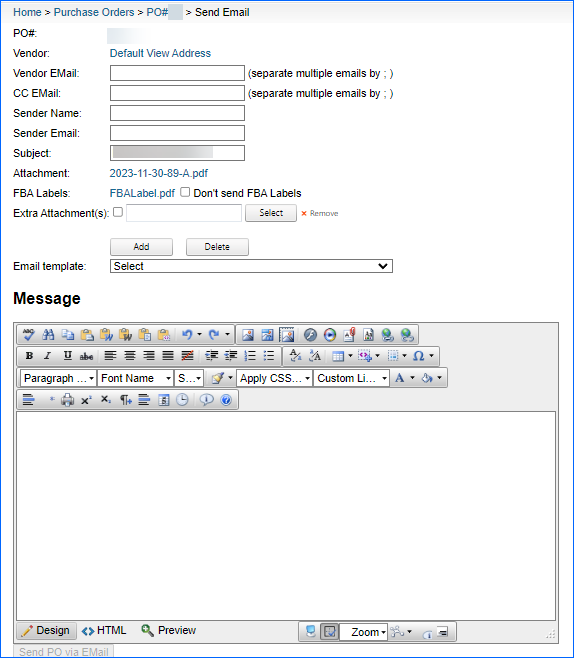
- You can choose a pre-existing email template.
- If you wish, you can enclose additional files to your email, by clicking Add and selecting the appropriate document.
- Enter your email text into the Message panel.
- Once done, click Send PO via Email.